Buying a shed shouldn’t be complicated. In this guide, we answer all your burning questions, like: What size shed do I need? What’s the best material? How do I prepare my yard? This shed buying guide will cover everything you need to know, so you can be confident in your purchase.
1). Is Buying a Shed Better Than Renting?
When you’re out of storage space, your first thought may be to rent a storage unit rather than buying a shed. This is a quick and easy way to get items out of your house. But is it the most financially savvy choice?
On average, monthly costs for a storage unit can range from $75 to $300 depending on size. And this only includes the physical space. You may also need additional fees for insurance, climate-control, and taxes.
Let’s look at the other side. Buying a shed is a larger investment upfront, but it provides more long-term value. You’ll have full control over your storage space and everything is accessible from your backyard.
If you’re unsure about the initial cost of a shed, there are rent-to-own programs available. This allows you to make smaller monthly payments until you pay it off fully.
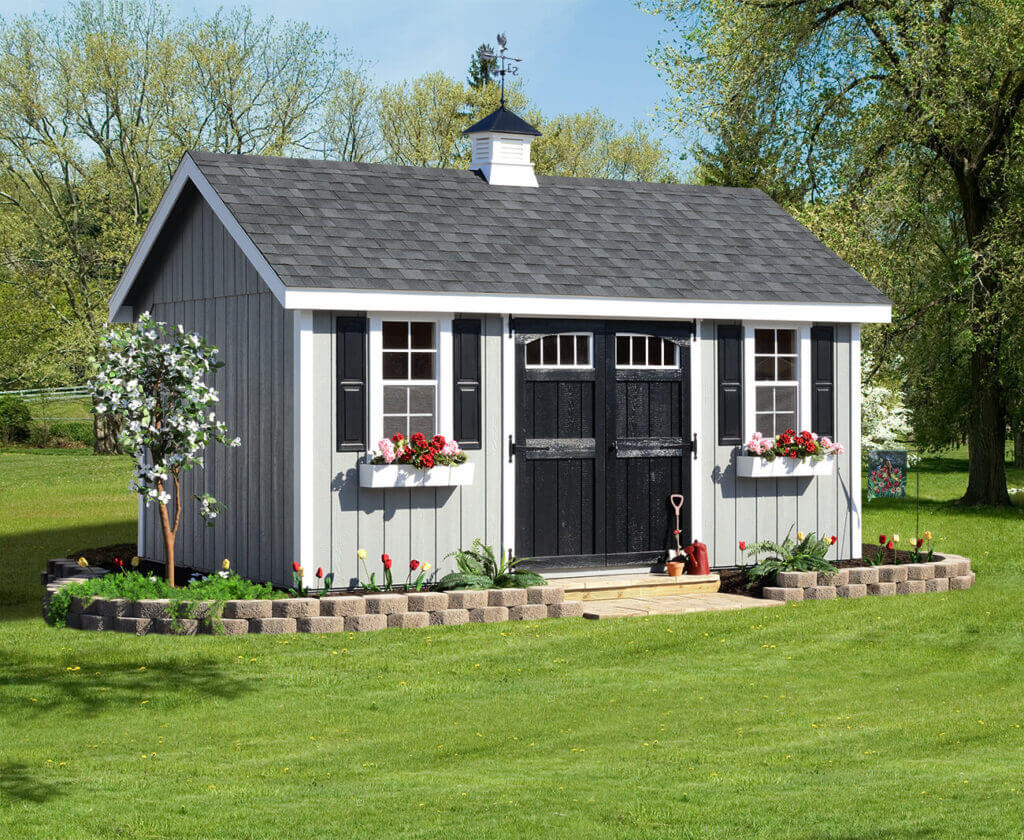
2). What’s the Best Material for a Shed?
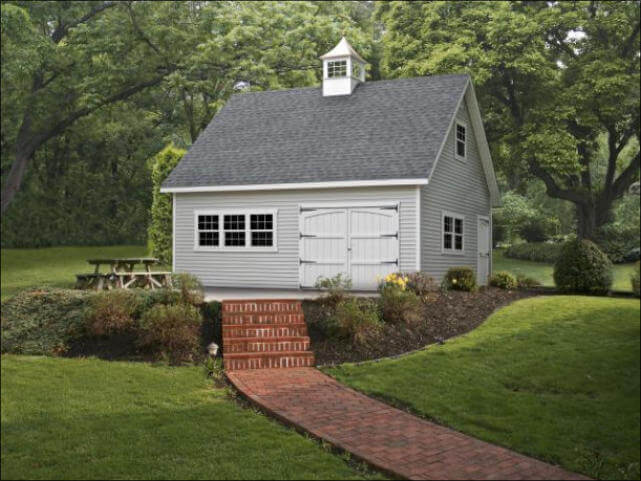
Your shed siding options are wood or vinyl. Both are extremely durable, but they have some differences in terms of resistance, lifespan, and customizations.
All vinyl siding on a shed is naturally rot- and insect-resistant, so it lasts a bit longer than wood. If you’re looking to add a pop of color to your landscaping, vinyl is the perfect choice. We offer vinyl siding in a variety of colors, from sage green to berry red, so you don’t have to sacrifice your vision for quality. Plus, it’s low-maintenance, so you can enjoy extra storage with minimal effort.
Now let’s talk wood. Only certain types of wood are moisture- and pest-resistant, and they all require regular maintenance to keep them in good condition. However, they have a lower upfront cost than vinyl. If you want a more natural look, wood siding can provide that.
There is no one best material for a shed. It depends on what backyard theme you’re going for, your budget, and the amount of effort you want to put into maintenance.
Both wood and vinyl siding on a shed can be styled lots of ways. Here are four of the most common to choose from:
- Clapboards
- Tongue-and-Groove
- Board-and-Batten
- Shingles
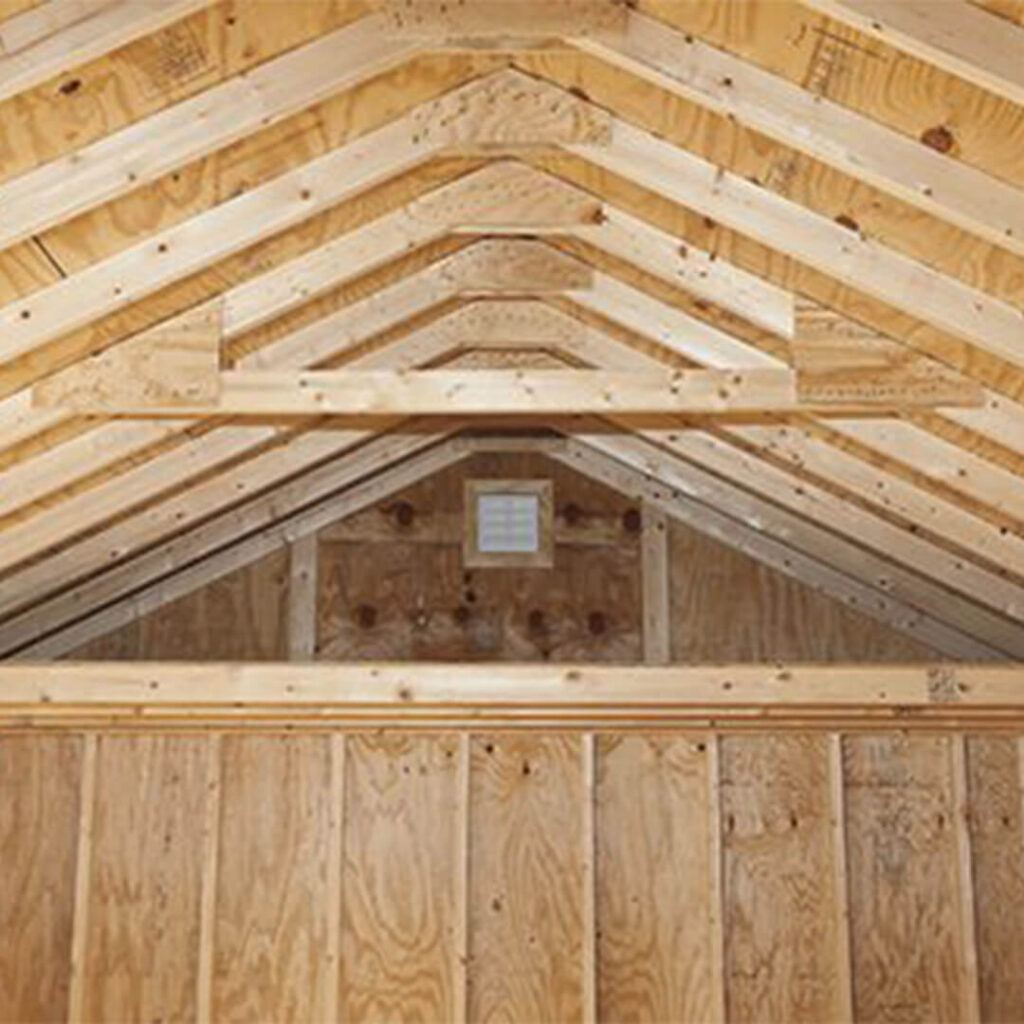
3). Will My Shed Roof Last?
When you’re buying a shed, don’t just focus on the siding materials. The roof is also important. At Penn Dutch Structures, we use architectural shingles as our main roof material, rather than 3-tab shingles. Architectural shingles provide more dimension and texture to your roof, which has a greater visual appeal.
But architectural shingles are thicker and more durable as well. In bad weather or severe storms, they’re less likely to warp, peel, or buckle.
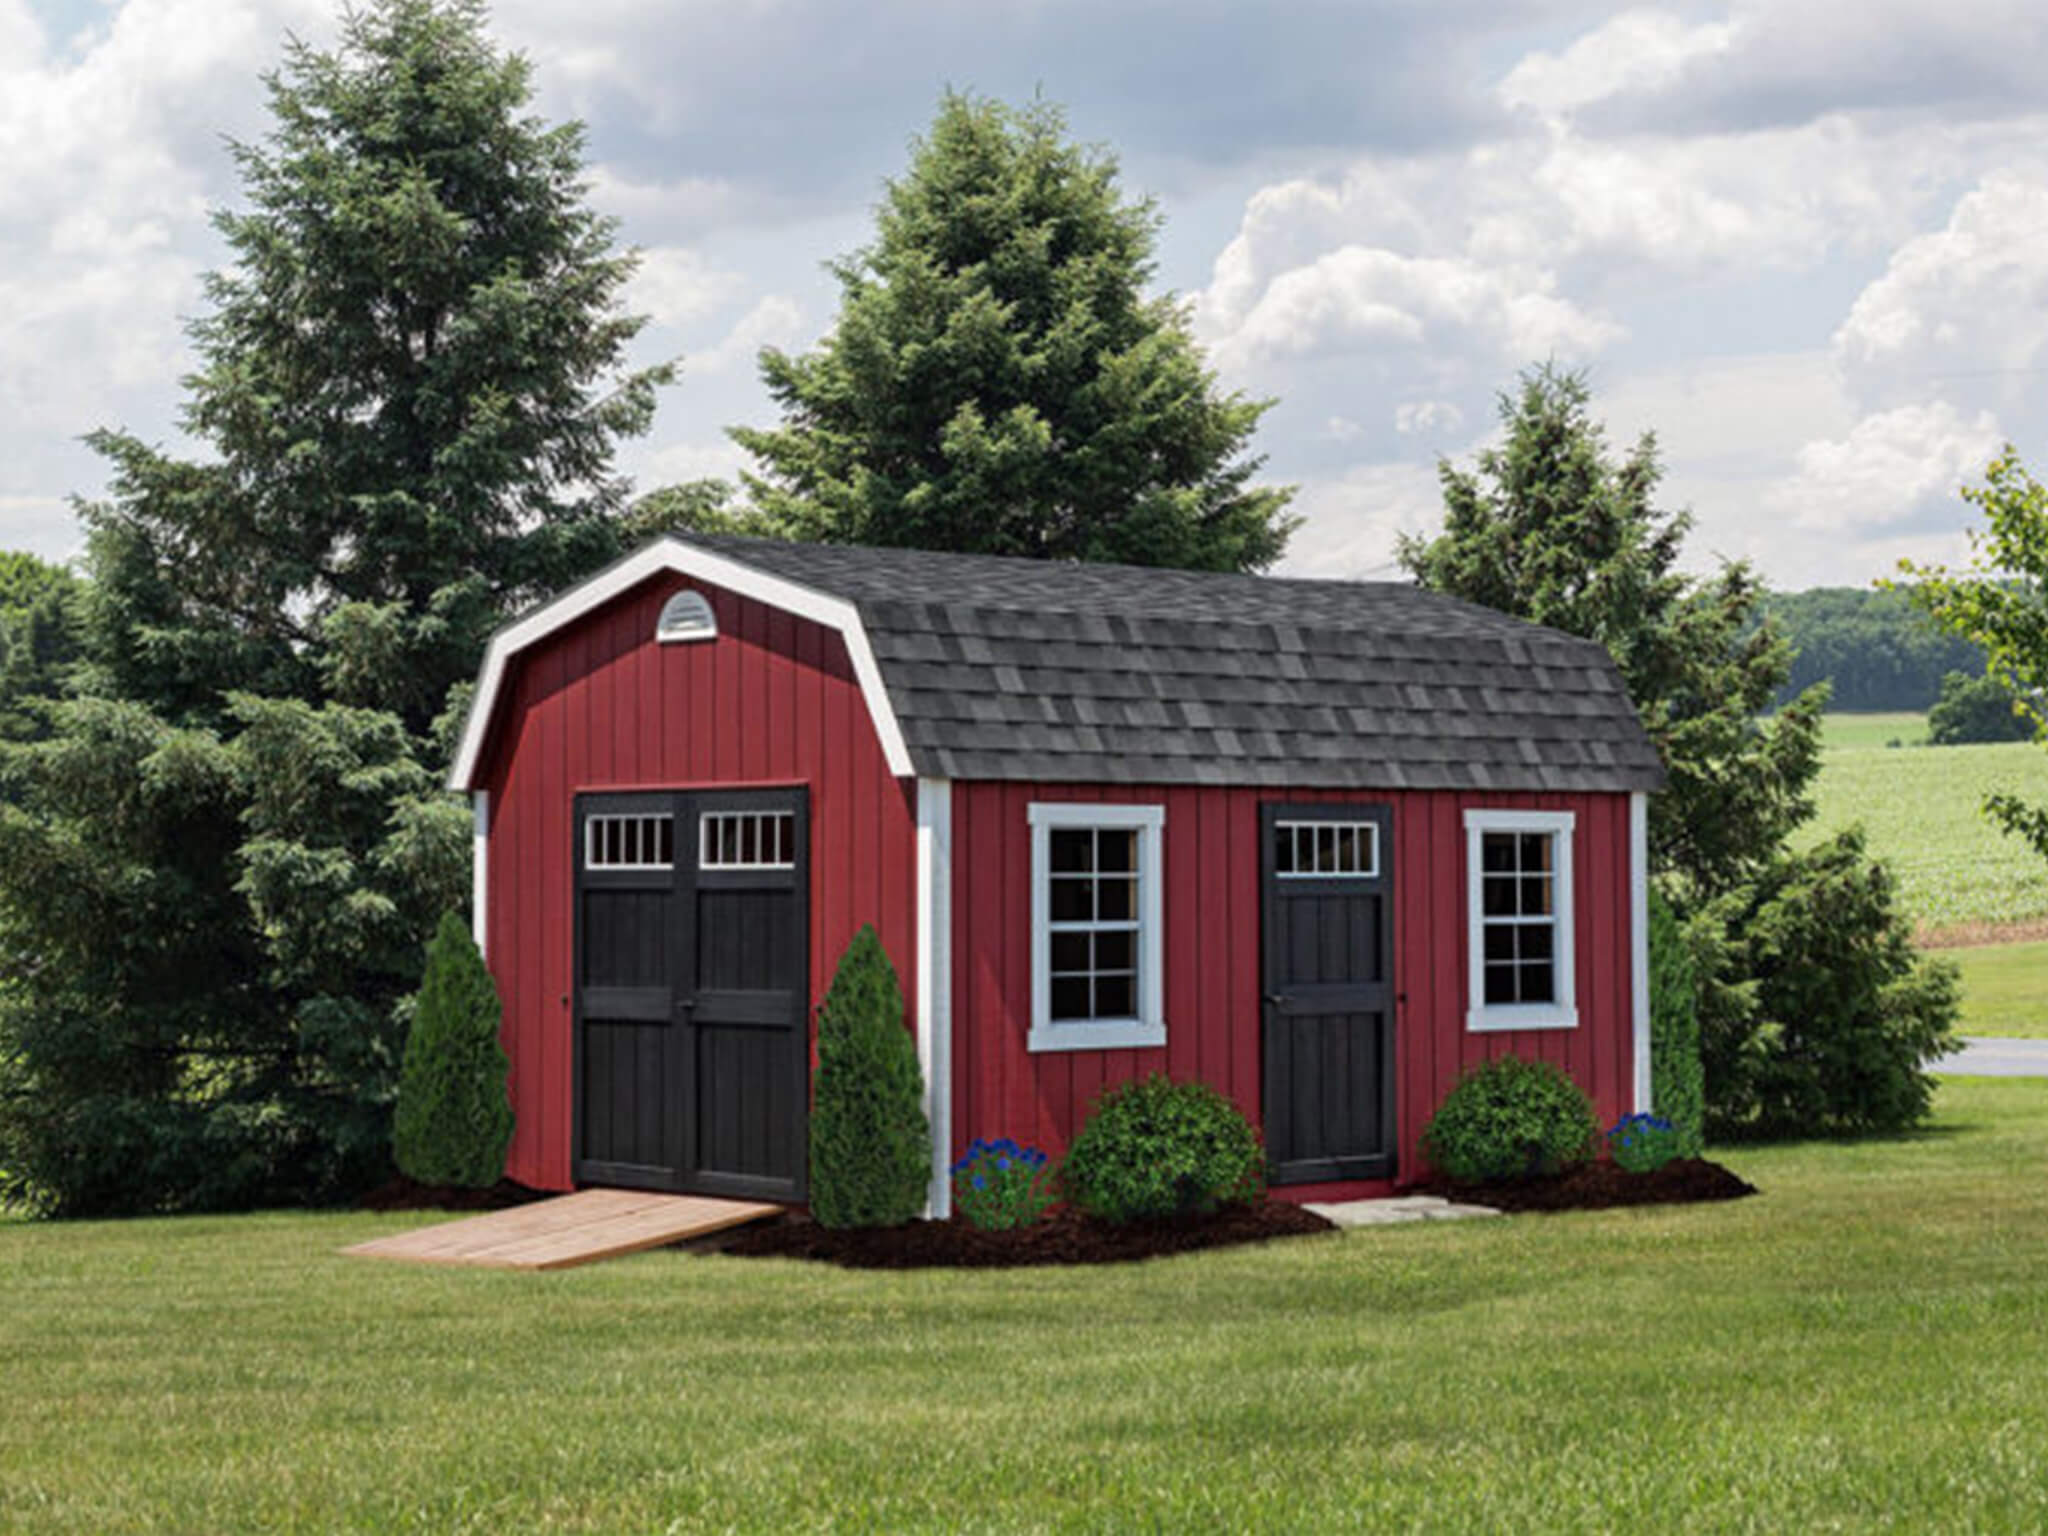
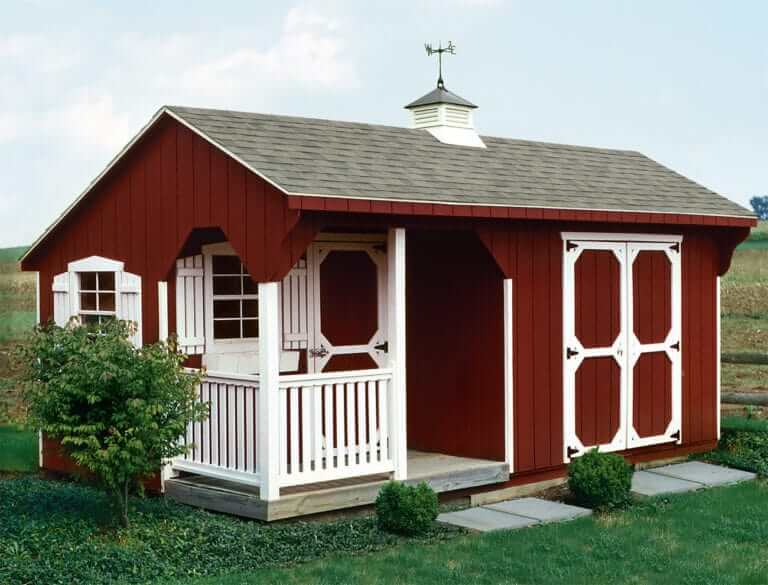
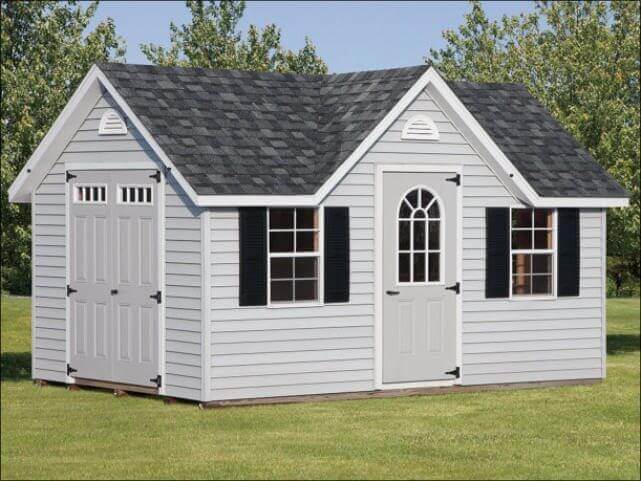
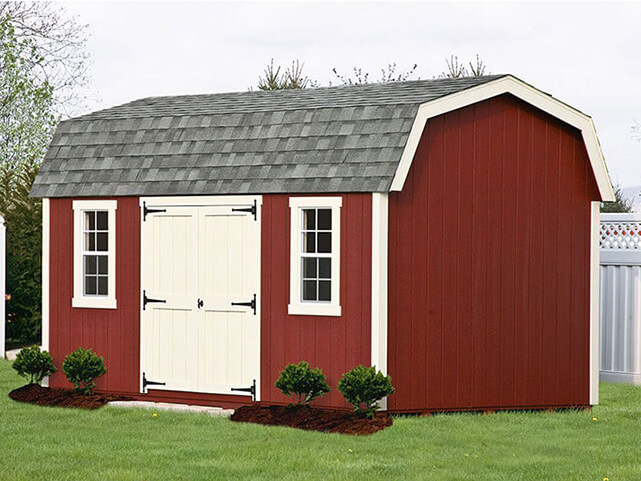
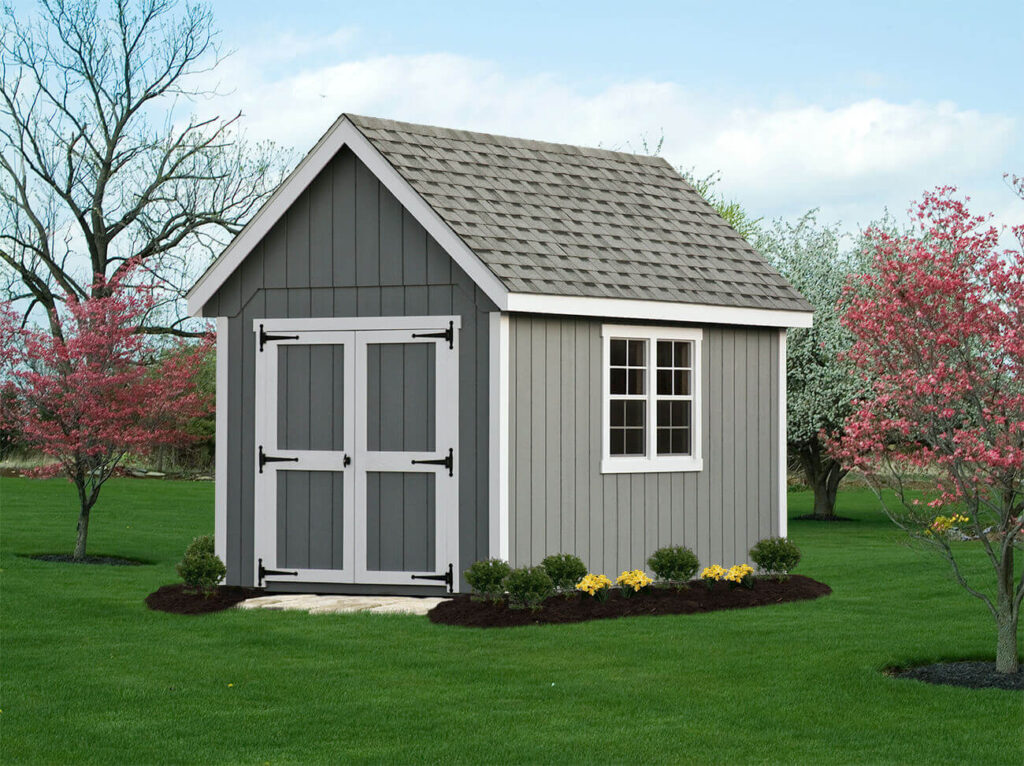
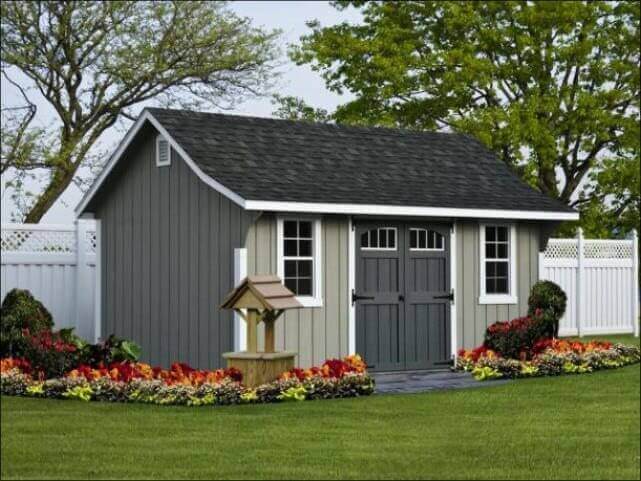
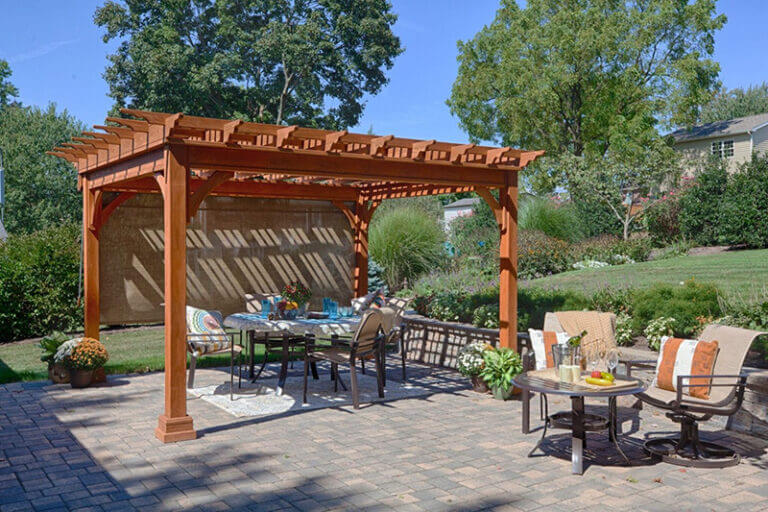
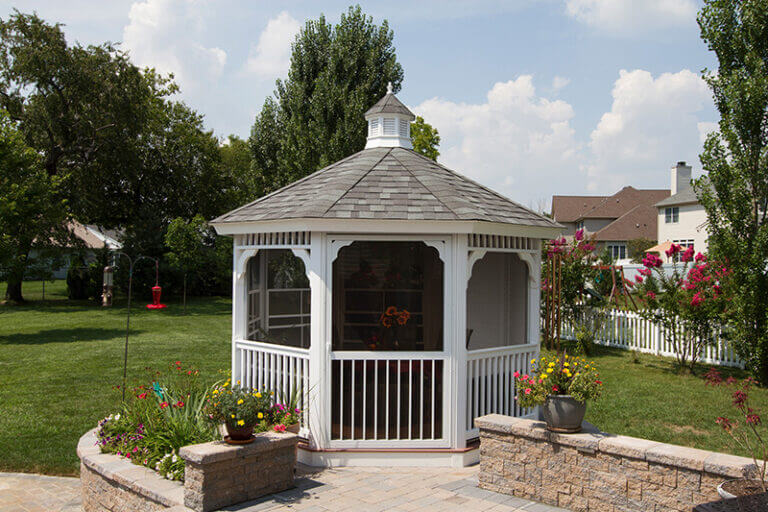
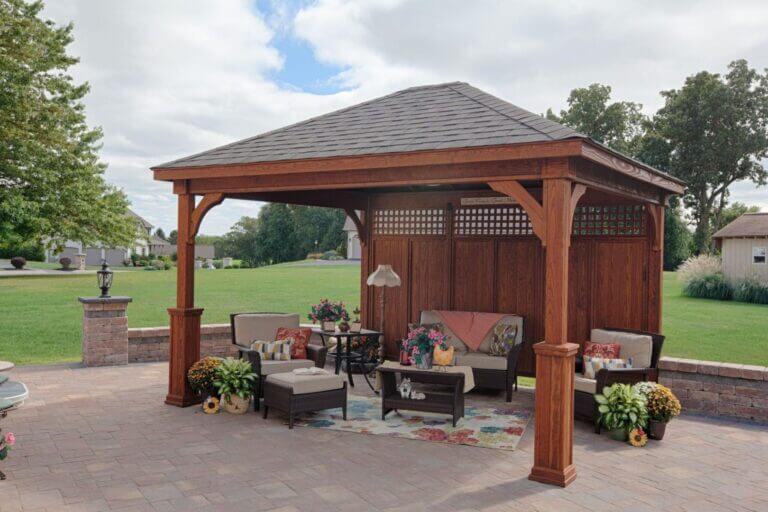
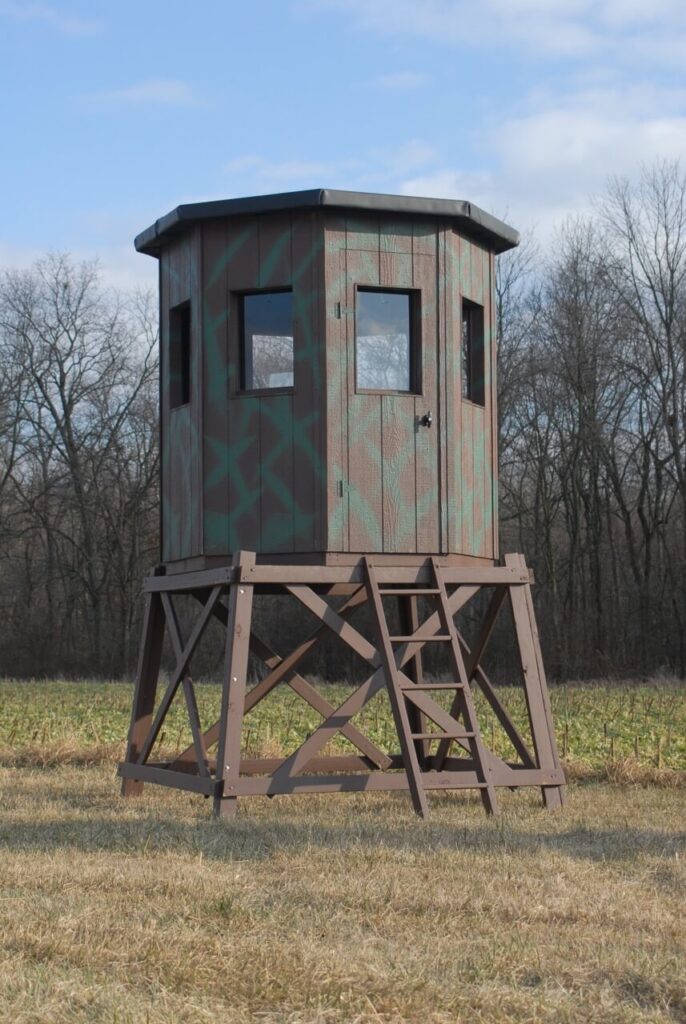
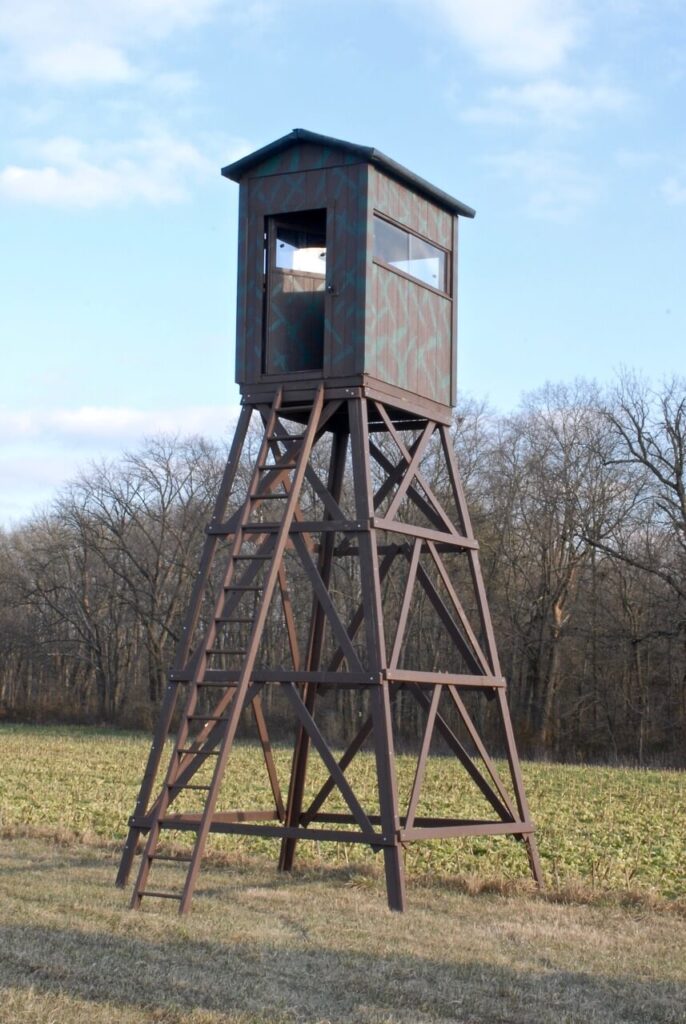
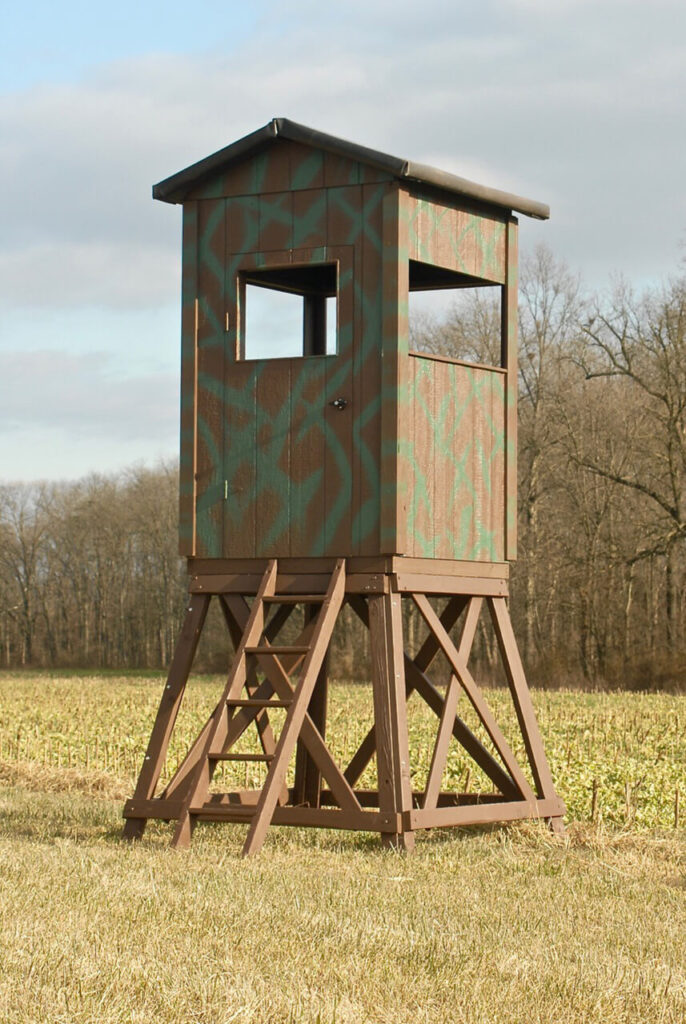
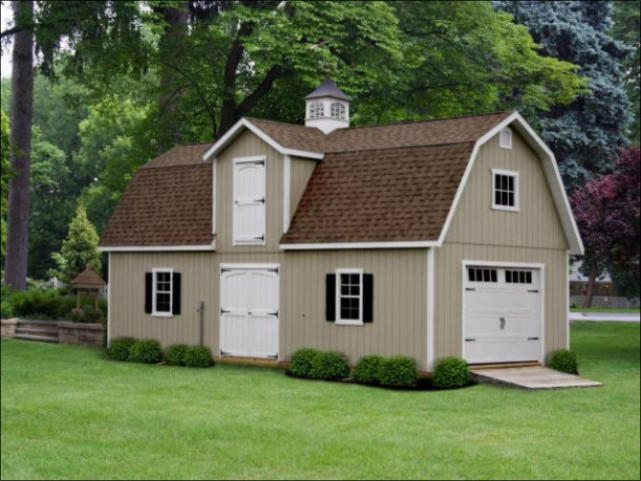
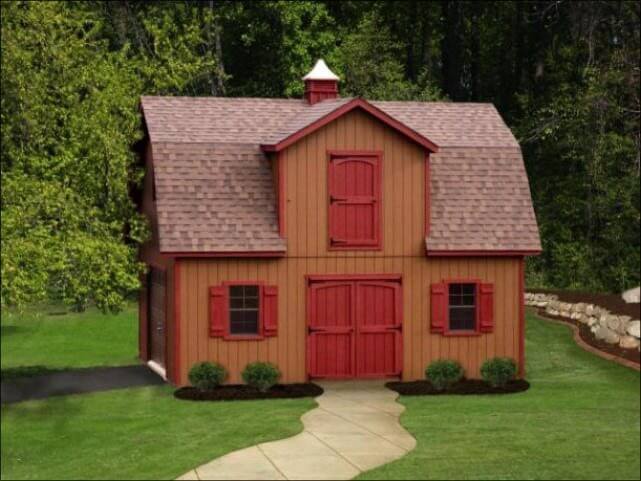
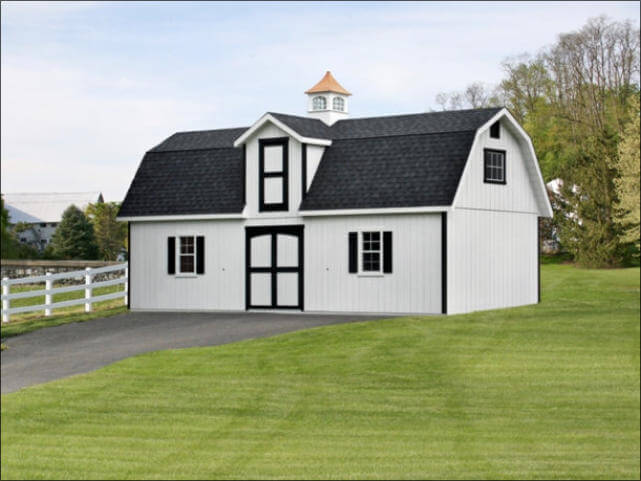
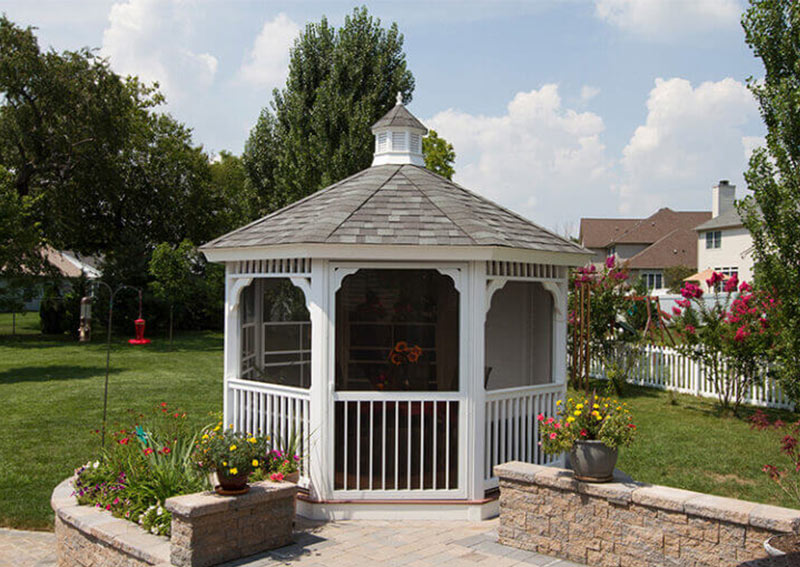
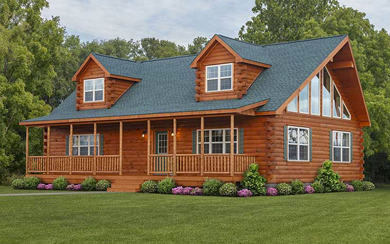
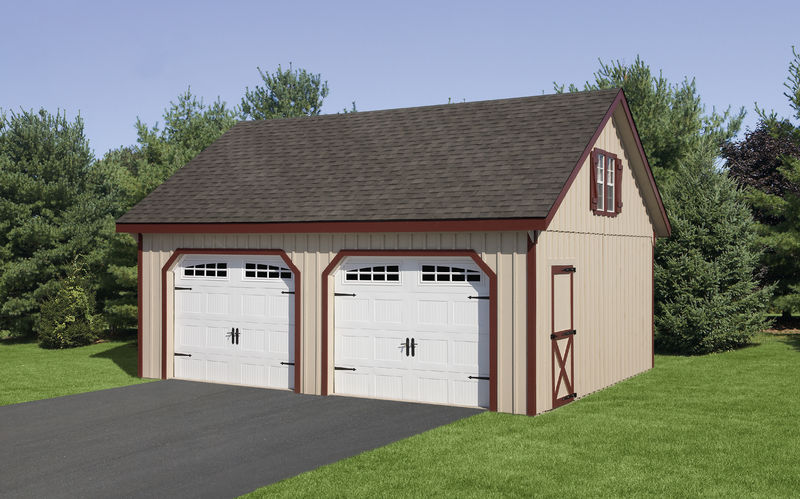
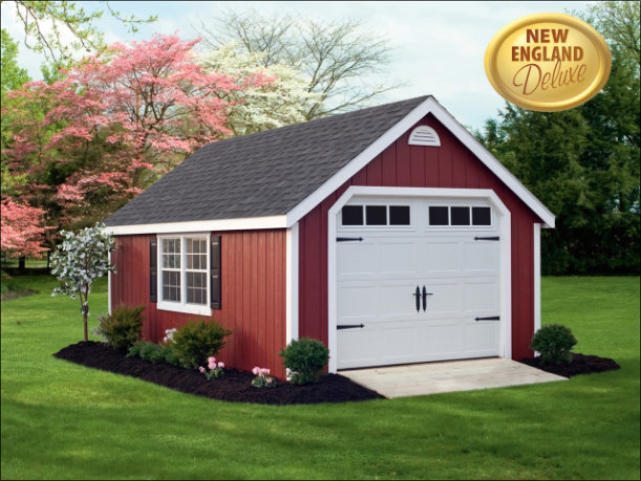
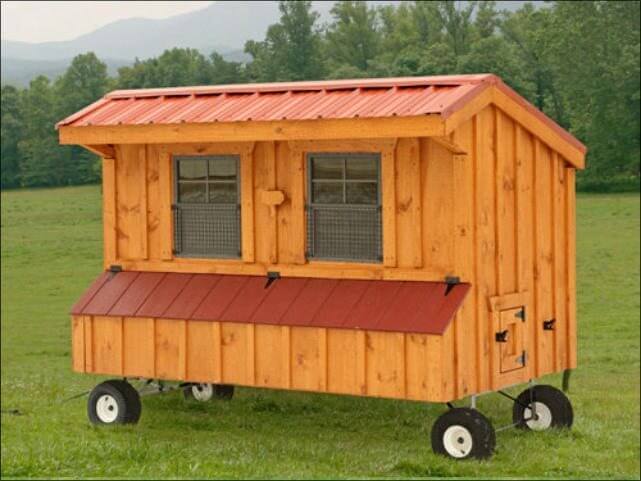
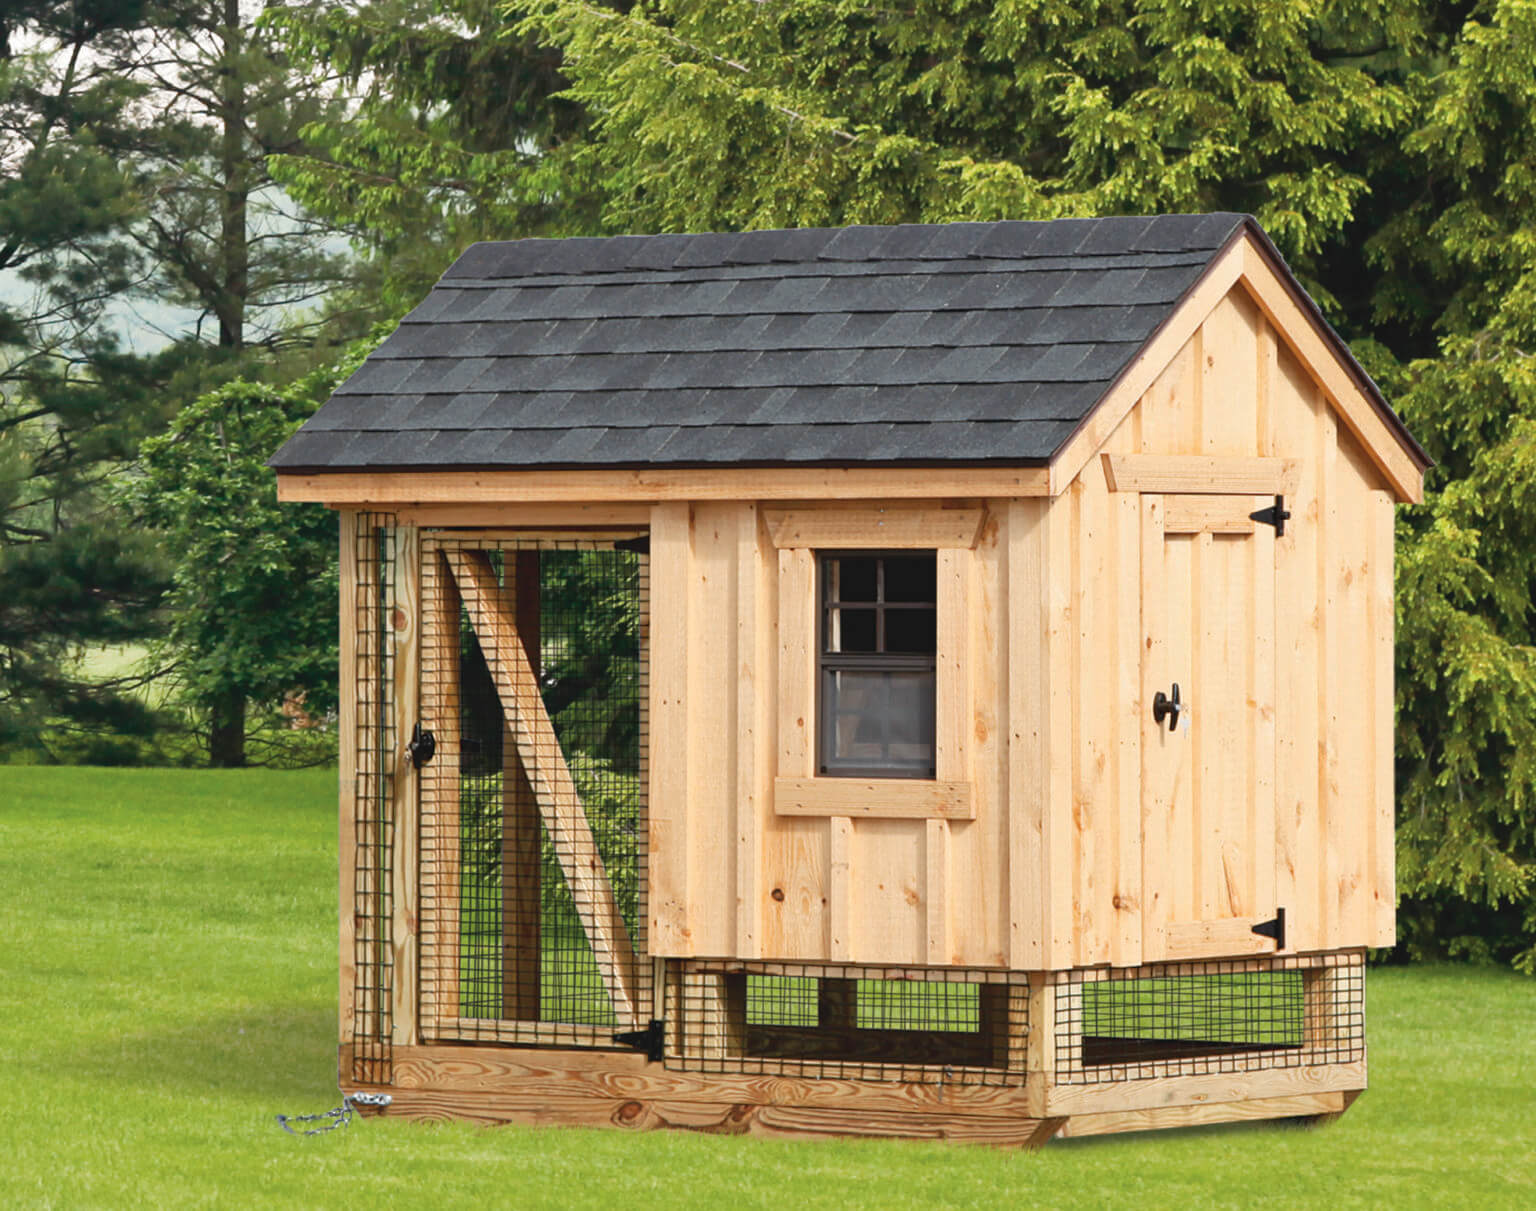
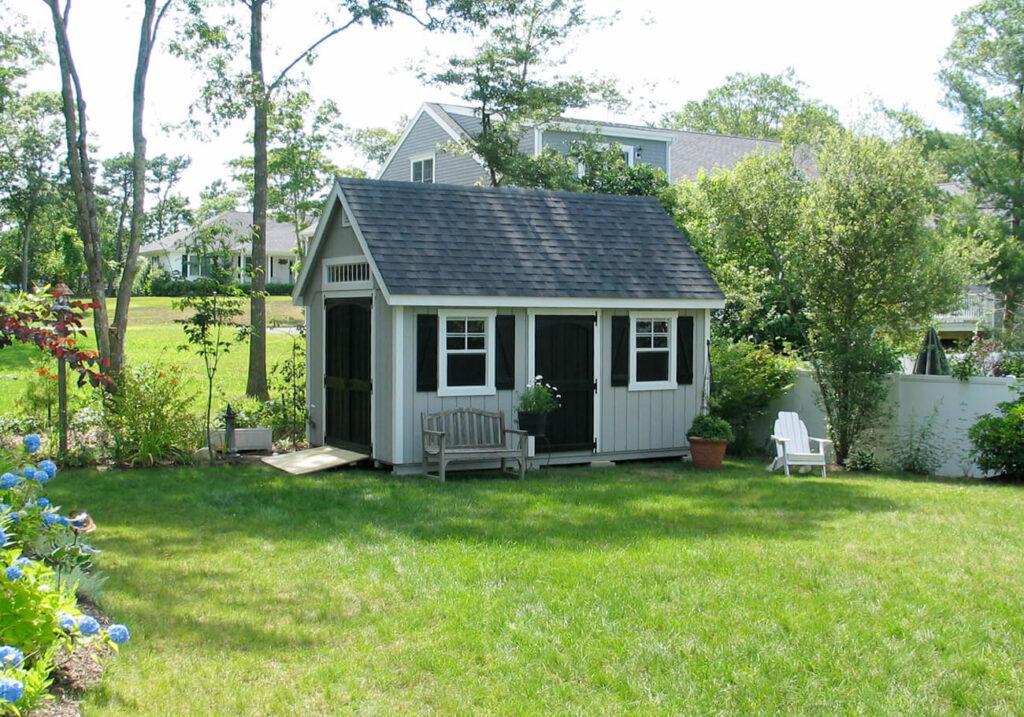
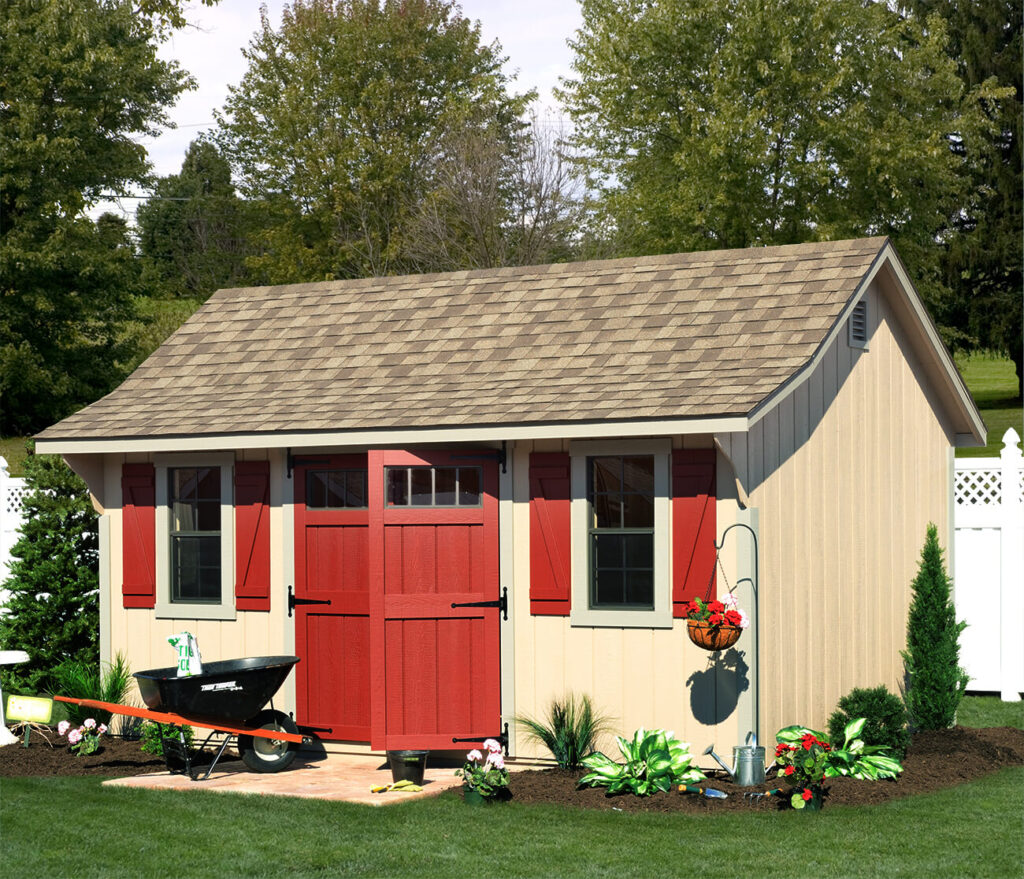
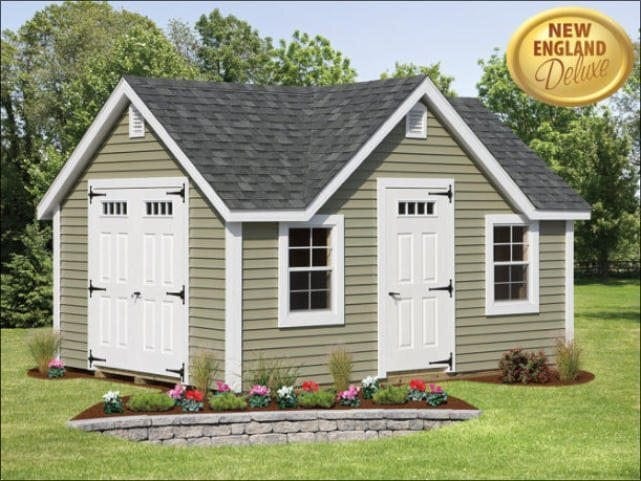
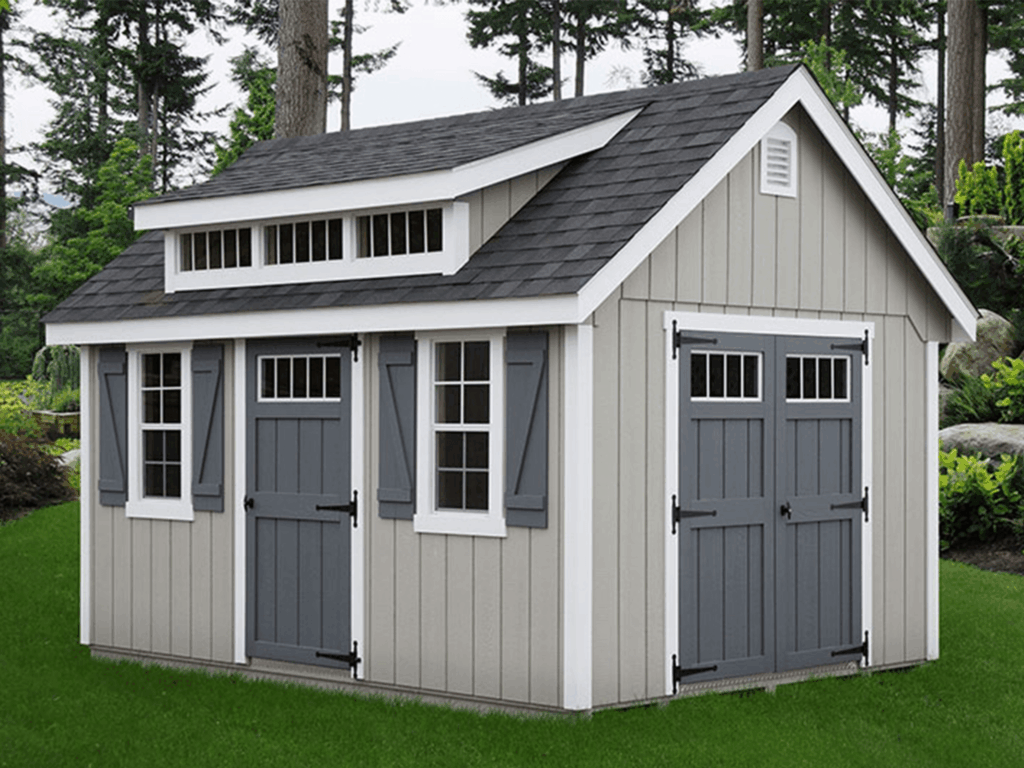
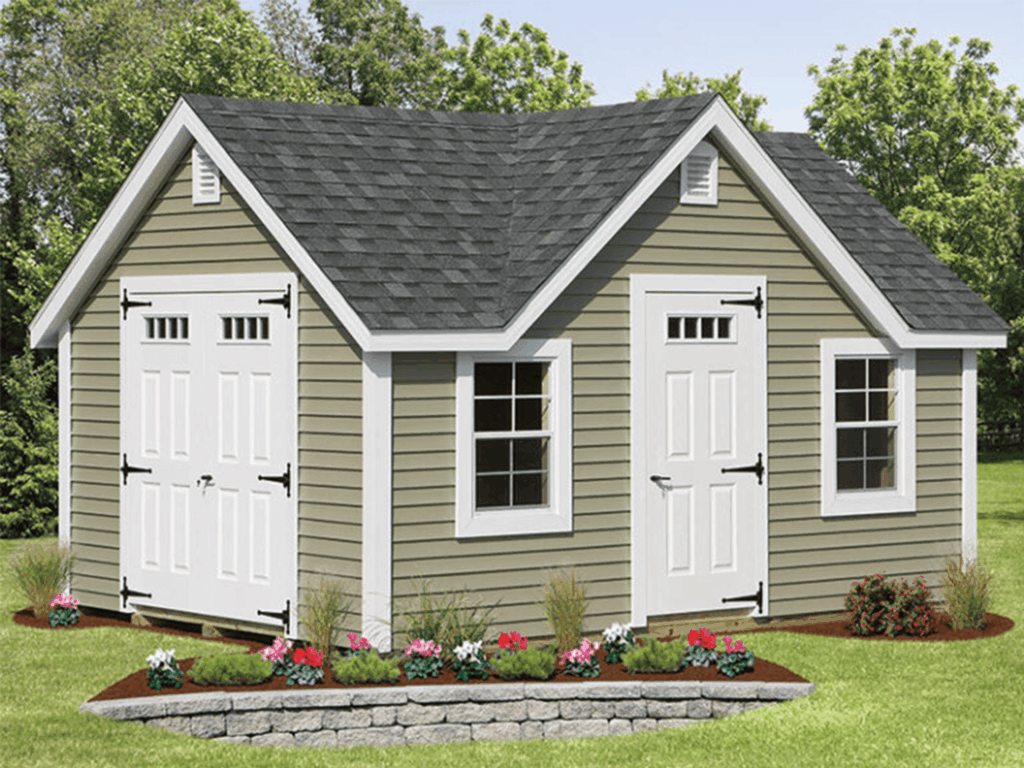
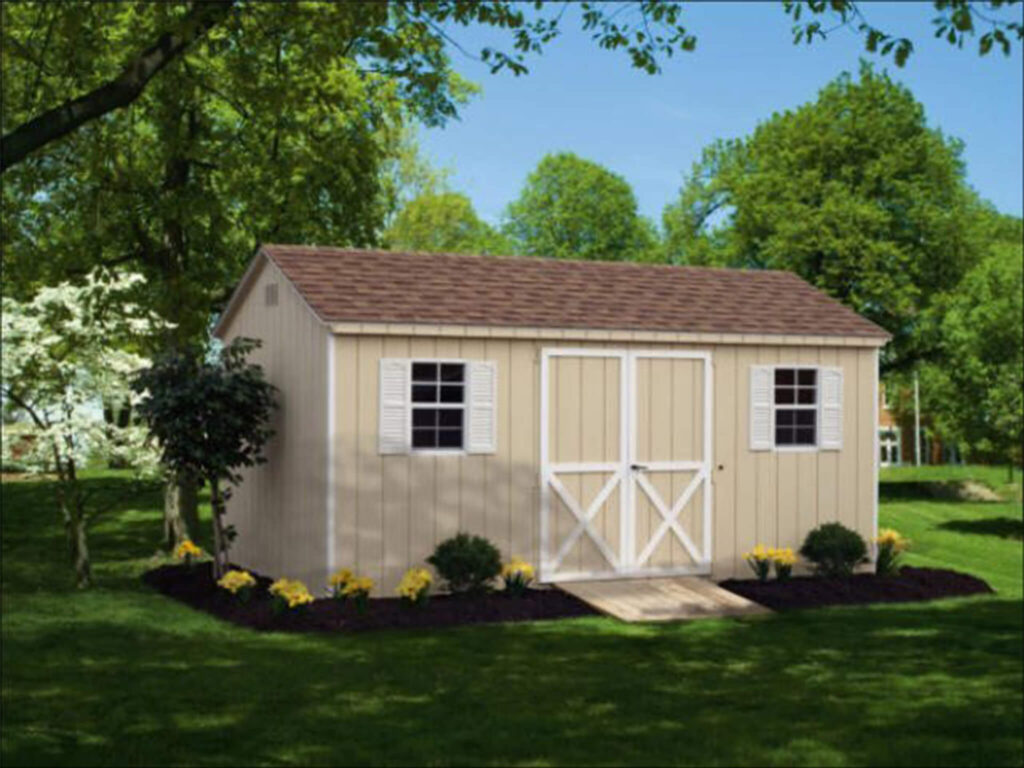
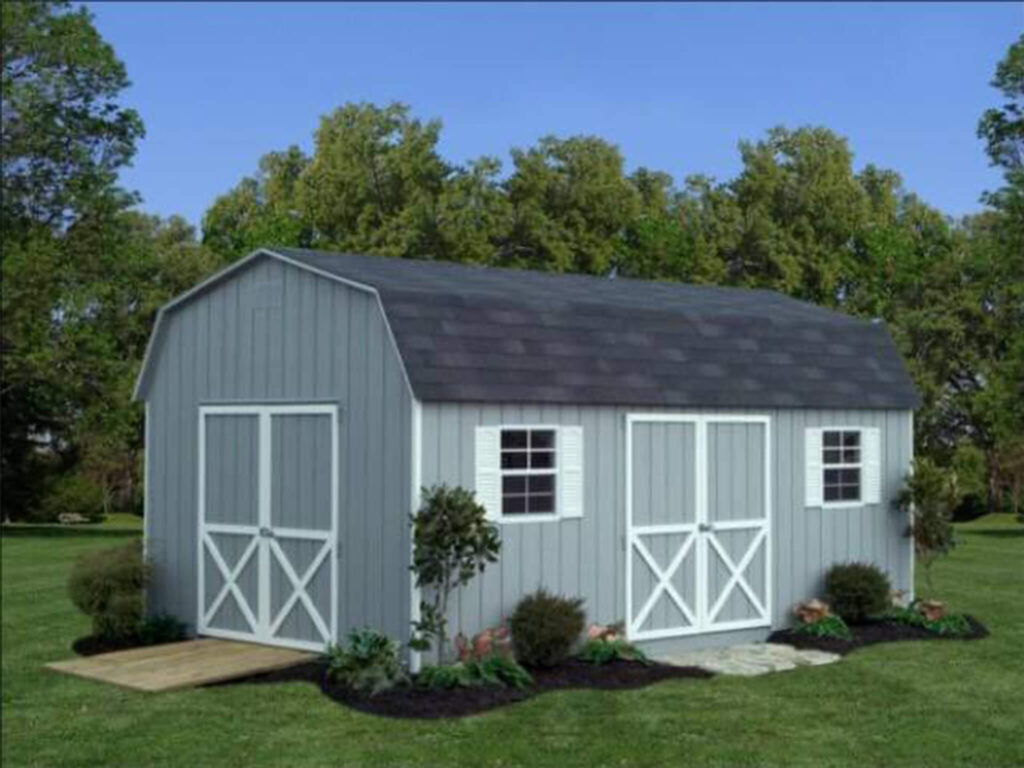
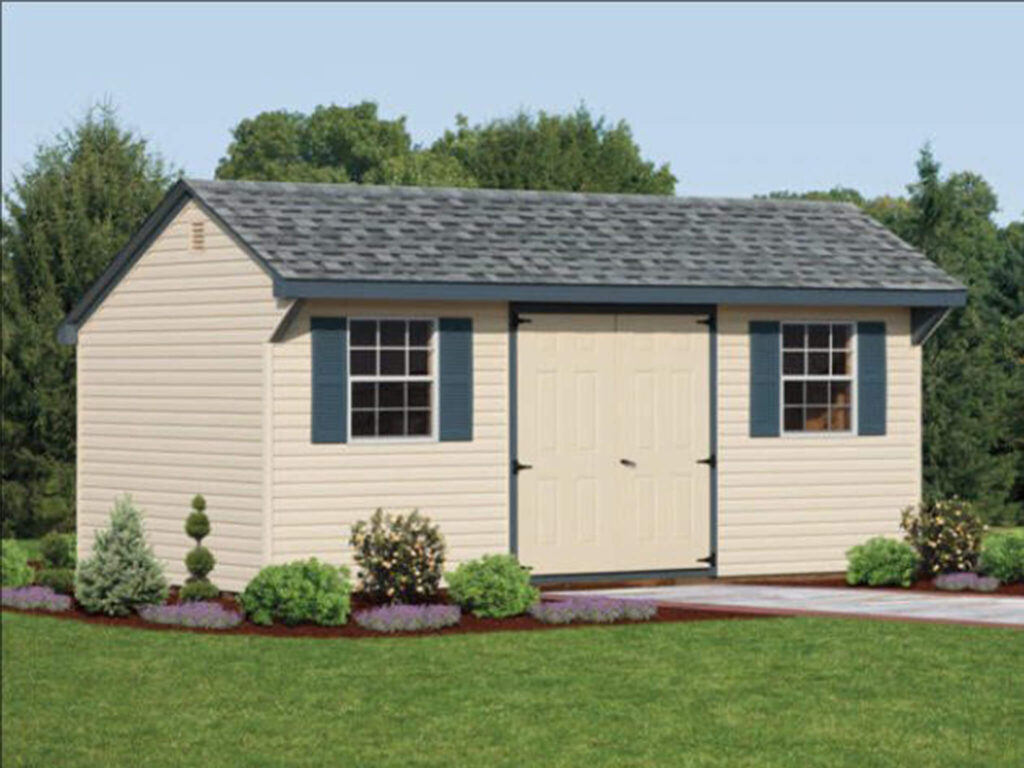
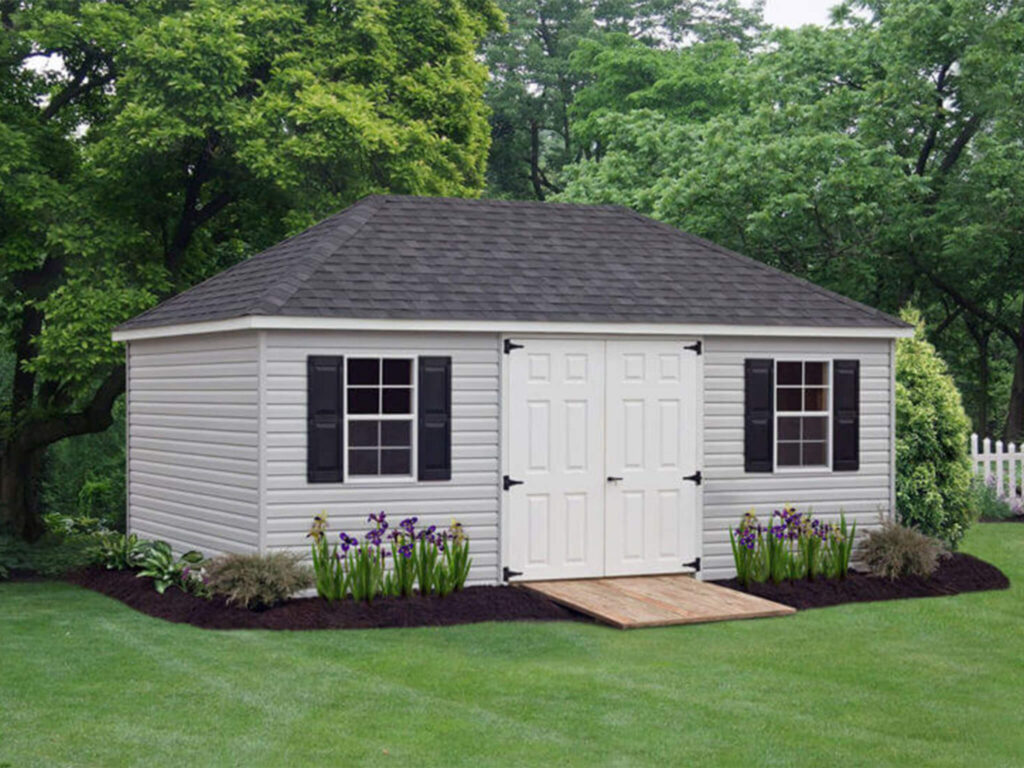
4). What Shed Styles Are There?
Now comes the exciting section of our shed buying guide! Choosing a shed style is where you can let your personality shine. You can pick a traditional look for some country charm, or find a unique design that speaks to you. Then customize your structure so it matches your home and backyard.
We offer 15+ shed styles for you to pick from. Learn more about some of our most popular options below.

5). What Size Shed Do I Need?
The perfect size for a shed depends on its purpose. Ask yourself this:
- What are the main tools, items, or pieces of equipment that I’ll be storing?
- Where will I put this shed?
- Are there any rules about what size shed I can have on my property?
Here’s our general guidelines for storage shed sizes.
- 8’ x 10’ — Perfect for a small yard
- 10’ x 10’ — Ideal for a gardening shed
- 10’ x 20’ or 12’ x 24’ — Roomy enough for a workshop
- 14’ x 28’ — Best for large equipment like riding lawn mowers and ATVs
When buying a shed, you also need to take into account your foundation. This requires at least one foot of additional space on all sides of your shed. From there, you’ll need at least three feet between your shed and any fencing or trees. Lastly, there might be neighborhood-specific rules about additional setback from property lines, roads, or floodplains.
Our hand-crafted sheds come in a variety of sizes, depending on the style you choose, ranging from 6’ x 6’ to 14’ x 44’. No matter what you’re looking for, we know you can find the perfect fit at Penn Dutch Structures.
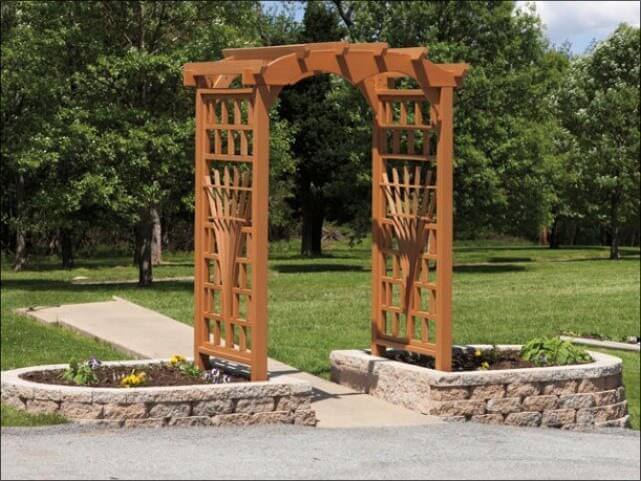
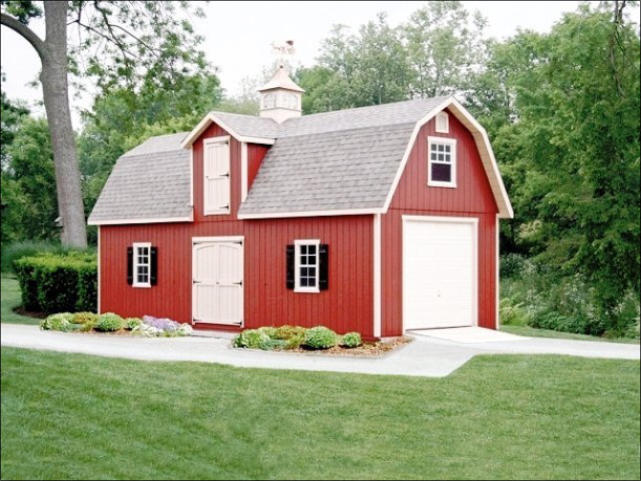
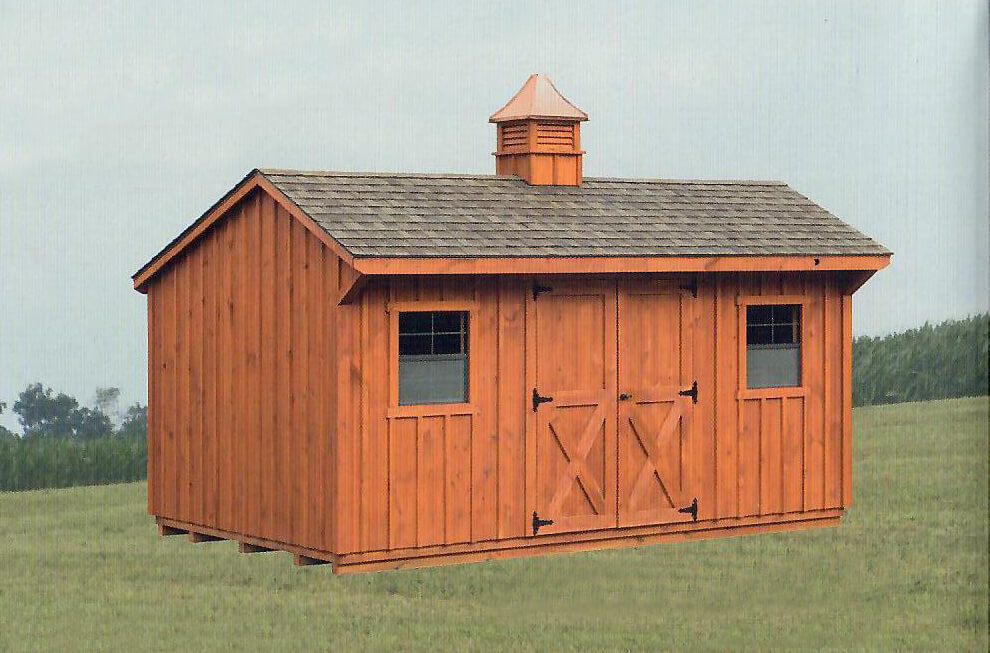
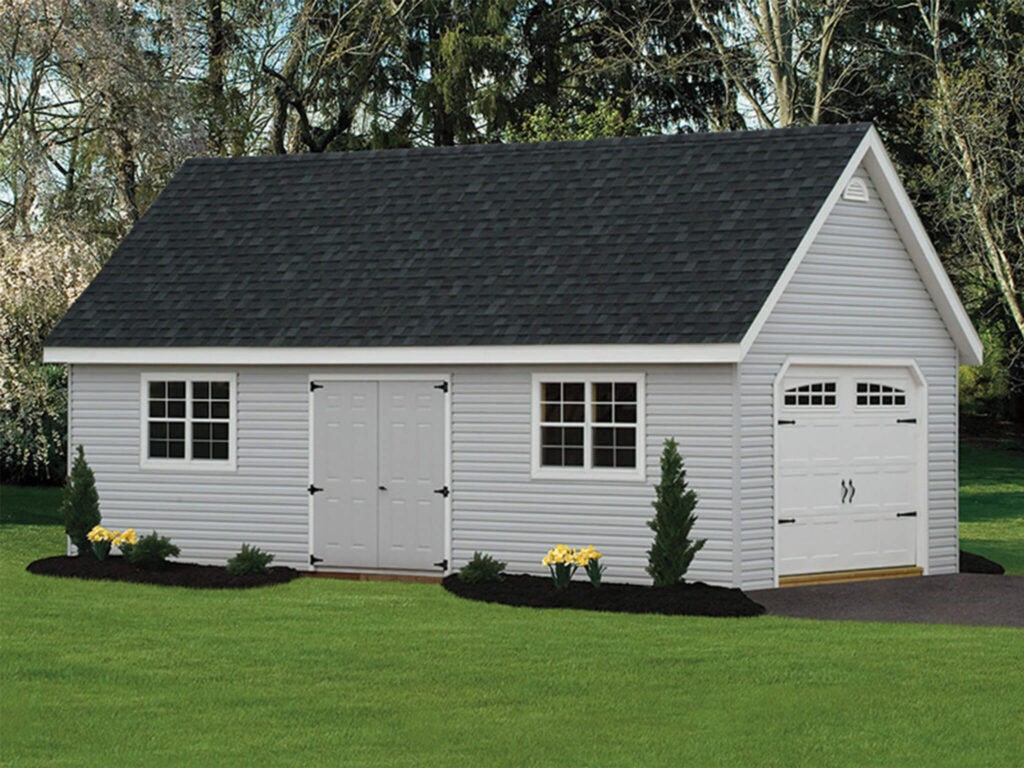
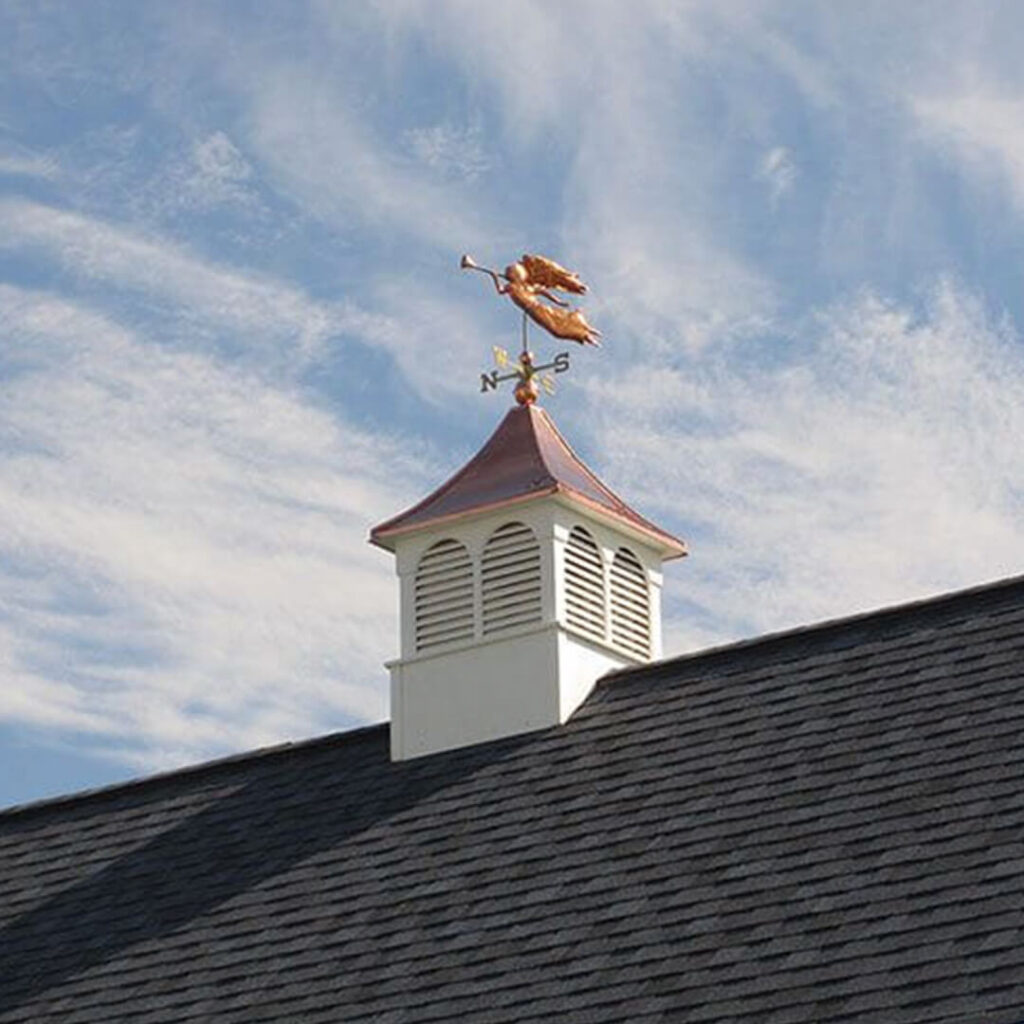
6). Can I Add Accessories and Customizations?
Take our standard designs to the next level by adding some accessories! Want a garage door? Done. Need more headroom to make space for a loft? We got you covered. Envisioning a decorative weathervane for that final touch? We love your taste.
You can customize every corner of your shed, including:
- Building, roof, and trim colors
- Windows and doors
- Vents
- Lofts
- Cupolas
- Weathervanes
- Wall upgrades
The accessorizing doesn’t stop there. Make moving items in and out easier with a shed ramp. You can build your own or buy one from a local home improvement store. Also consider adding exterior lighting and locks for security, and flower boxes for a decorative accent. Keep your shed organized with interior shelves, hooks, and bins.

7). Are There Any Zoning Regulations?
If you’re part of a Homeowners Association (HOA), they may have restrictions on buying a shed. Many HOAs limit the maximum height of your shed, and have rules about where you can place it. Specifically, you can’t put it too close to the edge of your property line, your driveway, or the main house. In some neighborhoods, your shed cannot be visible from the road.
Your HOA may also have restrictions about the shed color, material, and style you choose. Before buying a shed, check your HOA’s committee process so you can submit the right documentation. Some examples would be site plans, images of the shed and dimensions, and a topographic map.
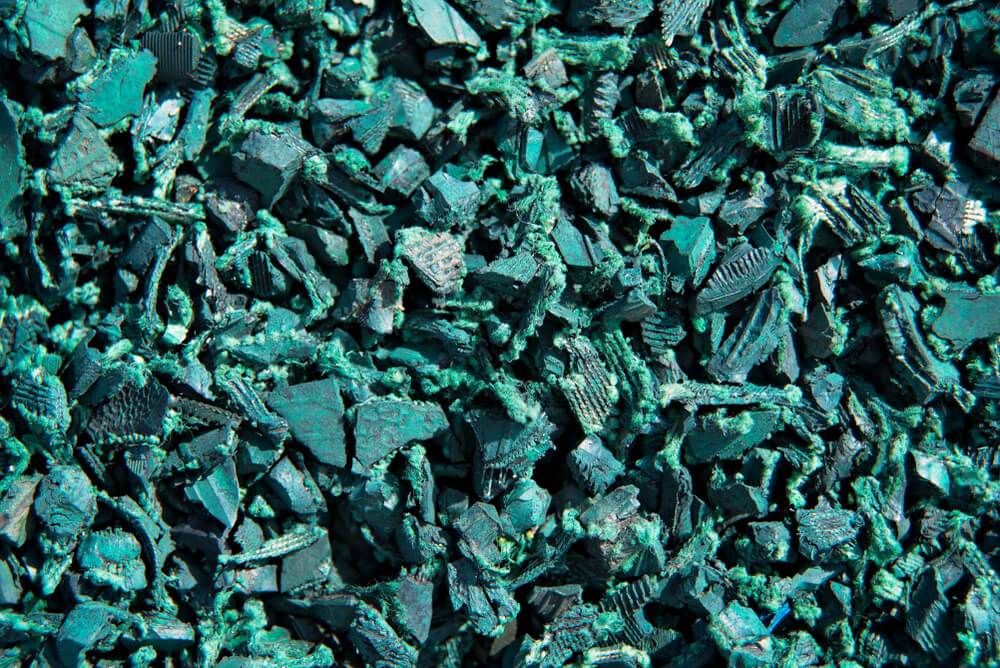
8). Do I Need to Build a Shed Foundation?
The last piece of this shed buying guide is the foundation. You can’t just plop a new shed onto your lawn and call it a day. Instead, you need to prepare your site for installation.
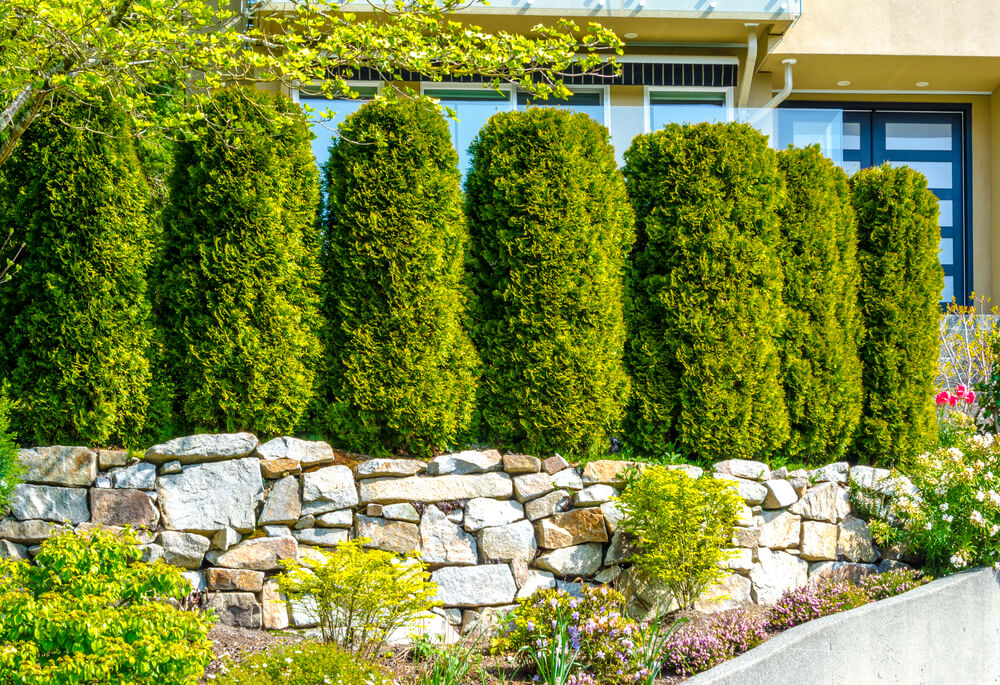
You’ll need a solid, level foundation of gravel or concrete to prevent the structure from moving over time. Then you’ll want a retaining wall. Finally, when you’re ready for our team to deliver and install your shed, we’ll need a clear path to the spot.
We don’t handle excavation or site preparation, but we work closely with BedRock Siteworks to ensure your property is ready.
Customize Your New Shed
We make buying a shed easy. Just pick your favorite style and accessories and request a quote on our website.