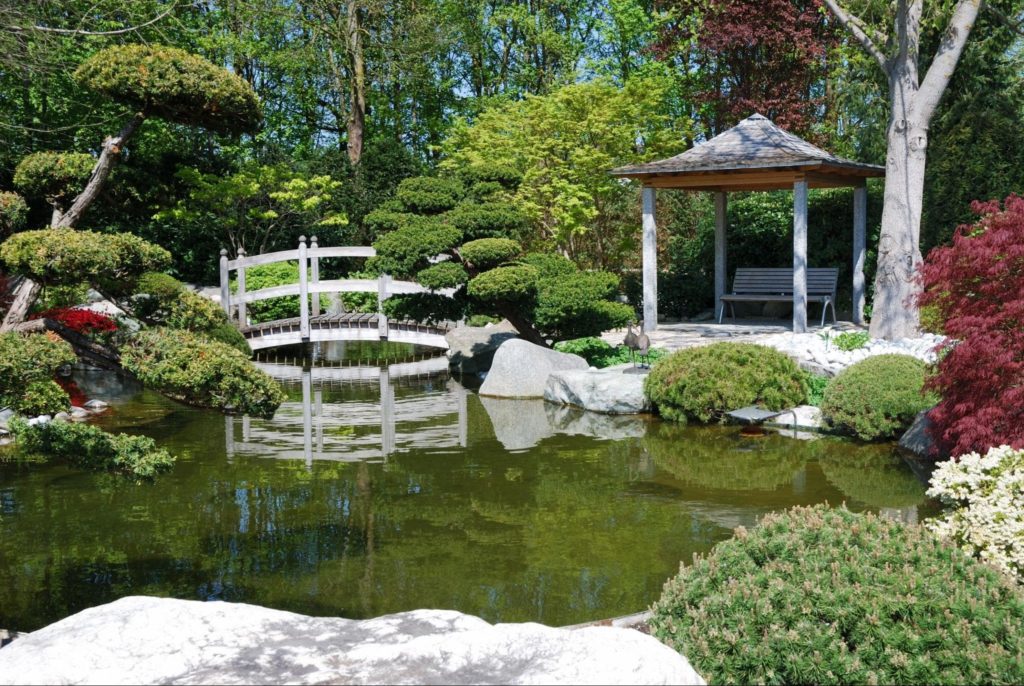
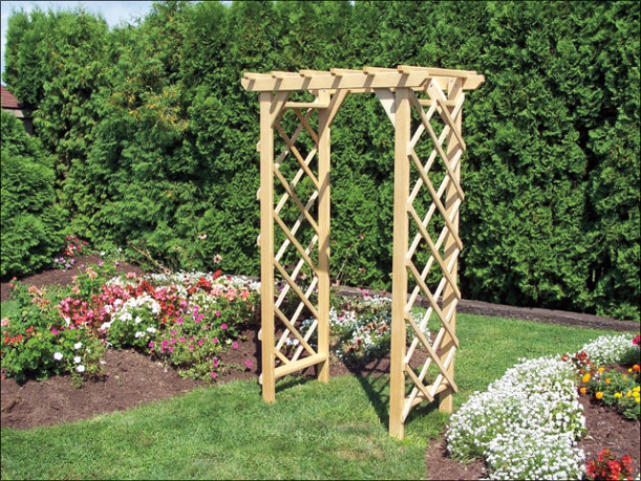
For years, outdoor weddings have been trending because of their cost efficiency and natural beauty. Incorporating a backyard wedding gazebo into your plans has become key to a successful celebration.
In this blog, we’ll review everything you need to know before installing a backyard wedding gazebo, as well as some gazebo wedding decor ideas you can use for inspiration.
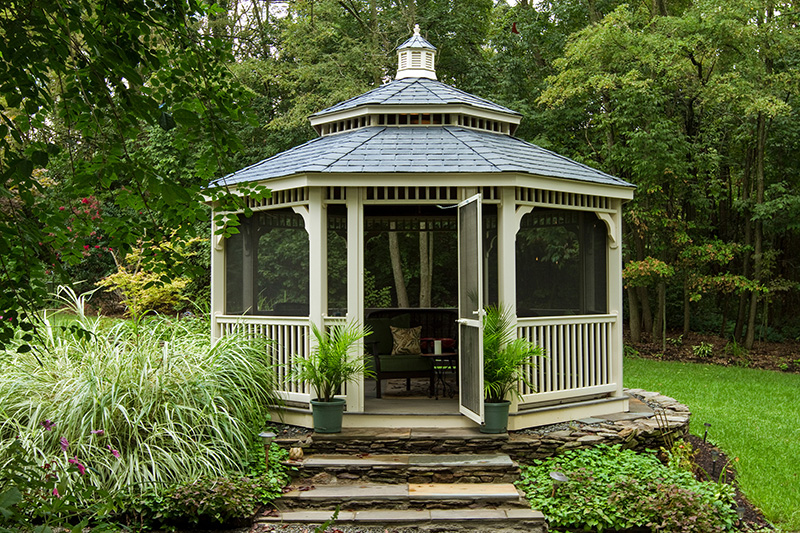
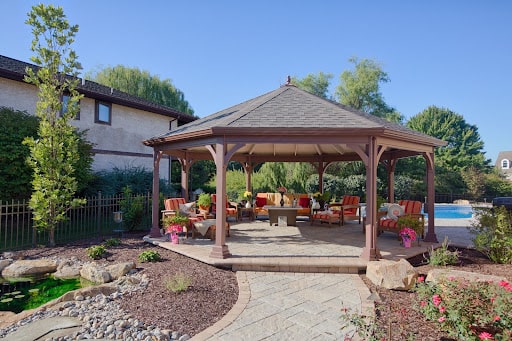
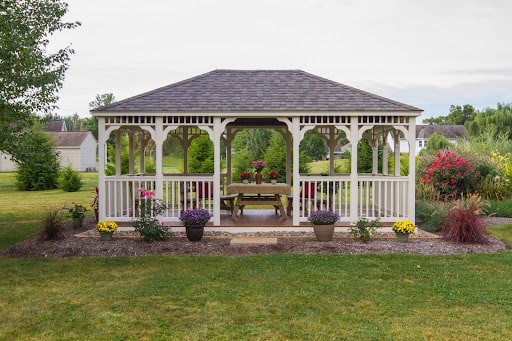
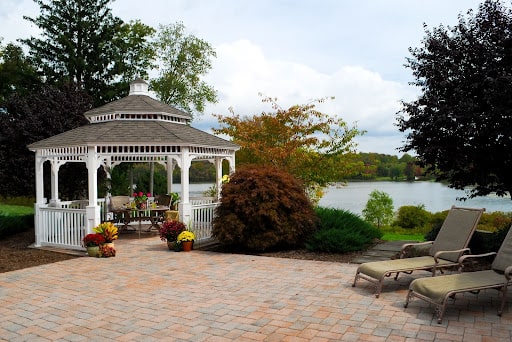
Wedding Gazebo Styles
Before you begin thinking about outdoor gazebo wedding decorations, you need to decide what type of gazebo fits your occasion. Below, we’ve outlined some factors that you should consider when researching wedding gazebo styles.
Shapes
The first thing you need to decide on is your gazebo shape. Typically you can pick from:
- Oval
- Octagon
- Rectangle
- Dodecagon
When debating which shape would work best for your wedding celebration, consider the size of your backyard as well as where you’re planning on putting your gazebo. Specific shapes will likely fit into your space better than others.
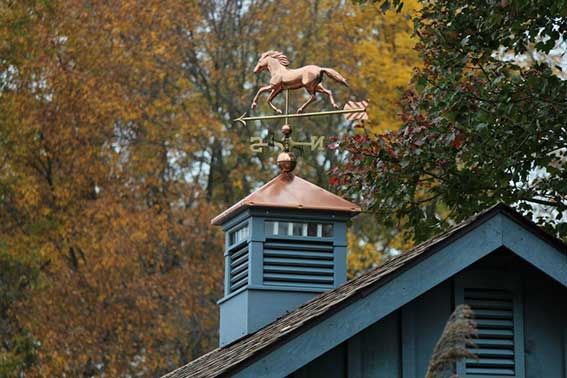
Roof Styles
The next factor to consider is your roof style. Your options usually include:
- Pinnacle
- Standard
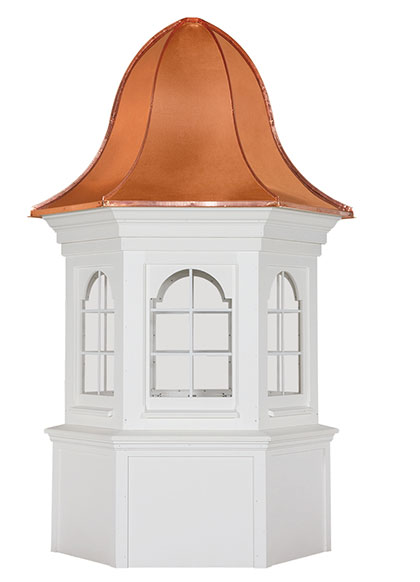
- Pagoda Roof w/ Cupola
- Cupola
- Bell Style
As you think about your gazebo roof style, try to envision which will fit the overall aesthetic of your wedding. In a more traditional style wedding, a pagoda roof with a cupola is a classic and elegant choice.
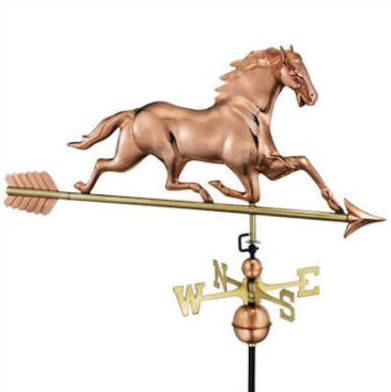
Also, keep in mind that you can add a permanent roof decoration to any styled roof. This includes cupolas, finials, and/or weathervanes.
Shingles
After determining your roof style, next, it’s time to pick shingle colors. Options you’ll see include:
- Weatherwood
- Harvard Slate
- Charcoal Gray
- Dual Brown
- Dual Gray
- Dual Black
- Driftwood
- Earthtone Cedar
- Aged Redwood
- Cedar Wood (wood only)
When picking a shingle type for your backyard wedding gazebo, think about the color scheme you’ve chosen for your wedding as well as the season. You may want a lighter color for a Spring or Summer wedding and a darker color for a Fall wedding.
Railing Styles
Similar to your roof style, your railings should correspond with your wedding theme. Consider railing styles you like such as:
- Baroque
- Colonial
- Dutch
- New England
You want to make sure your railing style fits your roof style. For example, Dutch railings offer a minimalist and natural look whereas colonial and New England railings offer more detail and provide an extravagant look.
Post Styles
The post style of your gazebo usually goes hand-in-hand with the railing style. There are only two options you can choose from:
- Standard
- Turned
Generally, people who choose a Dutch-style railing will go with a standard post, sticking to the simple style. Conversely, if you decided on a more detailed railing, you may want to consider choosing the turned post.
Brace Styles
While often overlooked, the braces of your gazebo can do a lot to add to the overall style. You can choose from a variety of options such as:
- Dutch
- Colonial
- Victorian
- Standard
Just as you want to be consistent with your railings and posts, your braces should also be cohesive with your gazebo style. For example, Dutch railings and standard posts look best with Dutch or standard braces, and so on.
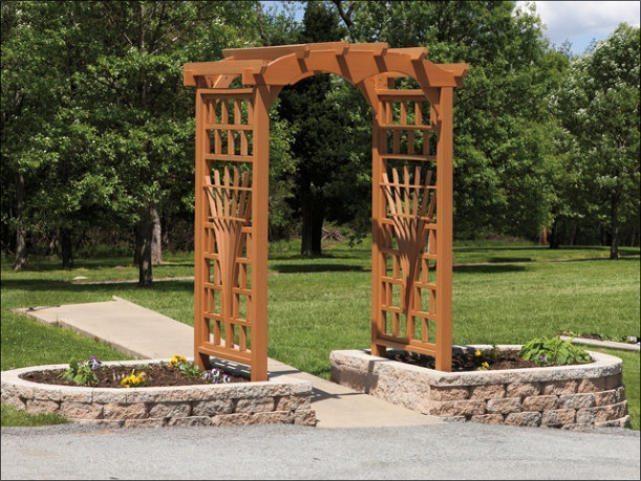
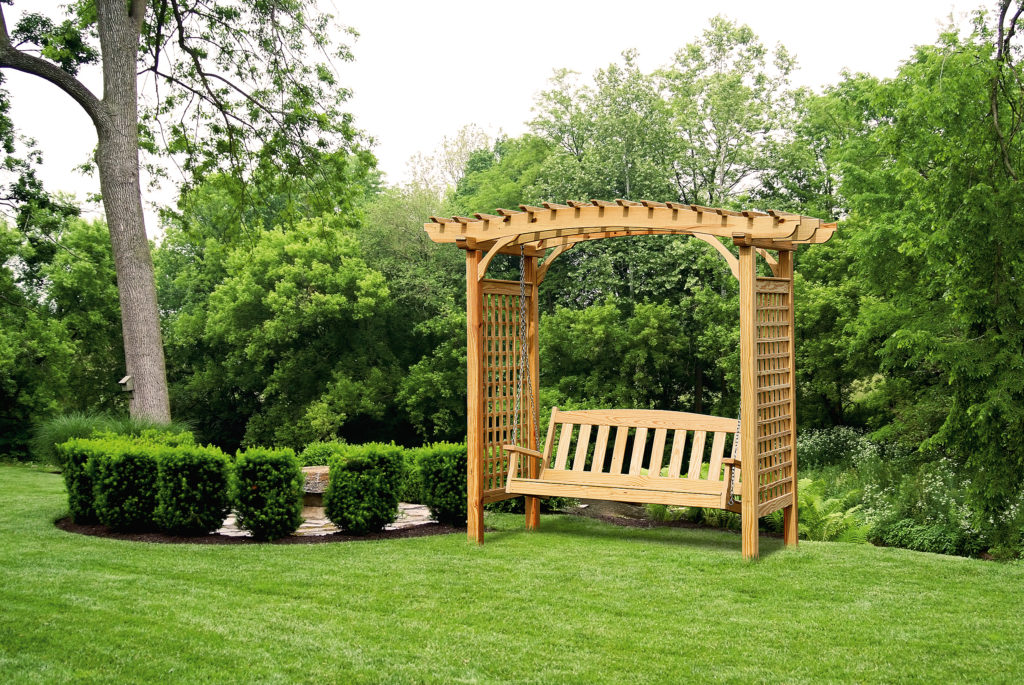
Wood Gazebos
After you’ve decided on your wedding gazebo style, it’s time to decide whether you want a wood or vinyl gazebo. Depending on which material you choose, you’ll have different options for things such as color/paint, decking/flooring, or in some cases roofing.
Below, we’ve outlined the custom elements you can choose from if you decide on a wood gazebo.
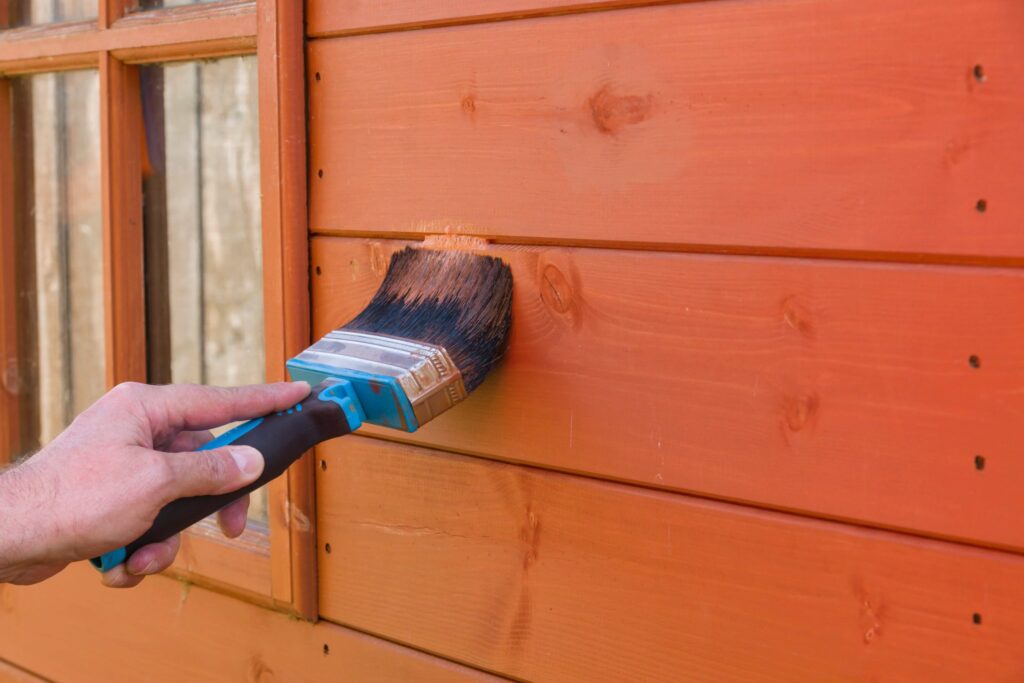
Paint & Stain
One of the perks of a wood gazebo is the natural and authentic look it will add to your wedding decor. Dealing with wood means you can go the route of paint or stain. Some of the most common paint/stain options are as follows:
- Almond Paint
- White Paint
- Canyon Brown Stain
- Cedar Stain
- Golden Oak
- Cinder Stain
- Mahogany Stain
- Sepia Brown
- Mushroom
- Sky Gray
When choosing a paint or stain for your backyard wedding gazebo, you can draw inspiration from your wedding theme. A more rustic-styled wedding may call for a darker stain while a white or lighter color may be more appropriate for a formal wedding.
Decking
The options for wood gazebo decking usually consist of composite or cellular PVC. There are a variety of color options available for whichever decking material you decide to use:
- Brown Composite
- Cedar Composite
- Chestnut Composite
- Sand Cellular PVC
- Stone Cellular PVC
The main difference between composite and PVC comes down to appearance. If you’re looking for a more authentic wooden appearance your best bet would be to choose a composite deck since PVC can tend to look more enhanced.
Metal Roof (Standing Seam or Ribbed)
Another option you have if you choose a wood gazebo is to opt for metal roofing instead of shingles. This type comes either ribbed or standing seam and in an assortment of colors such as:
- Red
- Bronze
- Slate Blue
- Evergreen
- Black
- Charcoal
There are some advantages to using a metal roof vs. shingles, such as durability and maintenance. Metal roofing also has a very distinct appearance, and depending on your theme, it may be more suitable. However, it is important to note that in some cases metal roofing can be more costly.
Vinyl Gazebos
Just as there are certain elements you can customize for wood gazebos, the same can be said for vinyl gazebos. While wood gazebos can offer a natural and authentic look, vinyl gazebos are praised for their crisp, modern, and polished appearance.
Below, we’ve listed some of the unique features you can choose from when purchasing a vinyl gazebo.
Color Options
While the color options for vinyl gazebos are abundant, the most common choices include:
- White
- Almond
These colors both offer a bright and beautiful look to any type of wedding decor. You may be worried about the light colors becoming dirty, but one of the advantages of vinyl gazebos is that they require very little maintenance and they’re easy to clean.
Flooring
The flooring for vinyl gazebos also offers a variety of color options. These colors range from natural browns and grays to darker caramels and tans. Some of the common options are:
- Brown
- Gray
- Cedar
- Redwood
- Caramel
- Tan
- Amberwood
- Slate
- Cypress
- Rosewood
- Walnut
Your choice of flooring for your vinyl gazebo depends solely on what you prefer appearance-wise. Consider your wedding color scheme and decide which flooring color fits with the overall theme best.
Wedding Gazebo Decor
Once you’ve chosen the gazebo for your wedding, it’s time to focus on the decorations. Outdoor weddings offer you unique options for decorating, especially if you have a gazebo to work around. Below, we’ve shared a few of our favorite wedding decor ideas you can use with your new gazebo.
Wedding Gazebo Draping
One of the most popular techniques for outdoor gazebo wedding decorations is using drapes or curtains. Adding delicate fabrics from the top of your gazebo will give your wedding a whimsical and elegant look.
You can tie your curtains back with ribbon or let them flow free Either way, you’re incorporating a simple, yet beautiful addition to your wedding decor. The best types of fabric to use for wedding gazebo draping are tulle, cotton, or linen.
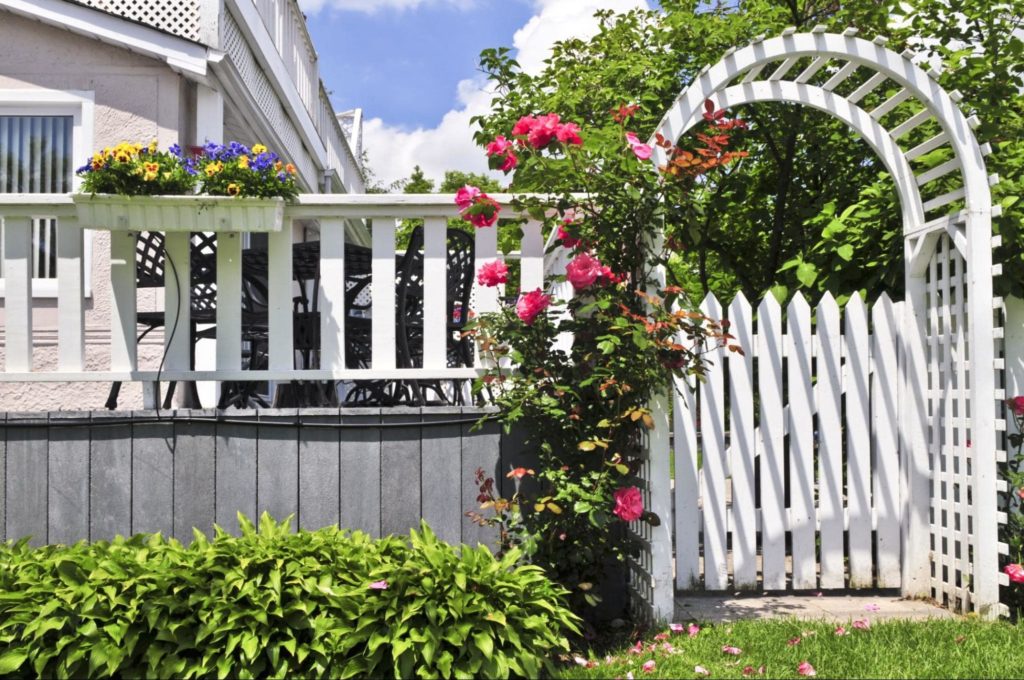
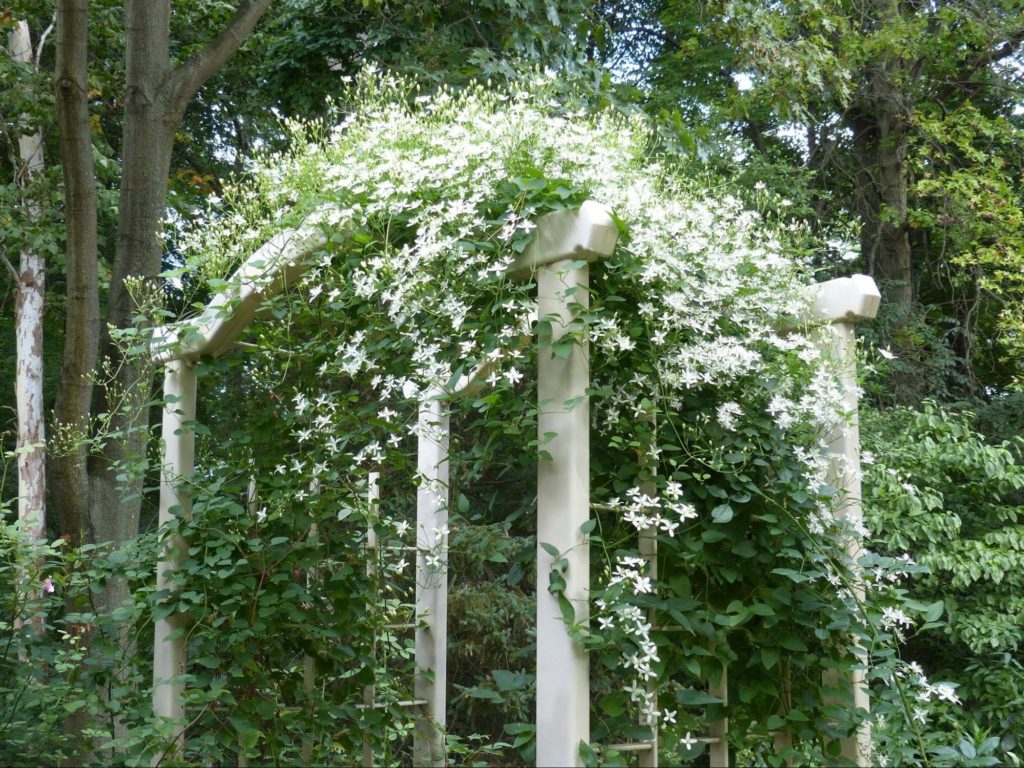
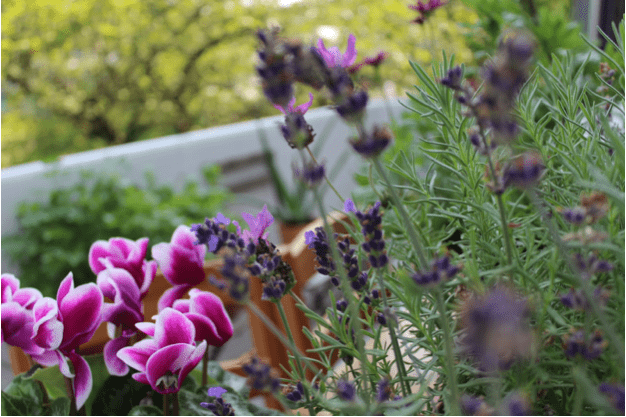
Wedding Gazebo Flowers
It’s not a wedding without flowers. Having your wedding outdoors means you can take advantage of the natural greenery and flowers surrounding your space, but you also have the opportunity to add more if you’re using a gazebo.
Hanging flowers or vines can be gorgeous additions to your gazebo posts or railings. You can also position potted plants or planters around your gazebo’s perimeter if you have a certain flower arrangement you desire.
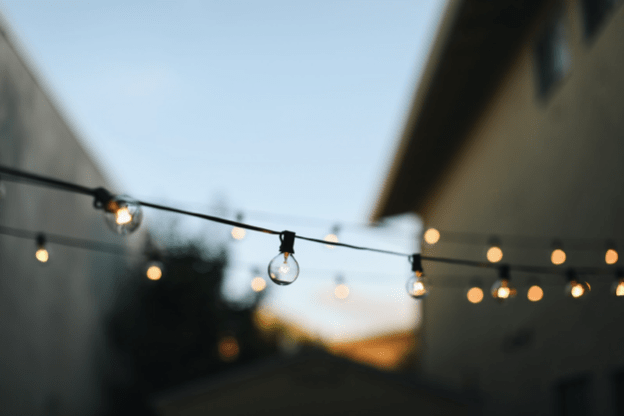
Wedding Gazebo Lighting
Whether your wedding is taking place during the day or as the sun goes down, adding delicate lights can do wonders for the aesthetic. Hanging string lights around your gazebo is an easy task that will bring your decor to a new level.
If you’re looking to create a luxurious style outdoors, consider installing a hanging chandelier as a focal point in your backyard wedding gazebo.
No matter what type or style of gazebo you choose for your wedding celebration, there’s no doubt it will bring your decor to the next level. Plus, you can continue to enjoy the benefits of your gazebo even after the wedding is over.
Build Your Dream Gazebo
Interested in purchasing a custom-built gazebo? Check out our custom gazebo builder tool to start designing your dream event gazebo today.