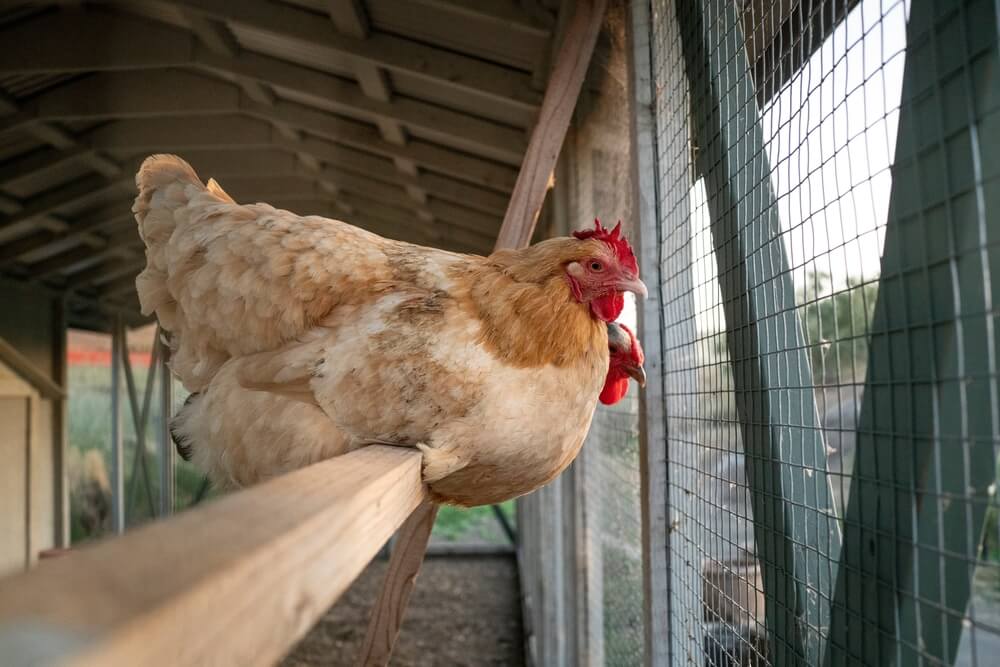
If you’ve been cramming lawnmowers, snowblowers, bikes, boxes, and lawn chairs galore into your garage until it’s practically bulging… let’s face it. You need a storage shed. But that’s the easy part. The hard part is figuring out the best shed sizes for your yard.
We’ve sold sheds to hundreds of homeowners, so we know a thing or two about finding the perfect fit. Here are our tips to find what size you need to hold all your stuff comfortably.
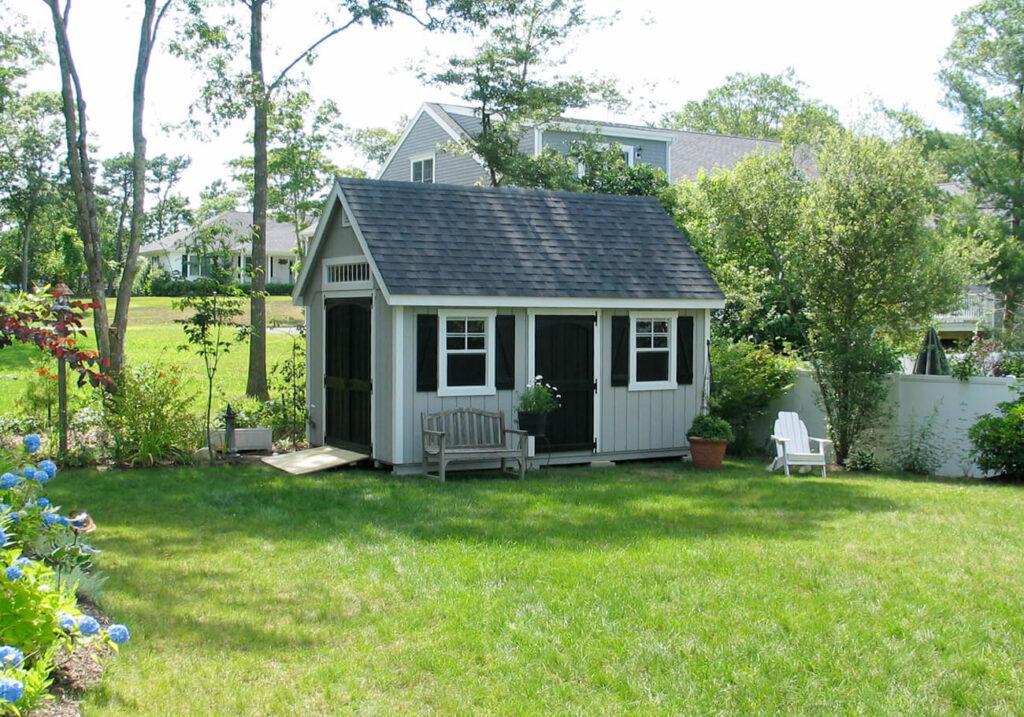
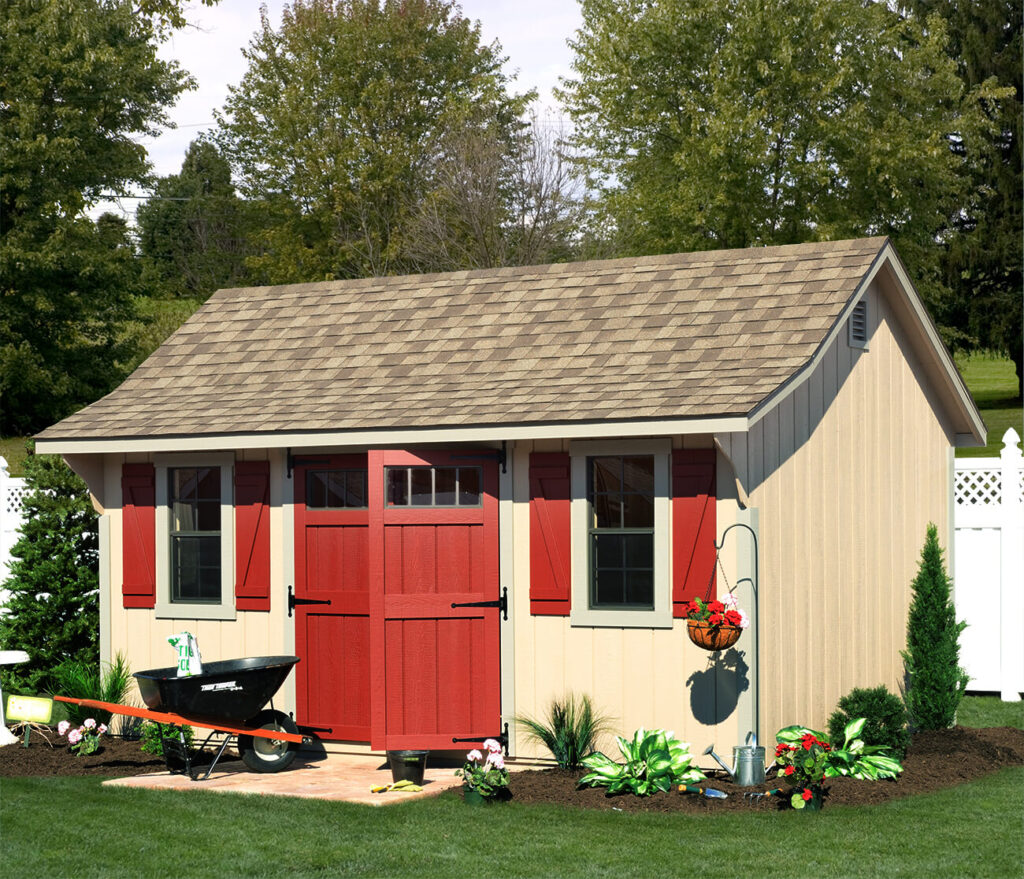
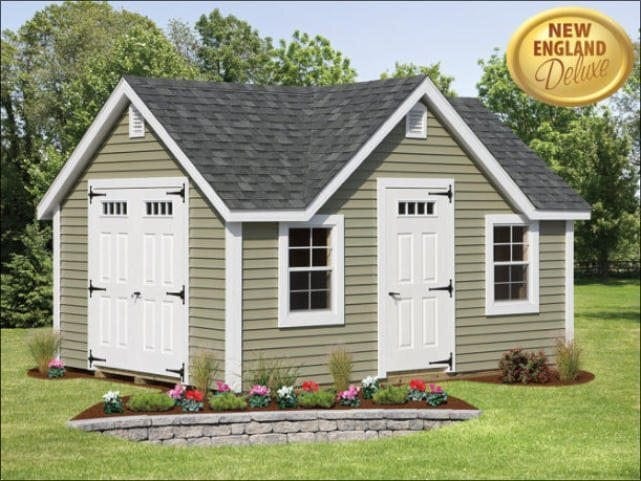
Standard Shed Sizes
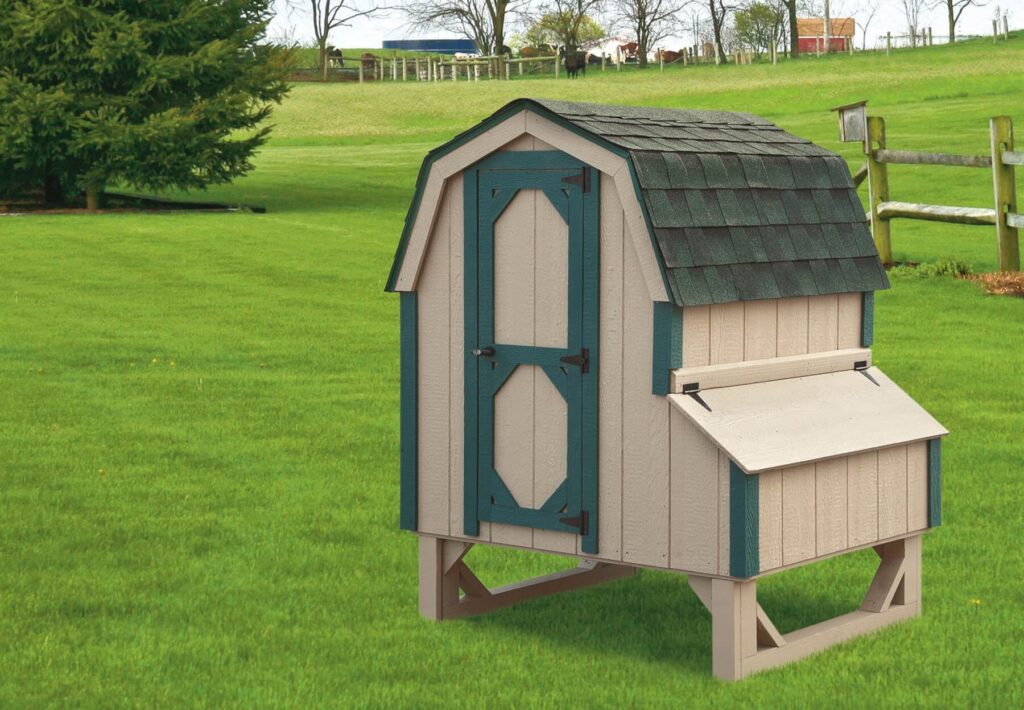
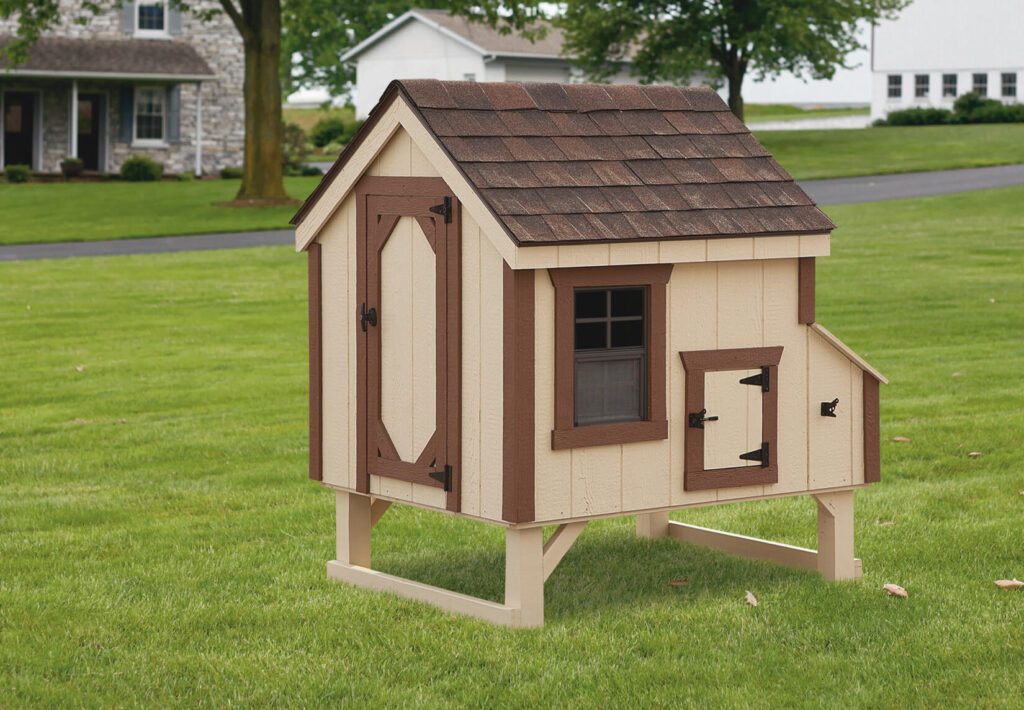
Small Sheds
- Less than 100 square feet
- Good for bikes, boxes, and lawn mowers
- Sizes to buy: 6×6, 6×8, 8×8, 8×10, 8×12
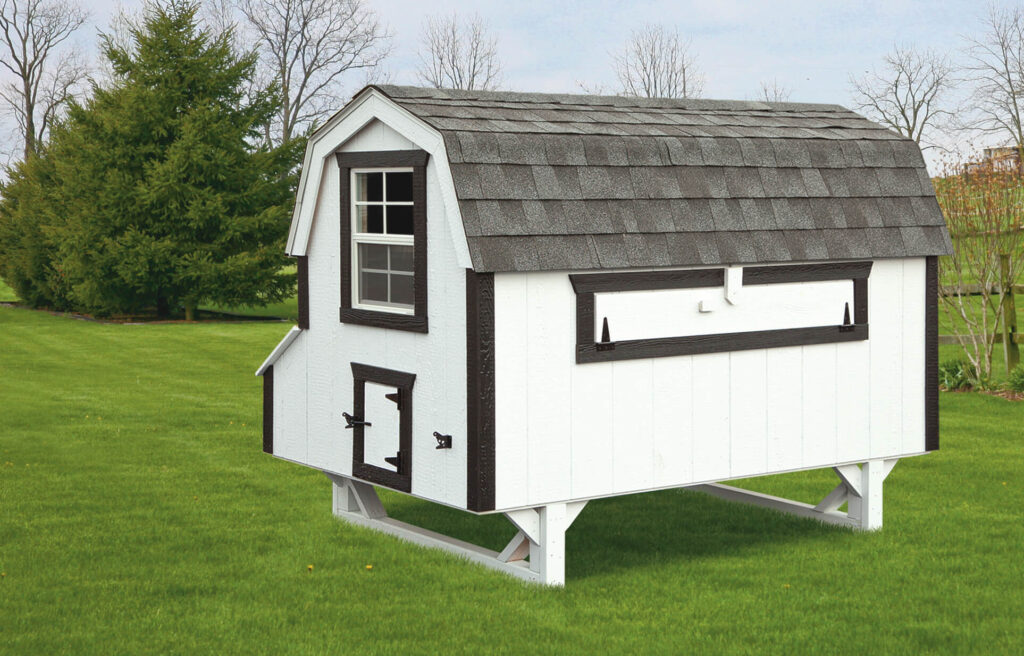
Medium Sheds
- 100 to 150 square feet
- Good for riding mowers, patio furniture, and grills
- Sizes to buy: 8×14, 8×16, 10×10, 10×12, 10×14
Large Sheds
- 150+ square feet
- Good for motorcycles, ATVs, and kayaks
- Sizes to buy: 10×16, 10×18, 10×20, 12×14
So how do you decide what size shed you need? Ask yourself these three questions.
1). How Big is Your Yard?
When comparing storage shed sizes, start by taking a realistic look at your backyard. If you have a large property, this piece probably won’t matter. But if you have a smaller yard, you don’t want to choose a shed that will overwhelm your outdoor space.
It’s not just the shed dimensions you need to worry about. You also need to consider the space around your shed, such as:
- Additional setbacks from property lines, roads, or floodplains (every municipality has different setback regulations).
- Your shed foundation, which should be placed at least three feet away from fencing, trees, etc.
- Room around your structure to allow for easy access.
2). What Are You Storing?
The perfect shed size depends on how you’re using it. Are you trying to store large items, or do you want a private workshop, home office, or art studio? In our experience, there are two ways to estimate the amount of floor space you’ll need.
Plot it Out on Graph Paper
For the graph paper method, grab a sheet (or use virtual graph paper) and measure out a rectangle or square that represents the size of your desired shed. Use a conversion system where each square on the graph paper represents ½ a foot (ex: 10 feet equals 20 squares).
From there, take measurements of the large equipment, boxes, or furniture that you want to store. Draw them to scale on your sheet of graph paper. Remember to leave room around each item so you can easily move things around.
Physical Arrangement
Some people need a more realistic visualization of their space. If this is you, your best bet is to physically arrange your items in an open space, like your driveway. Just like with the graph paper, place your belongings as you would inside your shed, leaving a buffer around each item. Once everything is arranged, measure the total square footage of the space you’re taking up.
No matter which method you choose from our shed size guide, don’t forget about vertical space! Take into account which smaller items can be stacked or hung on walls. A pegboard system is a great space-saver to help you organize shovels, rakes, weed whackers, folding chairs, or small tools. Some shed designs even include a loft, giving you more storage for smaller items.
A final piece of advice: When in doubt, always buy a shed a little larger than you think you will need. This helps you account for any items you didn’t factor into your measurements or items you may purchase in the future.
Download Our Shed Size Guide
Download this cheat sheet to see some of the most popular shed sizes and what can easily be stored in them.
3). What Are the Permit Restrictions for Sheds?
Before you make your final purchase, check with your township or municipality. Certain kinds of sheds may require a zoning or residential building permit.
The rules vary by location, but typically, smaller sheds with no utilities just need a zoning permit. Some sheds may not need any permit at all. Larger sheds over a certain square footage will need a residential building permit. Structures with electrical, plumbing, or permanent foundations are more likely to require approval.
Also consult your Homeowners Association (HOA). They often have standards about shed dimensions, placement, and appearance.
Thankfully, it’s not hard to get a shed permit! Just contact your county’s planning commission to find details on your area’s rules and next steps. For most counties in Pennsylvania, you’ll need a permit for sheds in the 100-200 square foot range. But check your local zoning rules to find the specifics for your area.
The maximum shed size you can get without needing a permit depends on your municipality’s rules. The smaller your shed, the less likely you are to need a permit. Most sheds under 100 square feet don’t require a permit, but contact your local government to be sure.
The most popular shed sizes are 8’x10’ or 10’x12’. These offer ample storage without taking up too much room on your property.
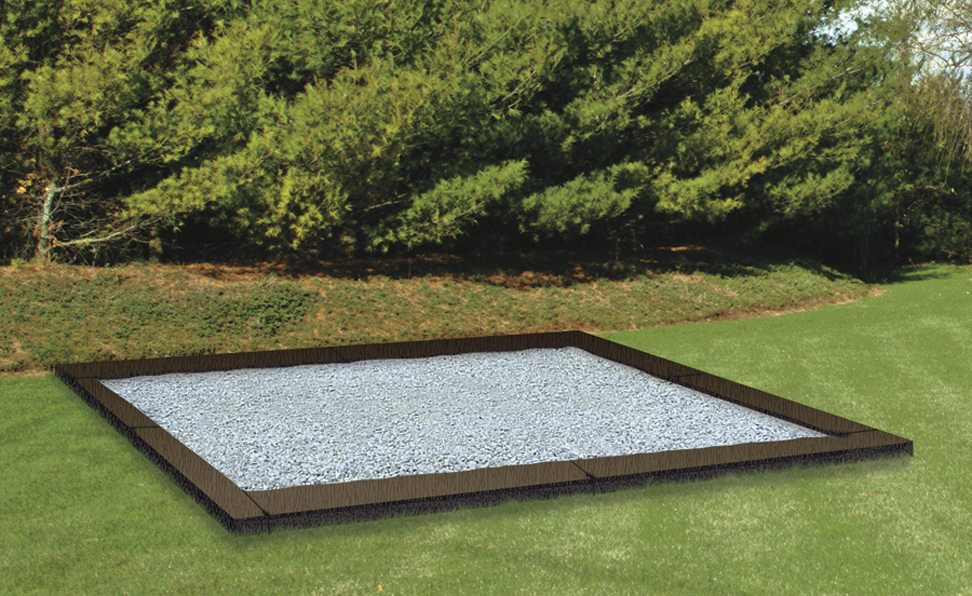
We suggest using stakes and string to outline the length and width of your desired shed. Make sure you measure out a three-foot perimeter so you can easily access your structure from all sides.
Your shed foundation should be at least one foot longer and wider than your shed dimensions. This additional foot on each side helps with drainage and ensures no weeds grow against the side of your structure. It also accounts for any roof overhangs that extend beyond your shed walls.
If you need help leveling the ground and creating your shed foundation, we partner closely with BedRock Siteworks.
In general, we recommend buying a bigger shed than you think you’ll need. Over time, you’ll accumulate more things, and a larger shed gives you flexibility as your storage needs increase.
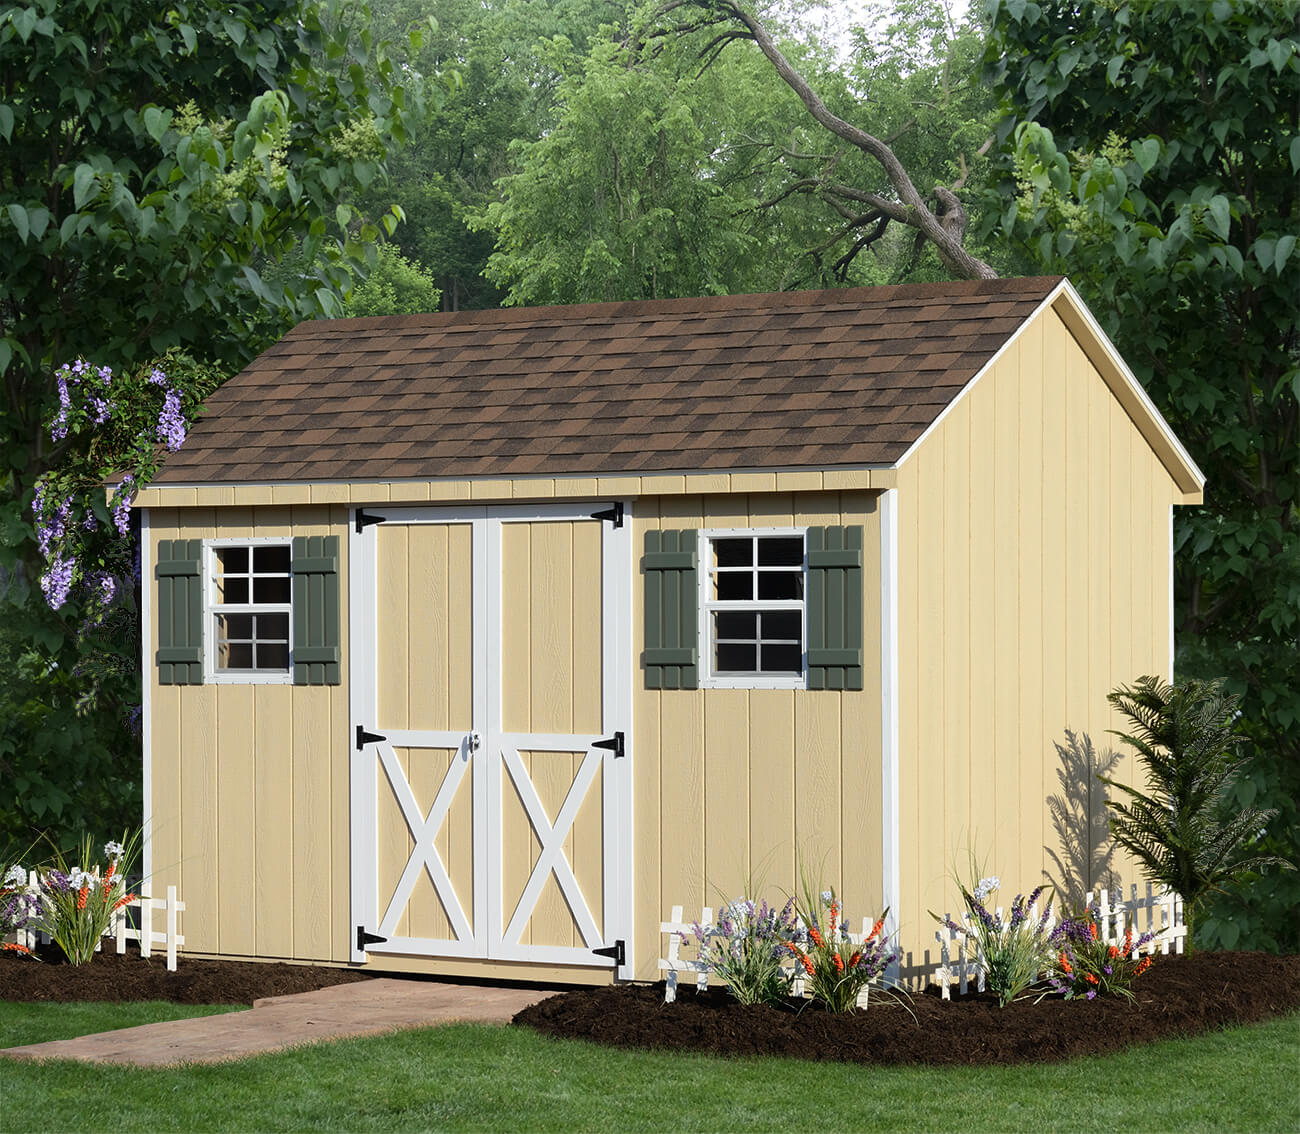
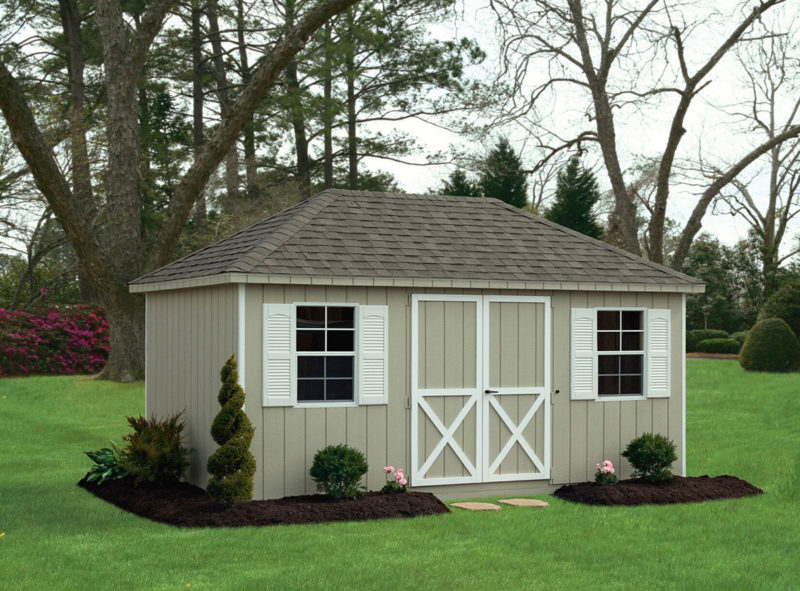
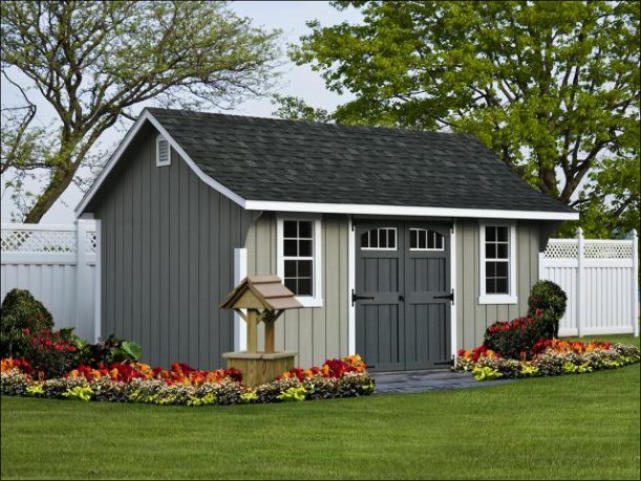
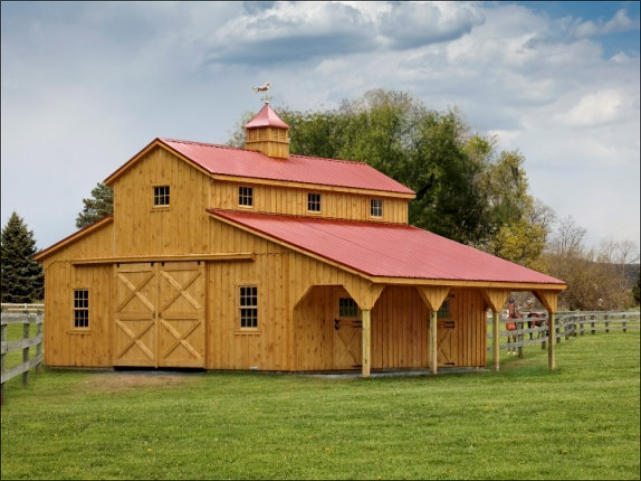
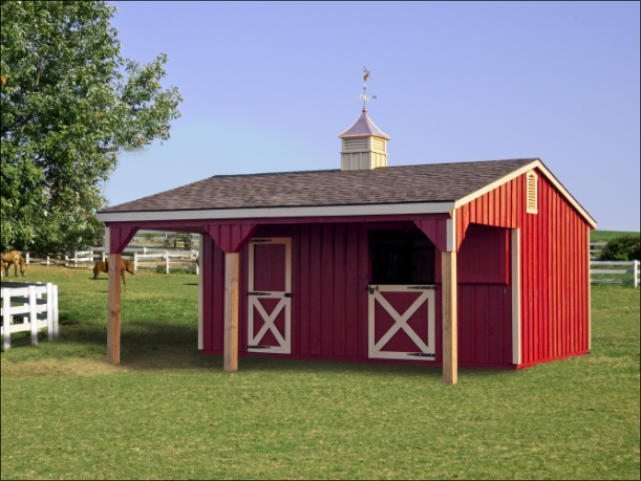
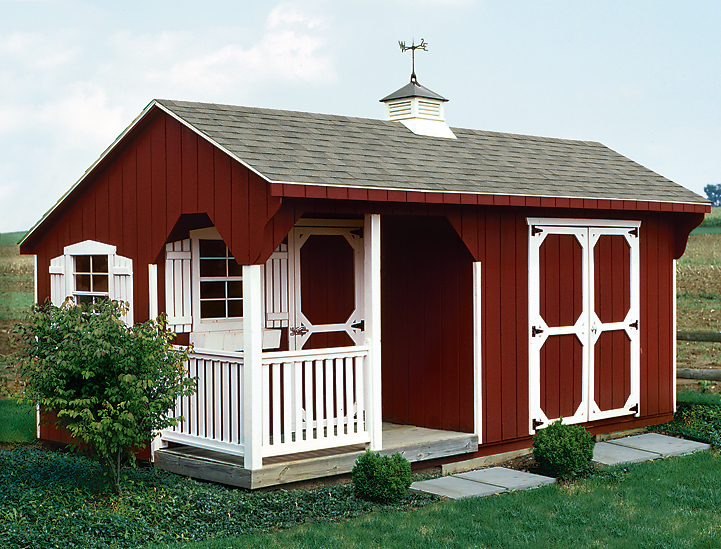
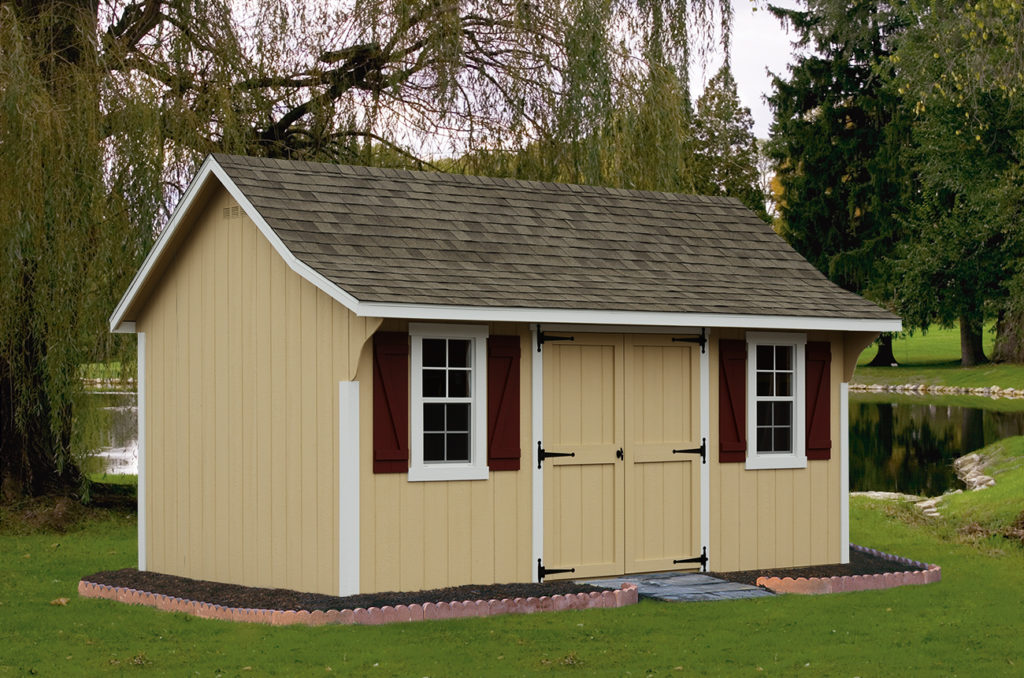
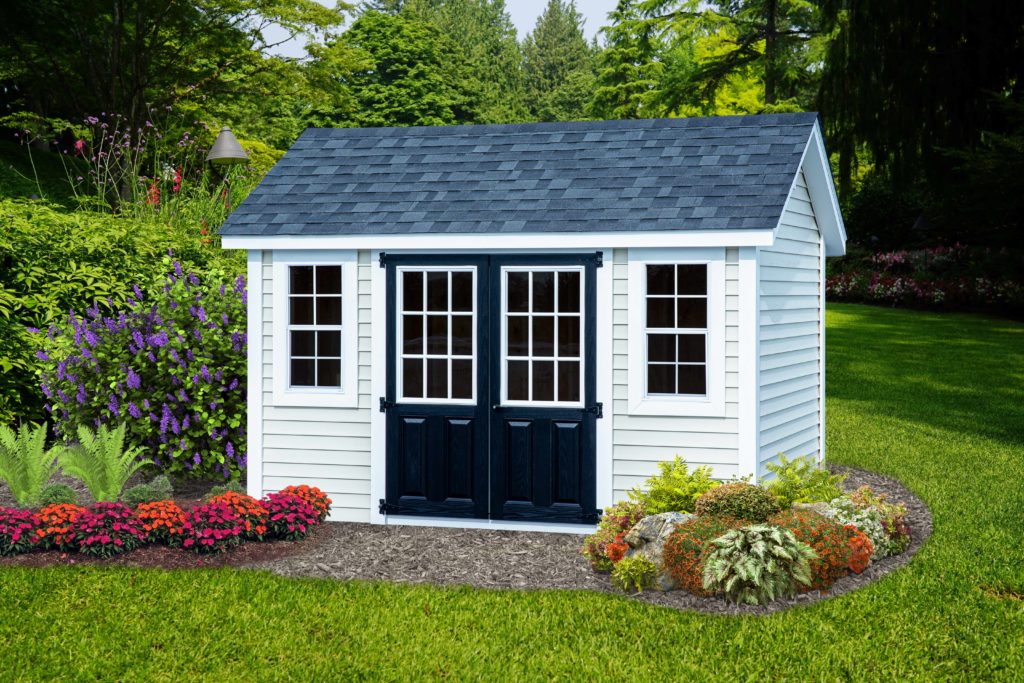
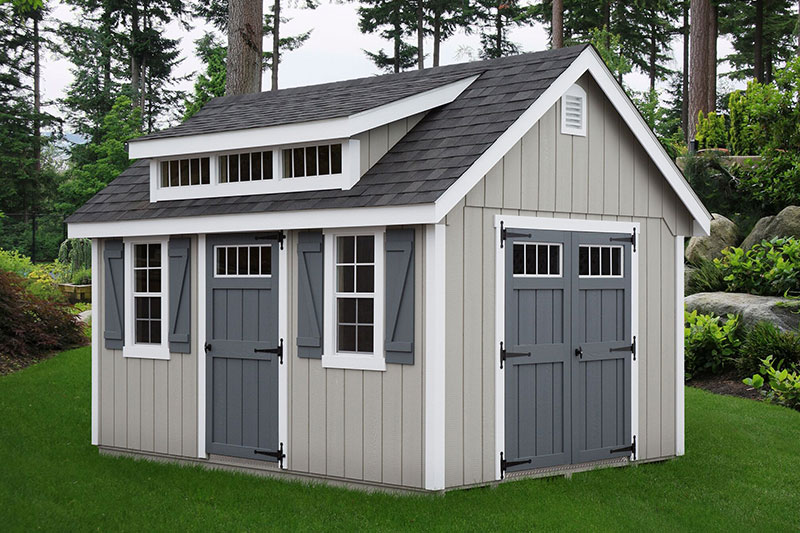
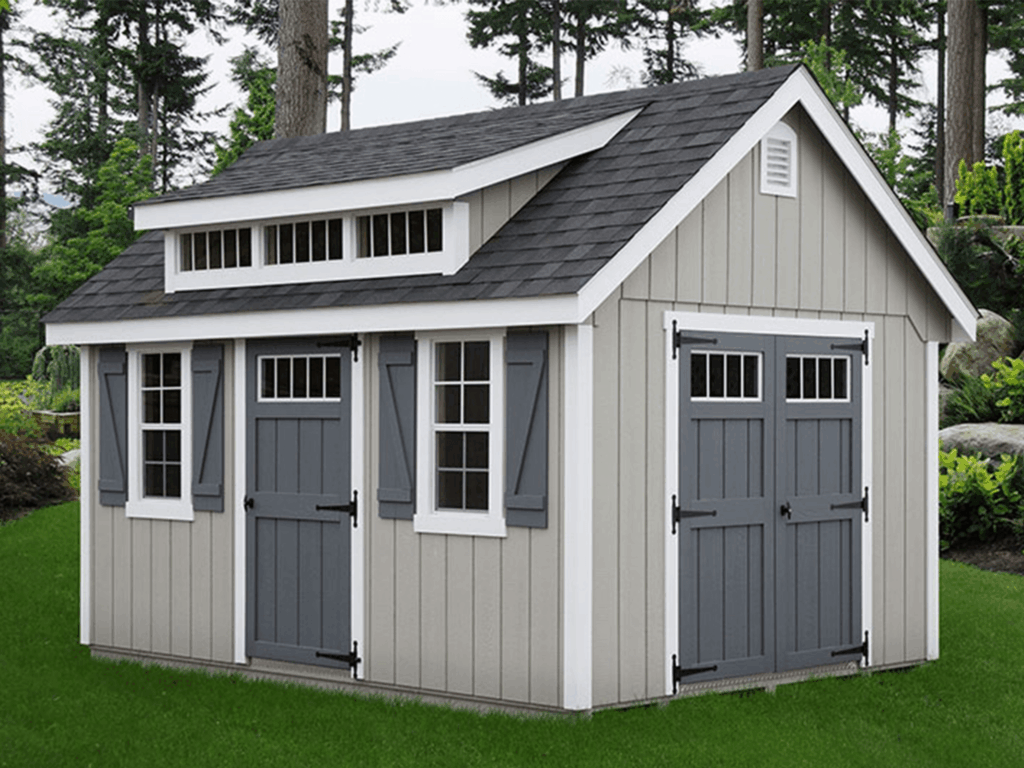
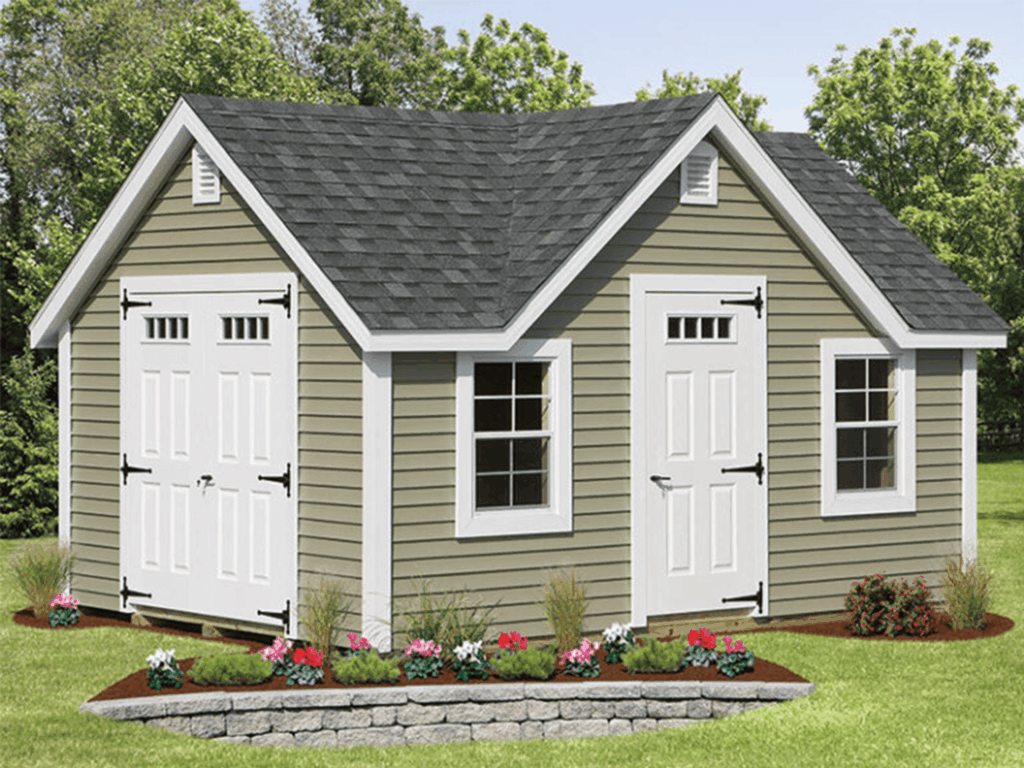
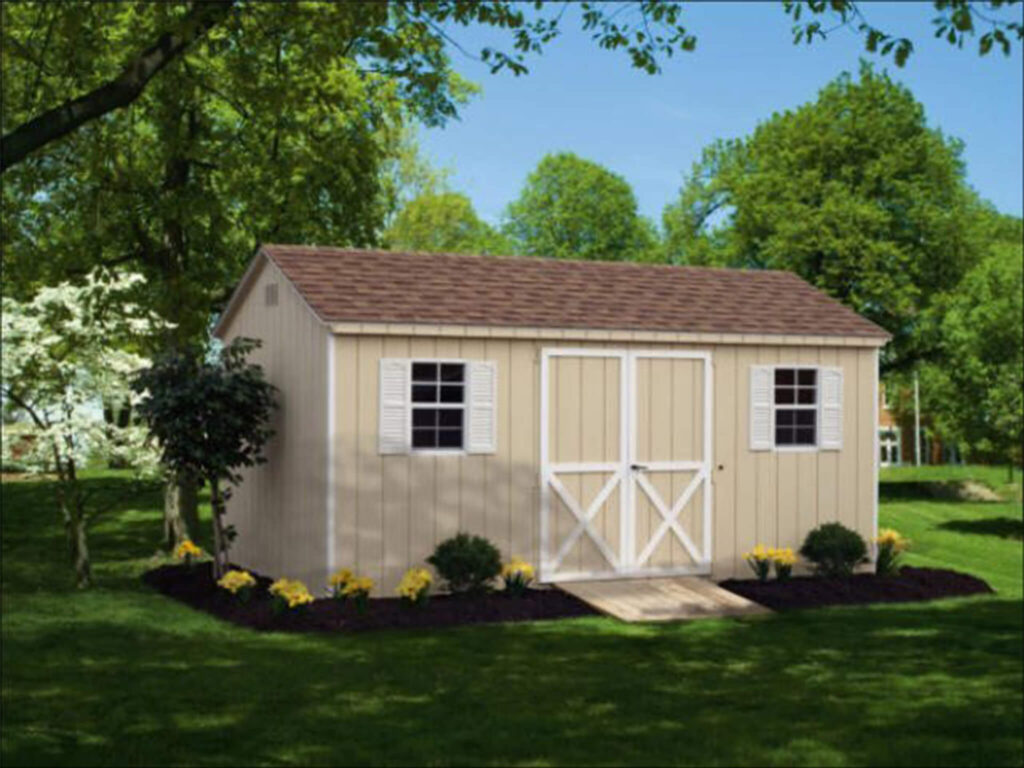
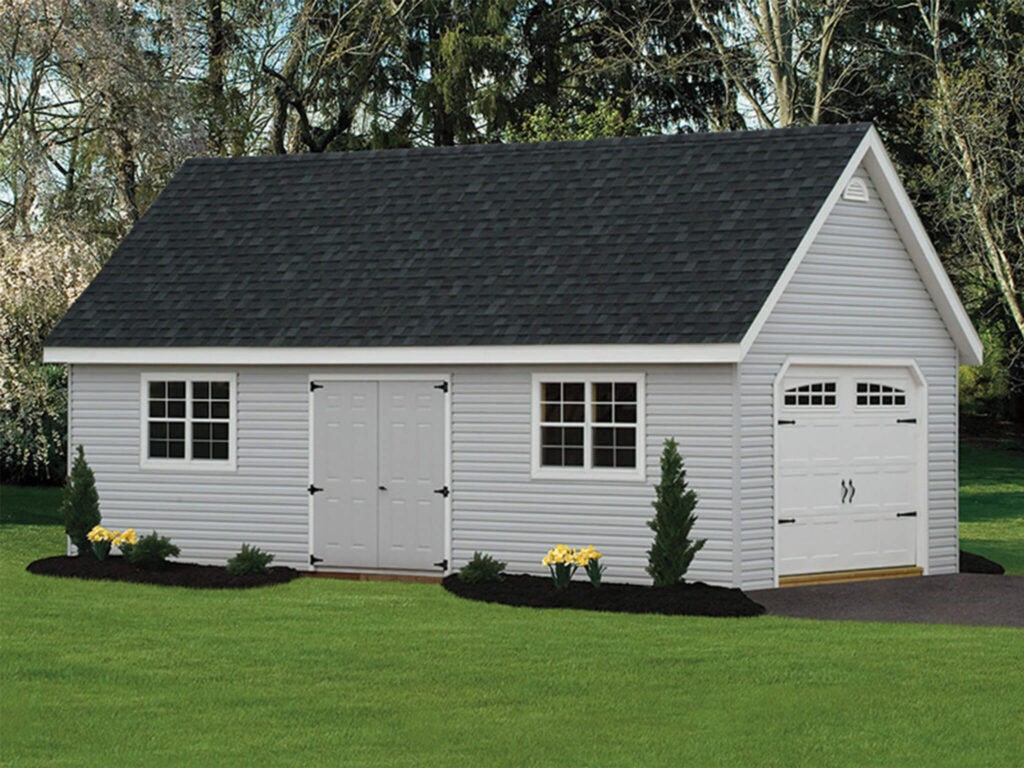
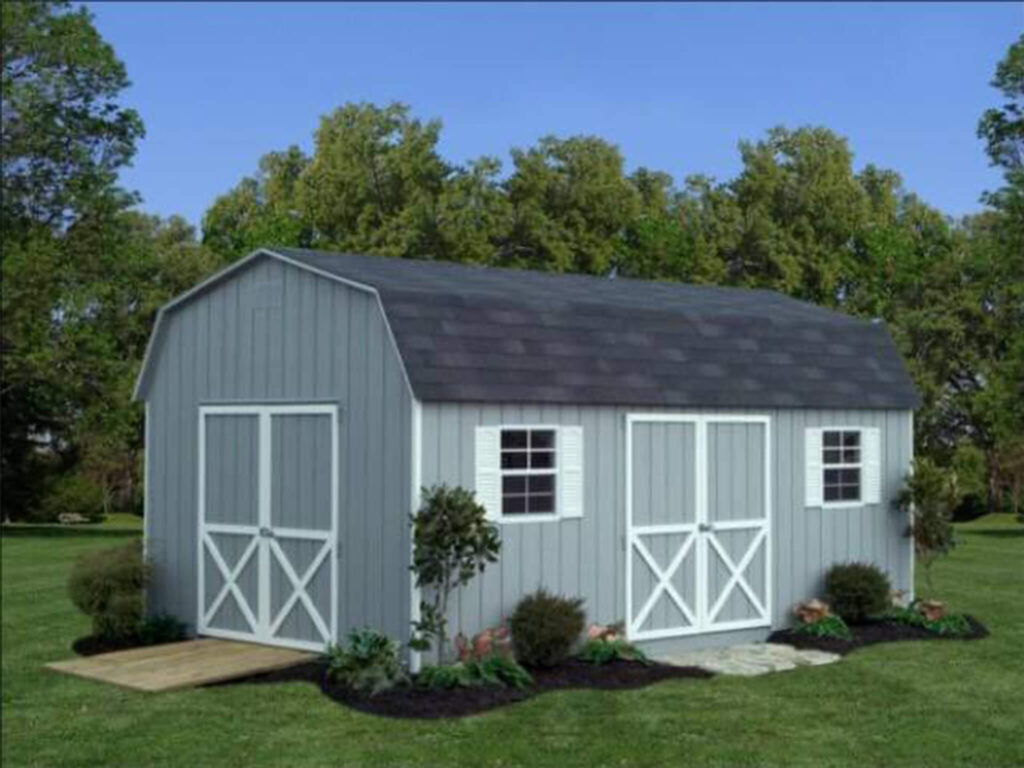
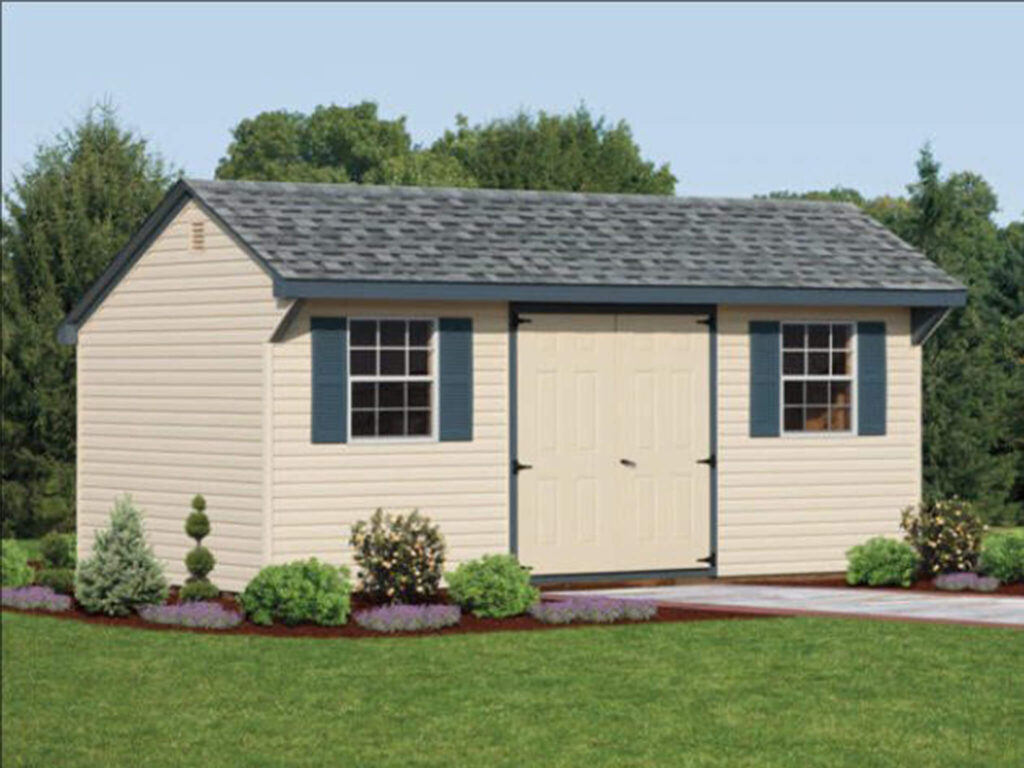
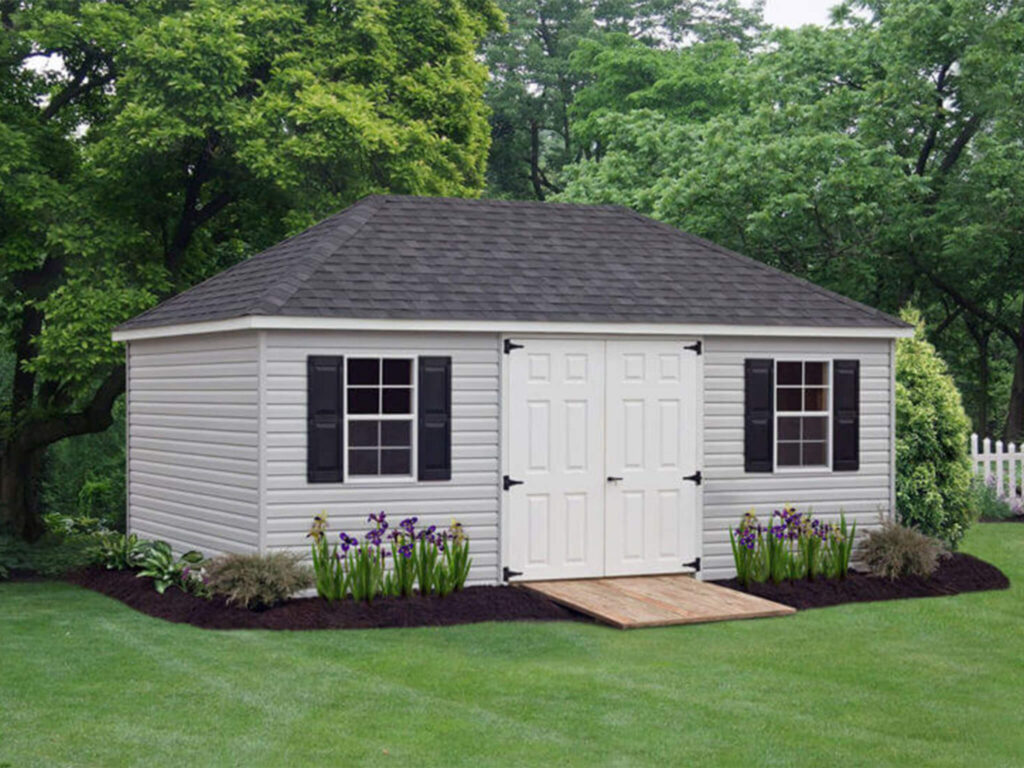
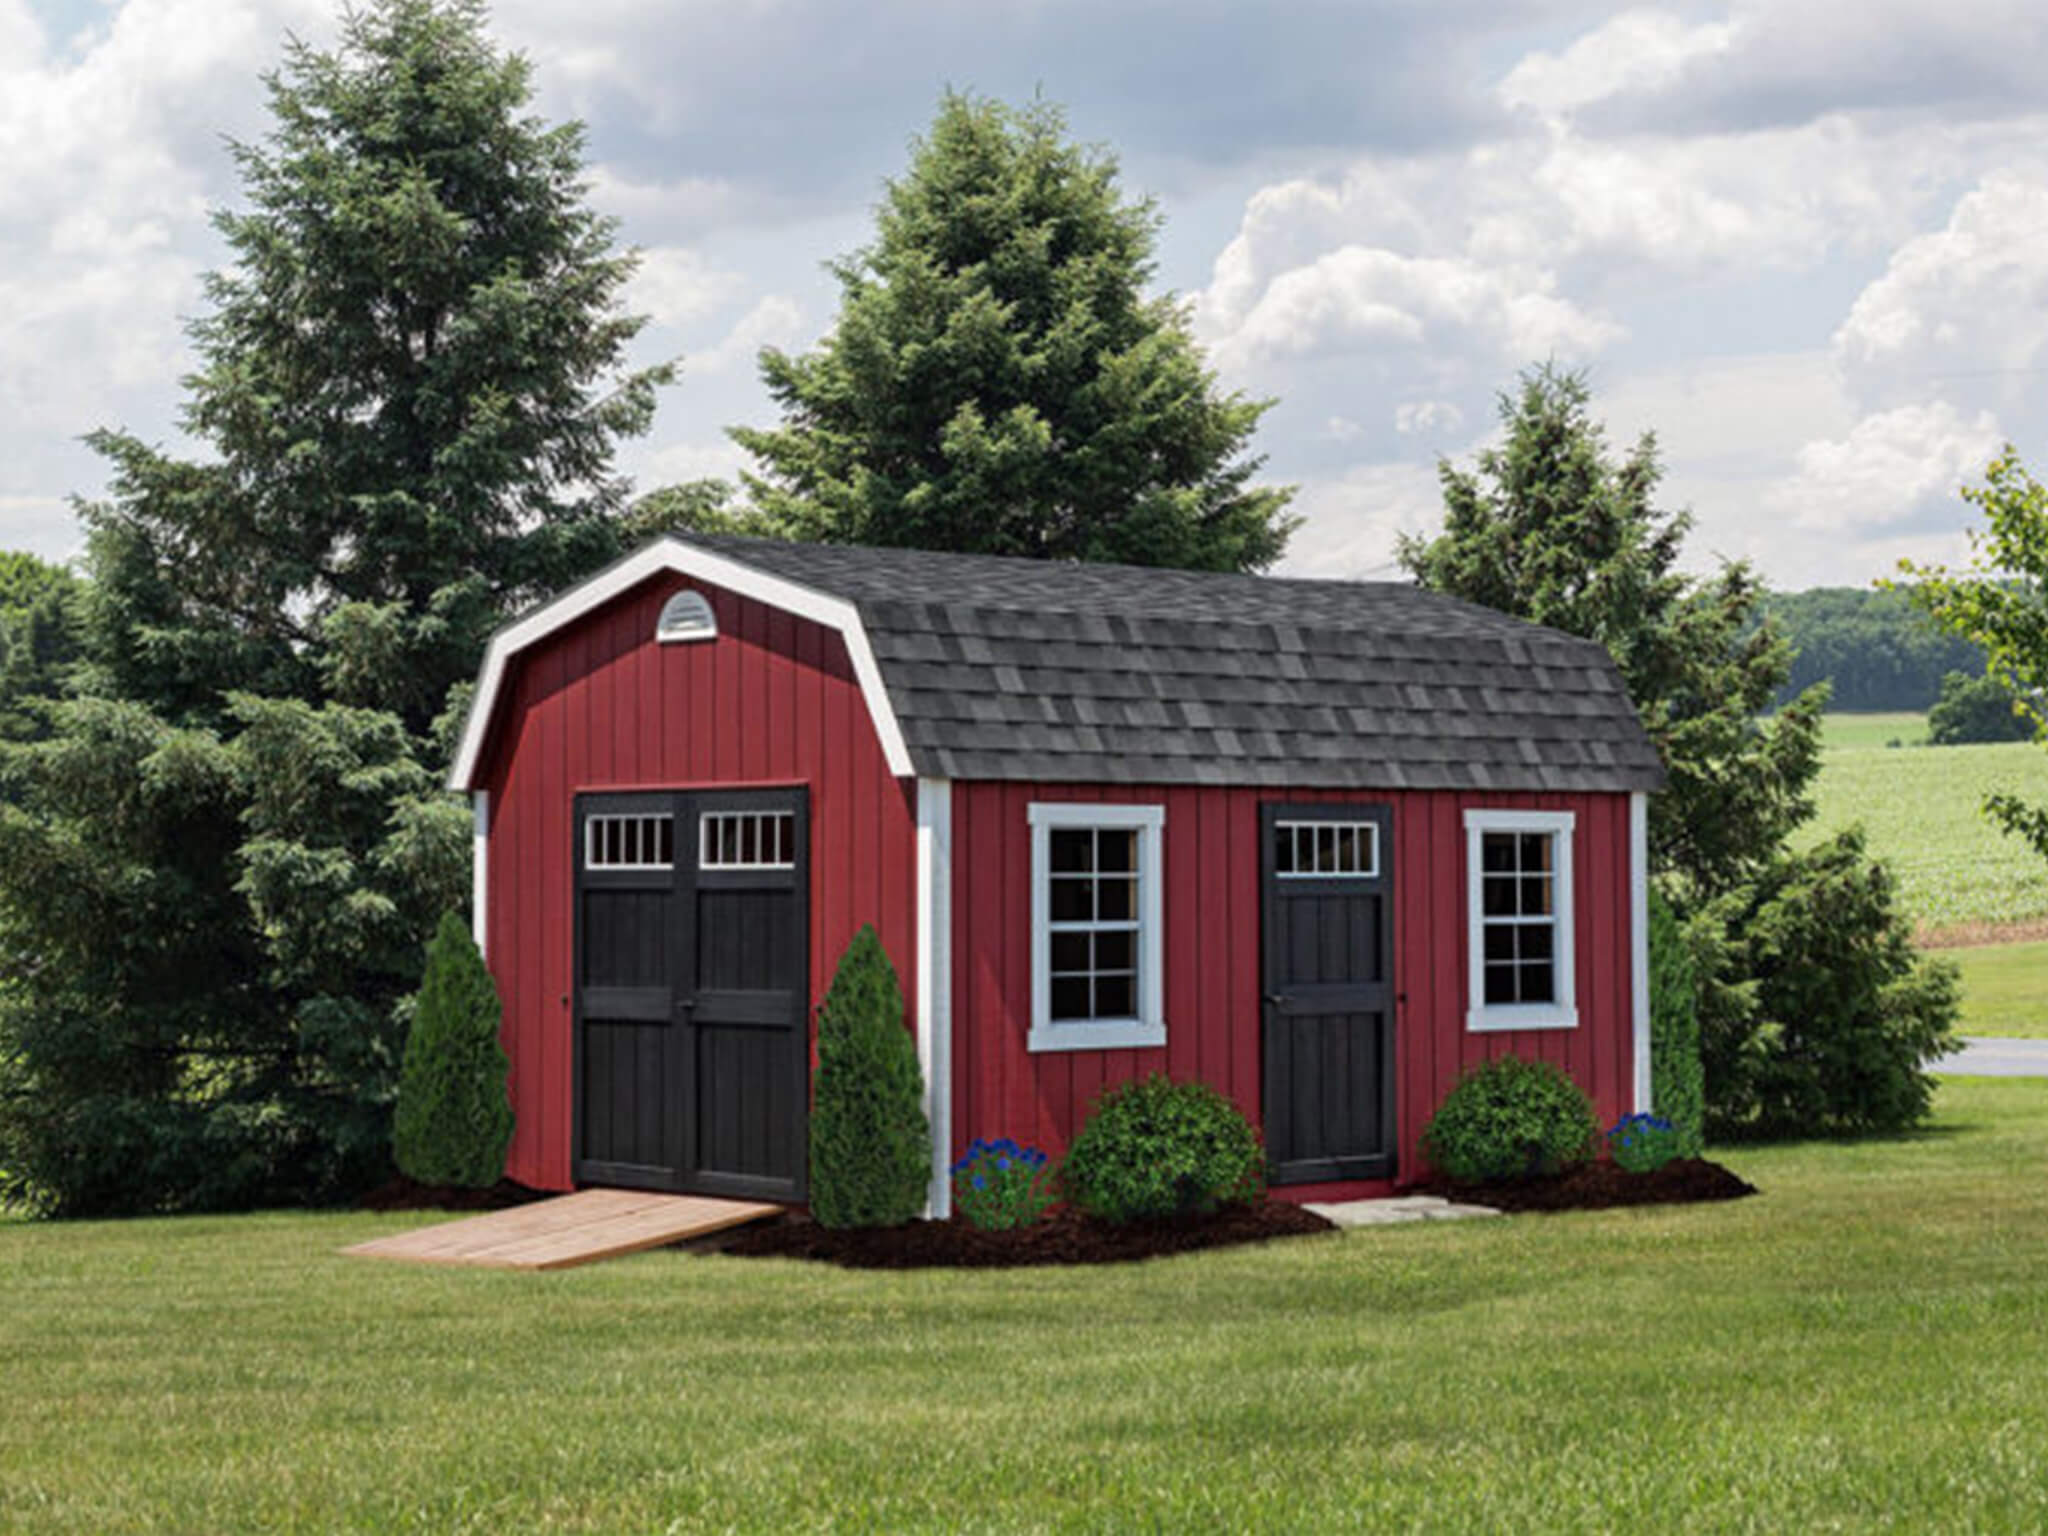
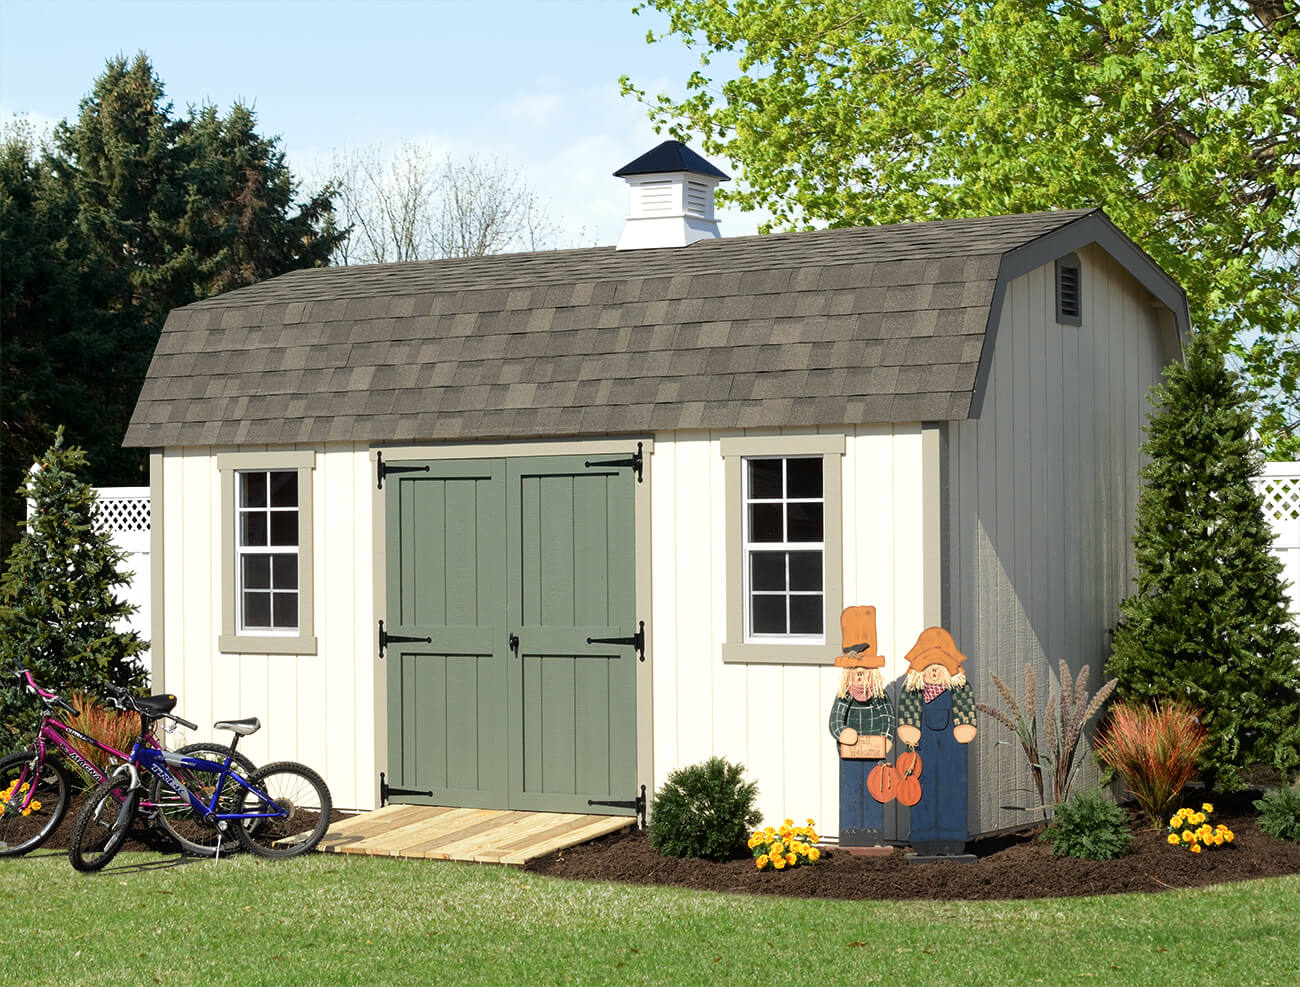
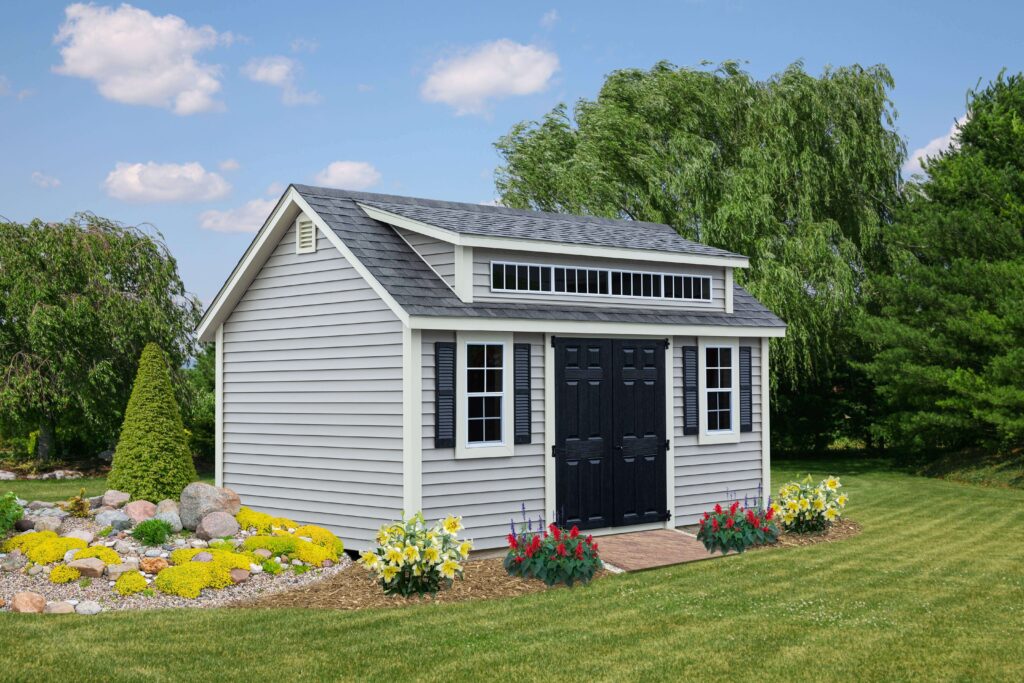
Penn Dutch Structures Shed Sizes
Looking for the perfect shed? We offer 18 different styles in dozens of sizes, so you can find the perfect storage solution for your needs. Our structures range from 6’x6’ to 14’x44’.
For a smaller shed, we recommend a Mini, Mini Barn, or Trash Can Shed. For a medium structure, we recommend an A-Frame, Classic, Dutch Barn, or Quaker. For larger models, we recommend Chalet, Villa, or Cape.
Explore our in-stock and built-to-order sheds to find a style you love. Each one is handcrafted using classic Amish techniques, so you know it will last you for years to come.
Get A Free Quote
Found the perfect size? Request a quote on a shed to start storing!