Nothing distracts from your beautiful backyard like a run-down shed. The chipped paint, mildew-covered siding, and musty smells make it an eyesore (and a nose-sore). Not sure if your old shed can survive another season? Here are six warning signs that it’s time for a shed replacement.
1). You Spot Structural Damage
A good shed should last 20+ years, but eventually the elements take a toll. The first place to look for damage is the foundation. If that starts crumbling, your shed will begin to resemble the Leaning Tower of Pisa. This is difficult to repair and a safety hazard for anyone entering, so get ready to say goodbye to your old shed and find a replacement.
Another common issue is leaks. You may not notice a moisture problem right away, but if left untreated, it can destroy the items inside and cause your shed to rot, weakening the structural integrity. Thankfully, vinyl siding is more moisture-resistant than wood, but both can have leaks. If you’re dealing with serious water damage, then a shed replacement is in your future.
Not sure if your shed is in good shape? Inspect the interior and exterior for these signs of physical damage:
- Missing shingles
- Discoloration
- Sagging roof
- Warping
- Rotting
- Cracks
- Water damage
- Severe leaning
- Bad smells inside
A rotting roof or cracked siding means your shed is no longer protecting your property. If you spot any deterioration, tackle the problem right away. One or two issues can be solved with a shed renovation, but if you’re dealing with extensive damage, then you have a bigger problem.
It’s up to you how much time and money you’re willing to put into replacing a shed roof, siding, or foundation. But for ultimate peace of mind, invest in a new custom-built shed that you know is made of quality materials that can withstand the weather.
Save on Your New Shed
Each month, we offer coupons so you can save on your shed upgrade.
2). You Need More Space
The second sign it’s time for a shed replacement is when you run out of room to hold your stuff. Sheds are the perfect storage solution for those miscellaneous parts of life—sports equipment, gardening supplies, and other items you don’t want cluttering up your home.
But when your shed starts to fill up, it becomes cramped and impossible to locate anything. Upgrade to a bigger model so you can comfortably store all your valuables (and find them with ease).
Our sheds come in a range of sizes from 6’x6’ to 14’x44’. You can fit anything from your kids trophies to a riding lawn mower. We also offer upgrades to give you more overhead room for lofts and storage.
3). You’ve Got a Mold Problem
Fungus growth is a clear indicator that your old shed has got to go. Mold is caused by trapped moisture from leaks, humidity, or condensation. It loves damp, dark areas (like the inside of your shed) and feeds on organic materials. Wooden sheds are extremely susceptible to mildew growth, while vinyl tends to be more resistant.
If you only have a few small patches of mold, you can clean them. But if it’s a widespread issue or the mold keeps coming back no matter how deep you clean, then you’ll need a new shed with proper ventilation. That’s where we come in.
4). Pests Have Moved In
An infestation means it’s time for a shed replacement. The most common pests to watch out for are:
- Mice
- Rats
- Squirrels
- Ants
- Termites
- Bees and wasps
- Roaches
- Beetles
Some of these creatures are just a nuisance, like mice. They may damage any boxes inside, but you can employ a few pest control methods without having to get rid of your shed completely. Others, like termites, can impact the structural integrity of your structure and eat away at the wood.
With an old shed, any crack or hole can let these animals in, and it may be hard to get rid of the infestation without an upgrade.
5). Windows & Doors are on the Fritz
Another shed red flag is if your windows and doors start to fail. Is your door not opening or closing correctly? Are your windows drafty? Is there condensation between the panes of glass? Is moisture getting in?
When these elements stop working, they can let critters inside, along with water, wind, and debris. This decreases the effectiveness of your shed and makes it less secure. If you want a structure with quality windows, doors, and security options, then you’ll need a new shed.
6). It Doesn’t Look Good
There’s also aesthetic reasons to replace your shed. Do any of these sound familiar?
- The paint has faded or chipped.
- The structure is dirty and run-down.
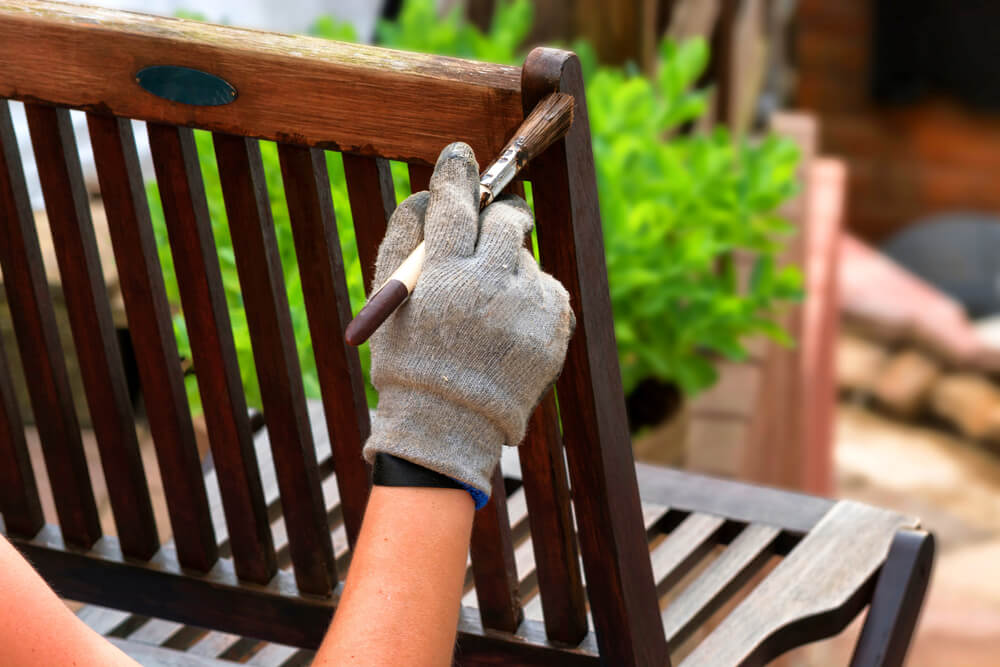
- You’re sick of repainting.
- You’re dreading the task of replacing the shed roof or siding.
- It’s not worth the maintenance needed to keep it looking nice.
Your shed is supposed to save you time and effort. If it’s doing the opposite, then you’re in the market for a new one.
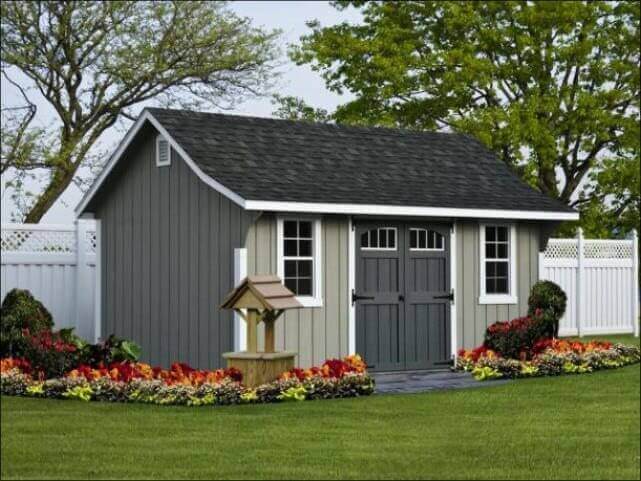
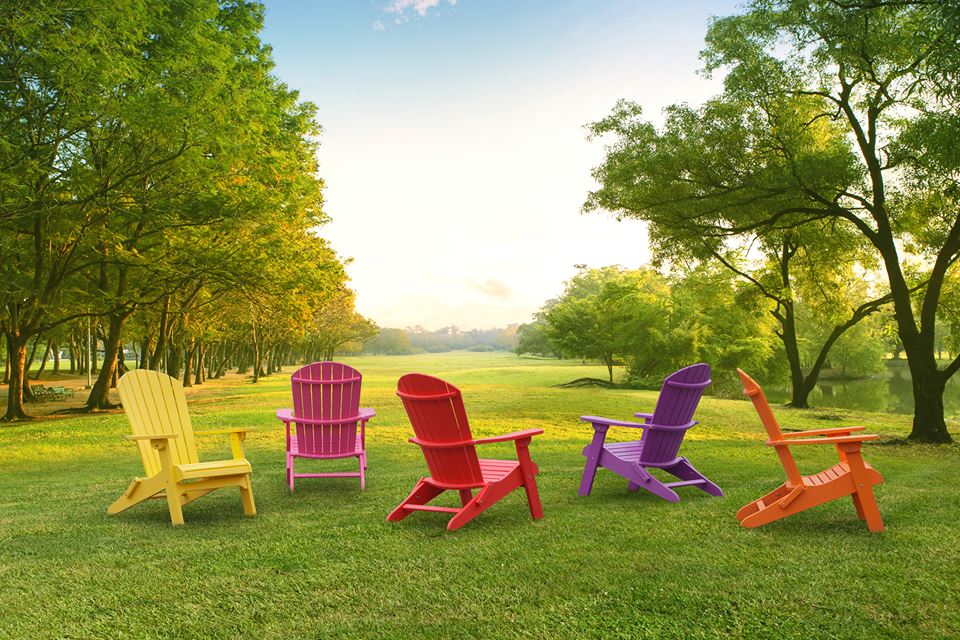
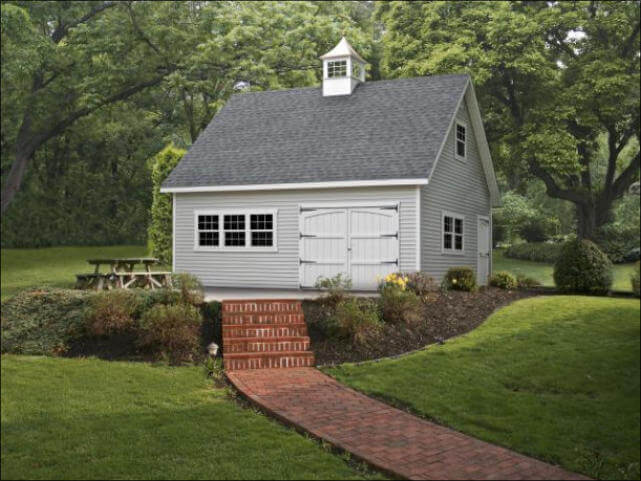
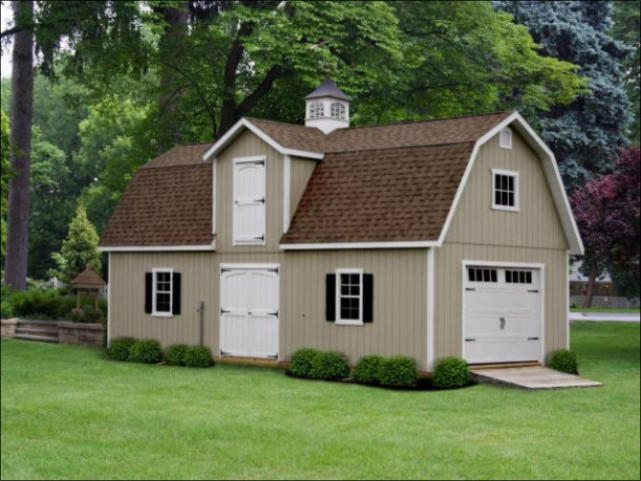
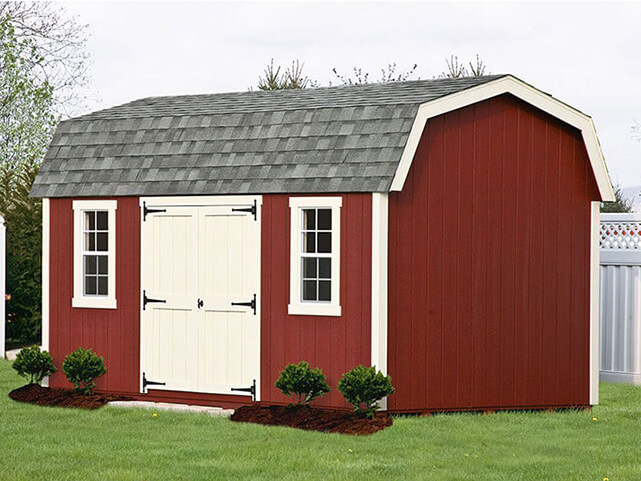
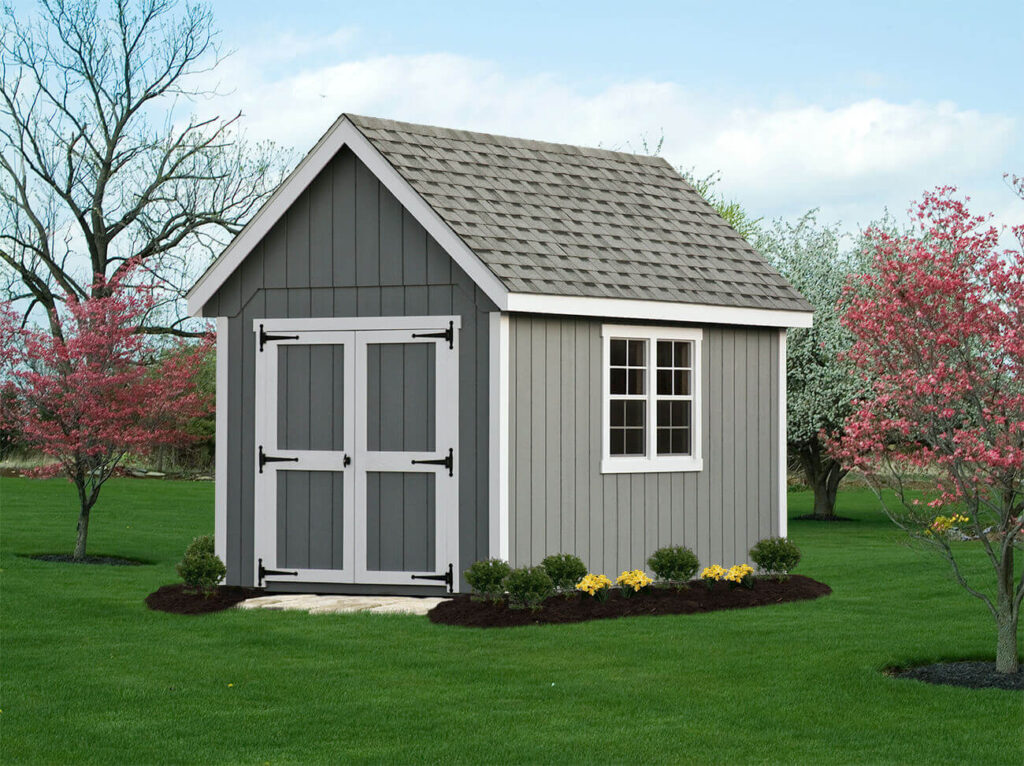
Or maybe it’s just not the style you want anymore. If your shed feels outdated and out of place in your yard, explore our options today. Each of our sheds are made with high-quality wood or vinyl siding, long-lasting shingles, and comes in a variety of styles and colors to match your home.
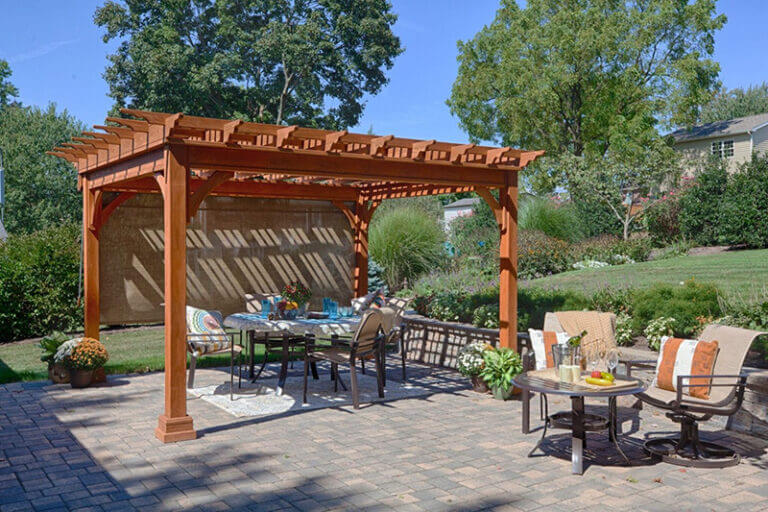
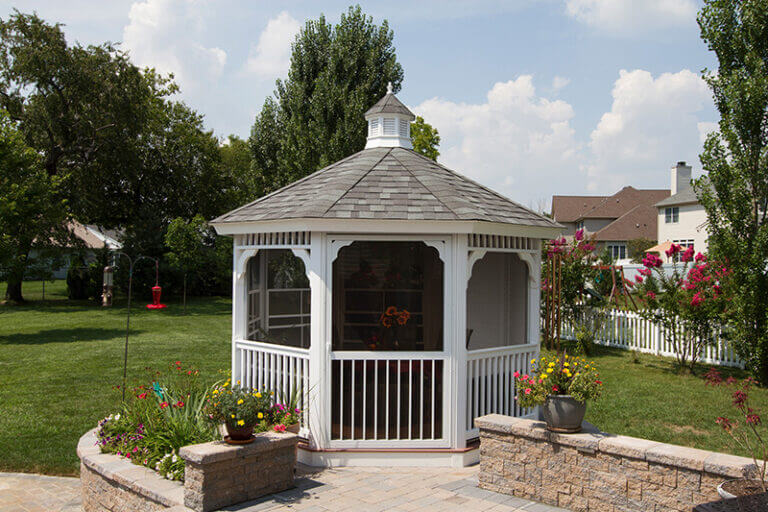
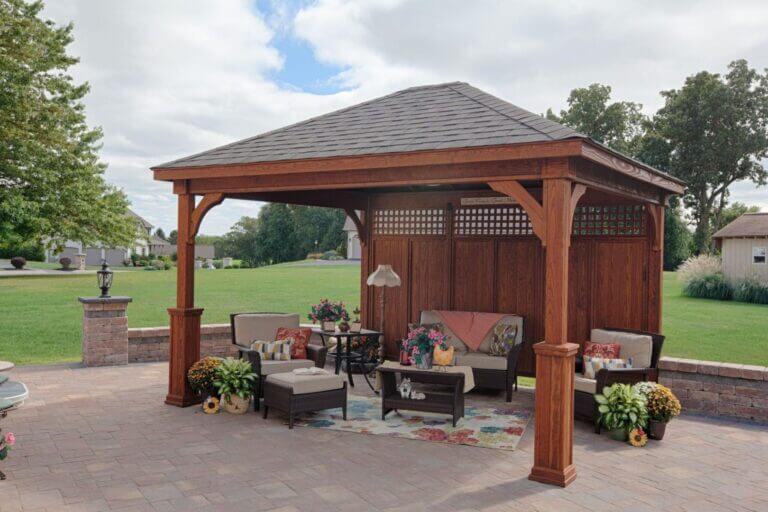
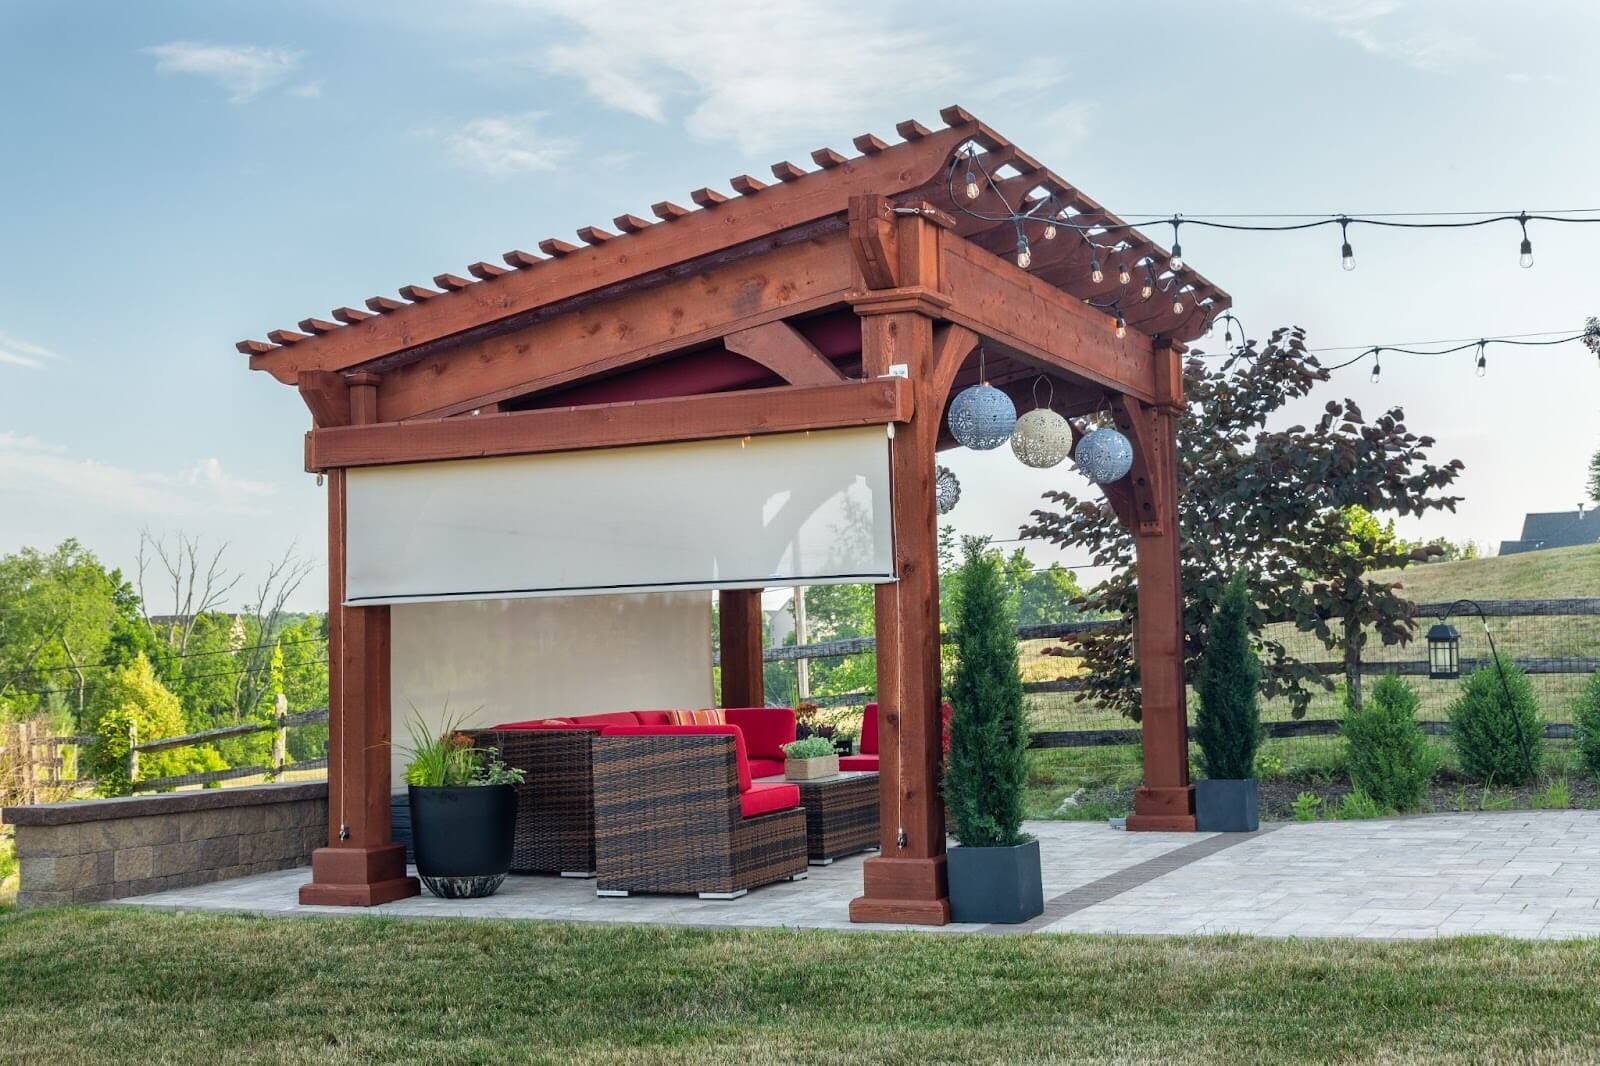
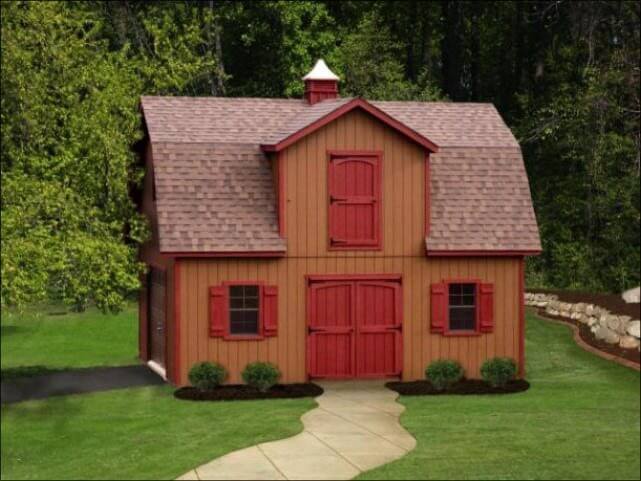
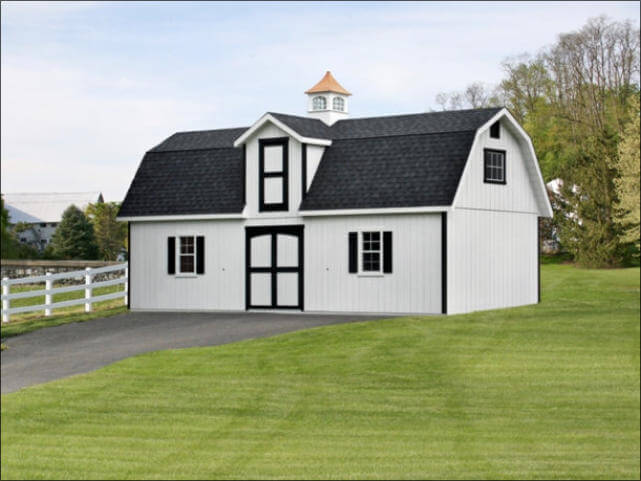
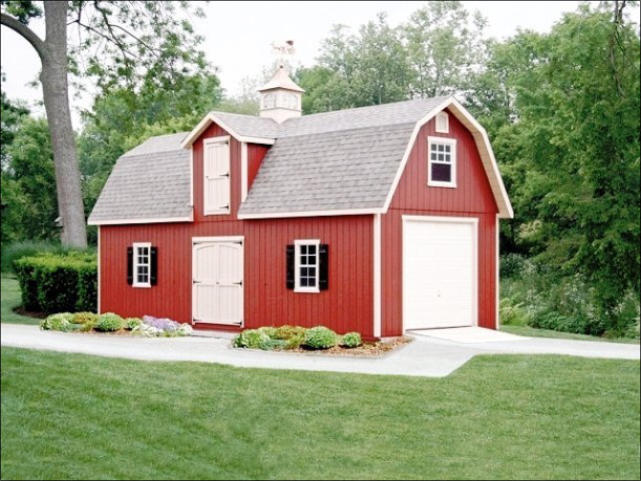
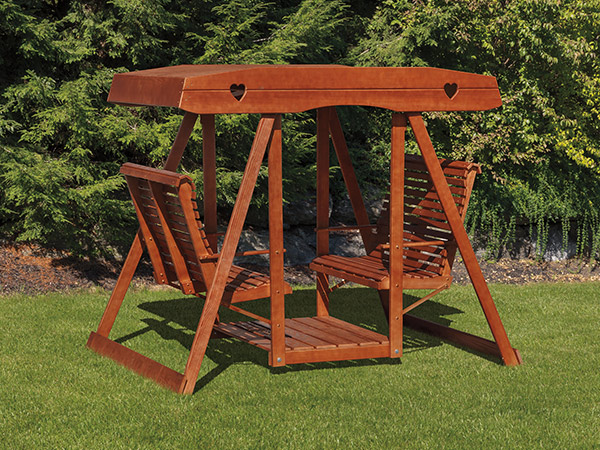
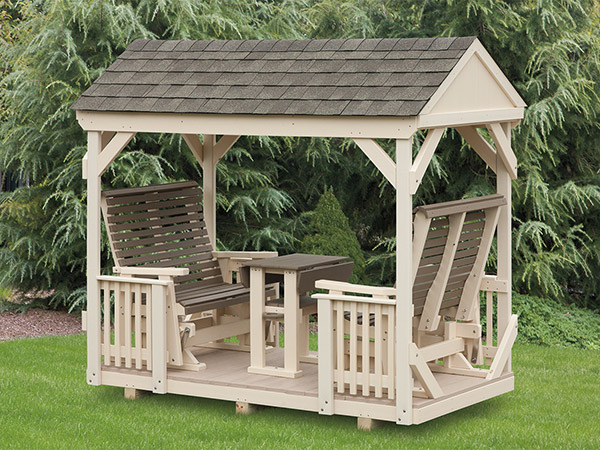
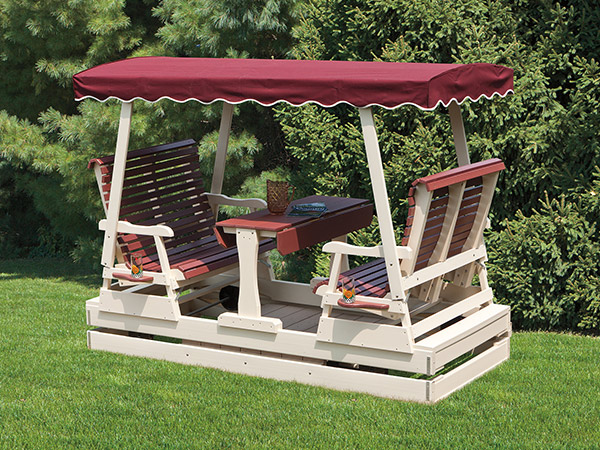
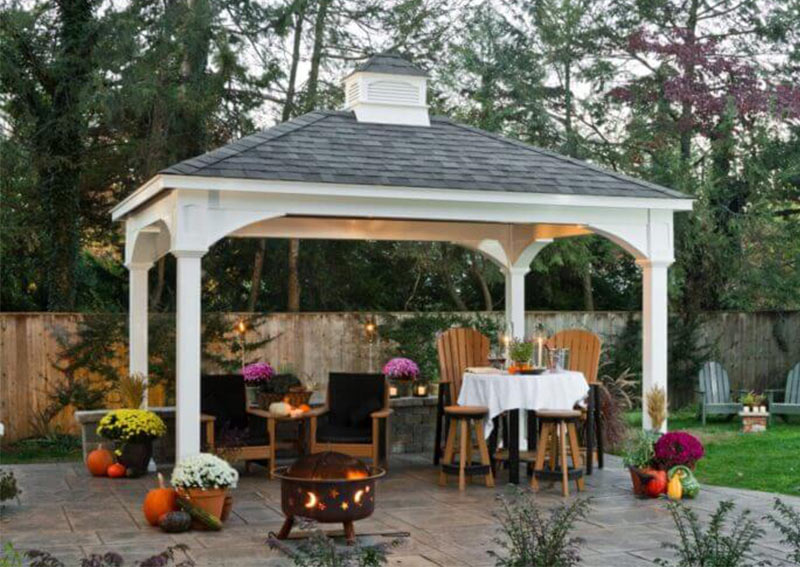
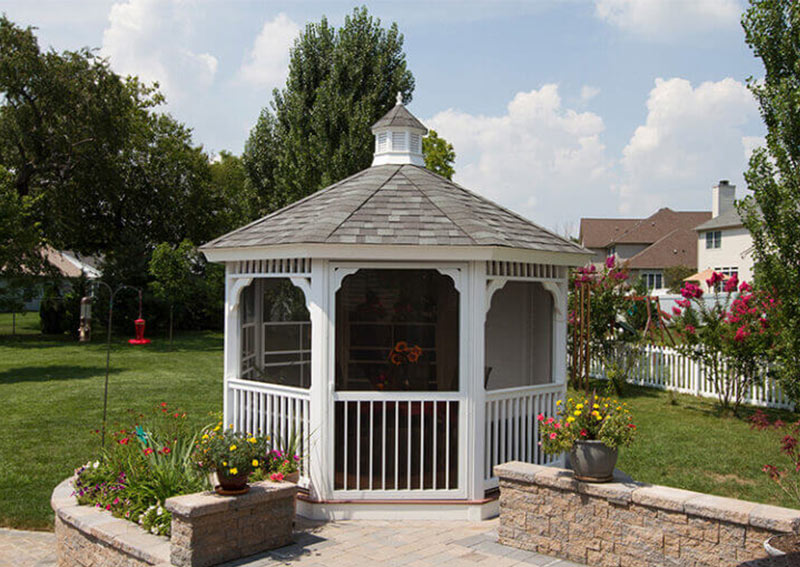
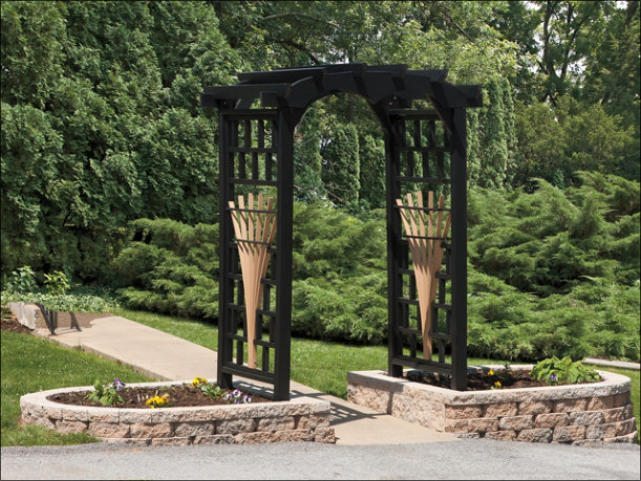
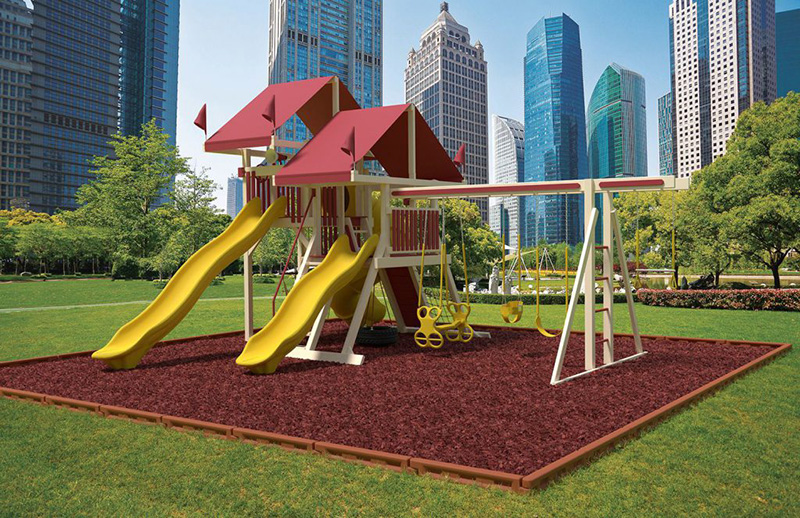
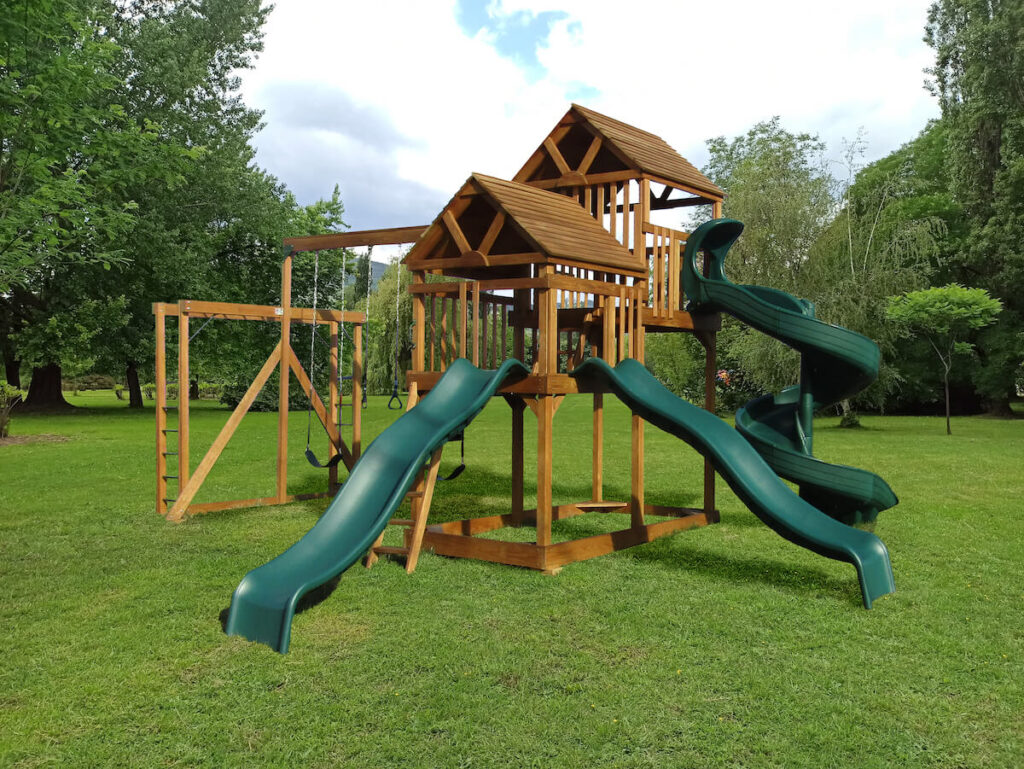
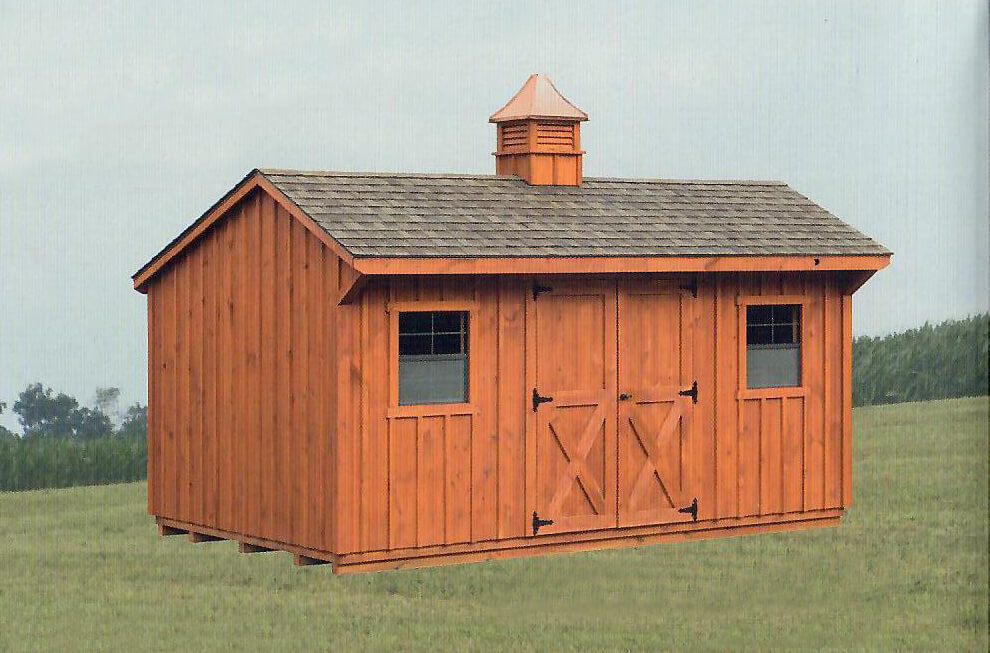
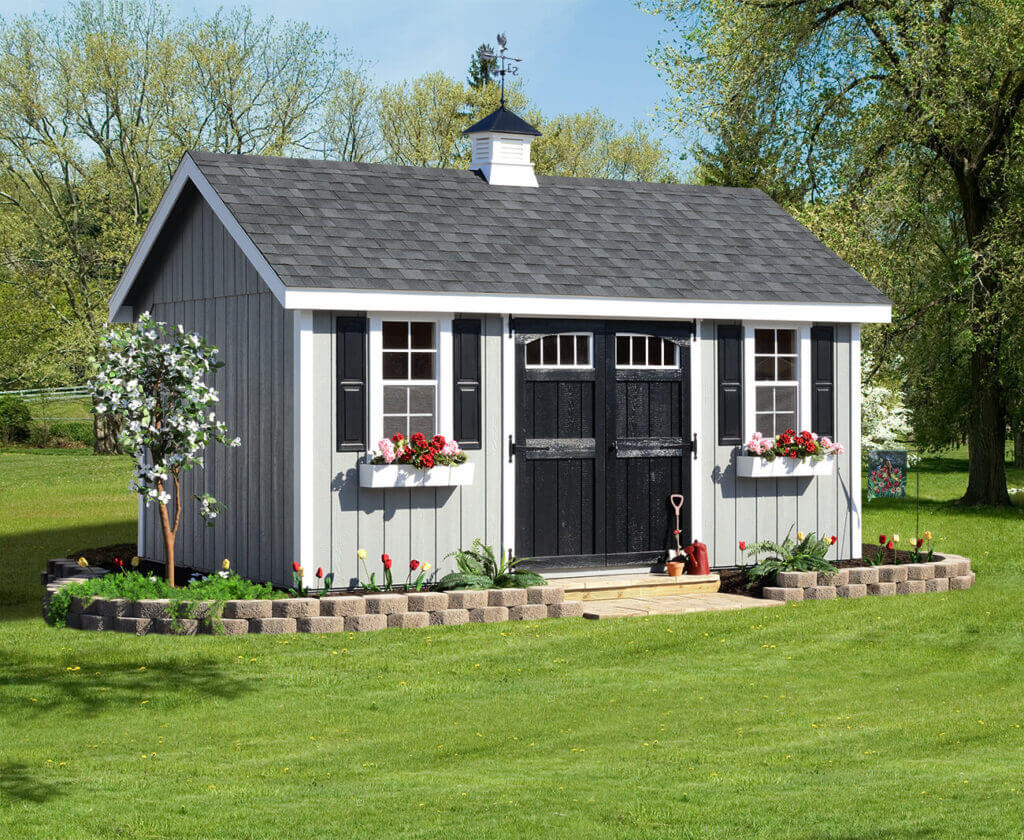
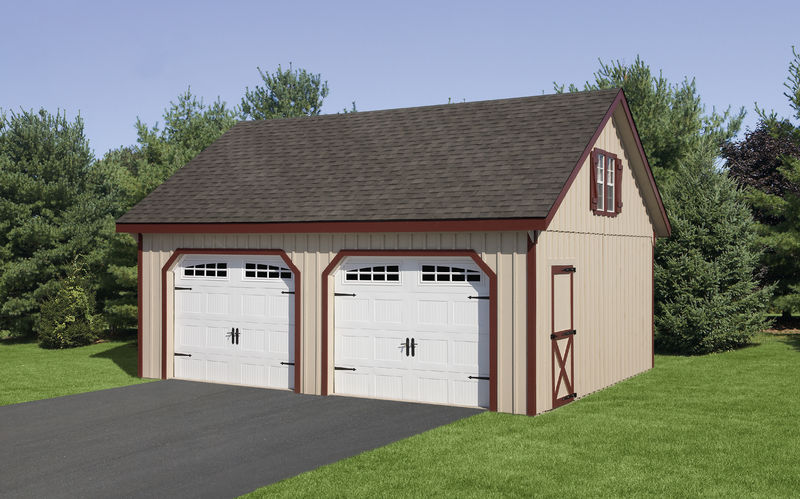
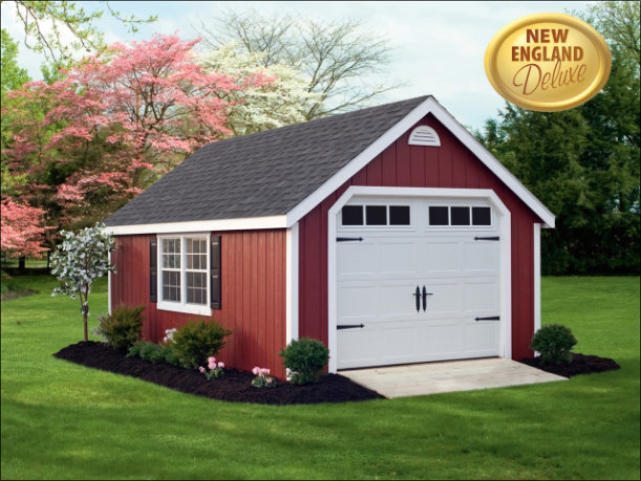
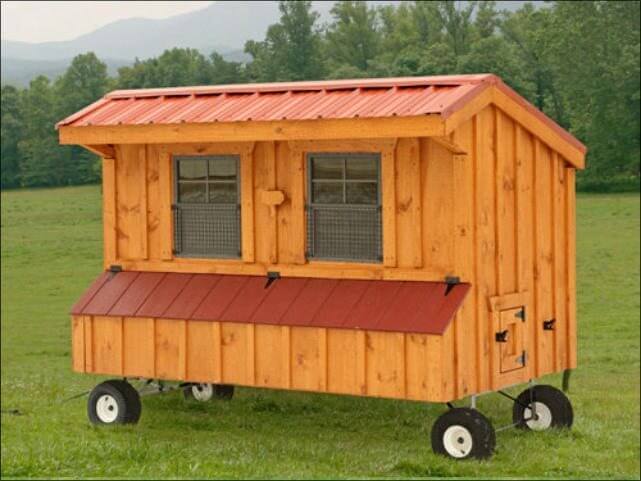
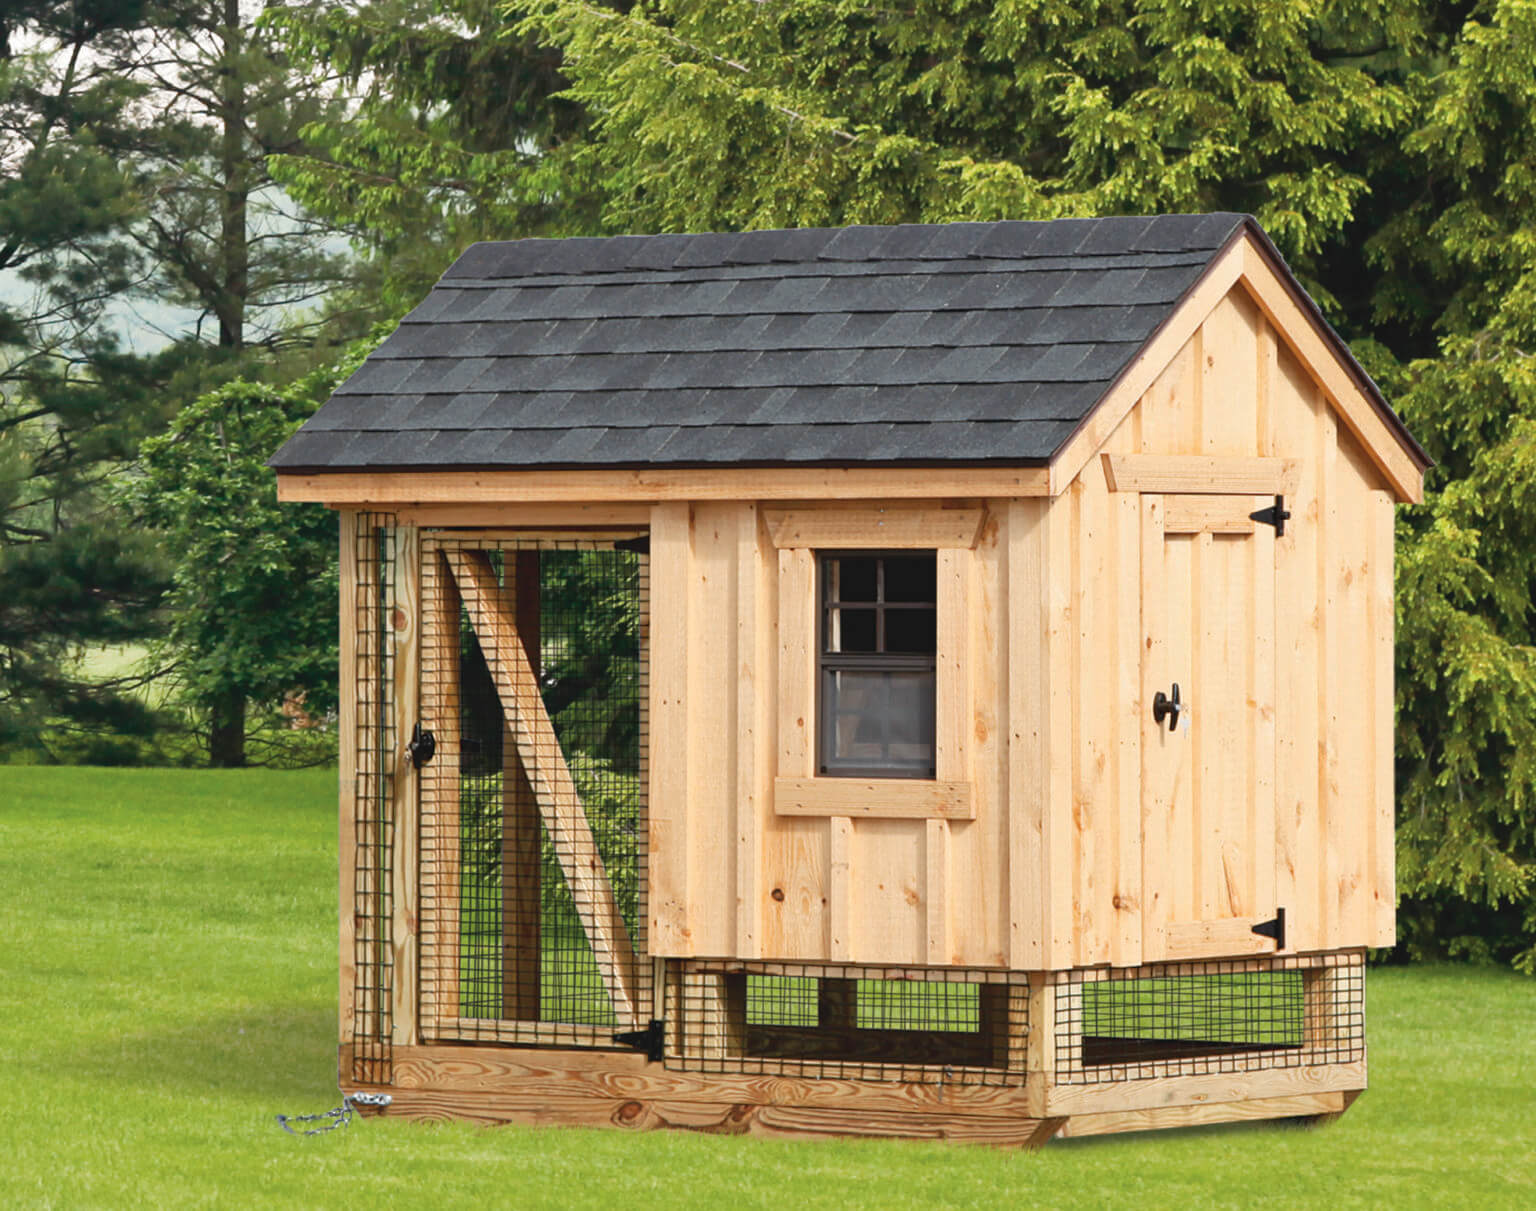
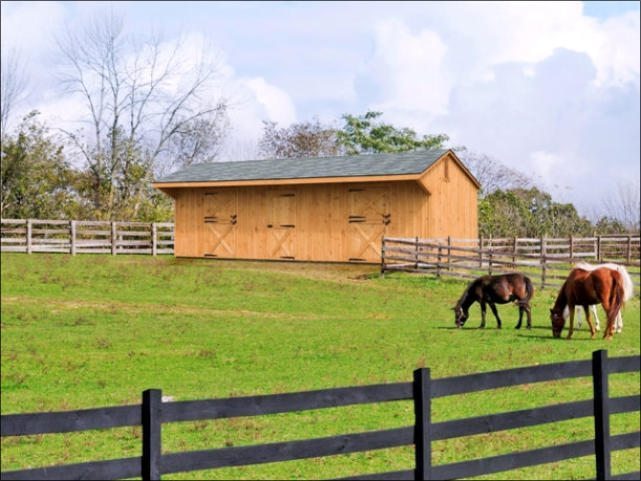
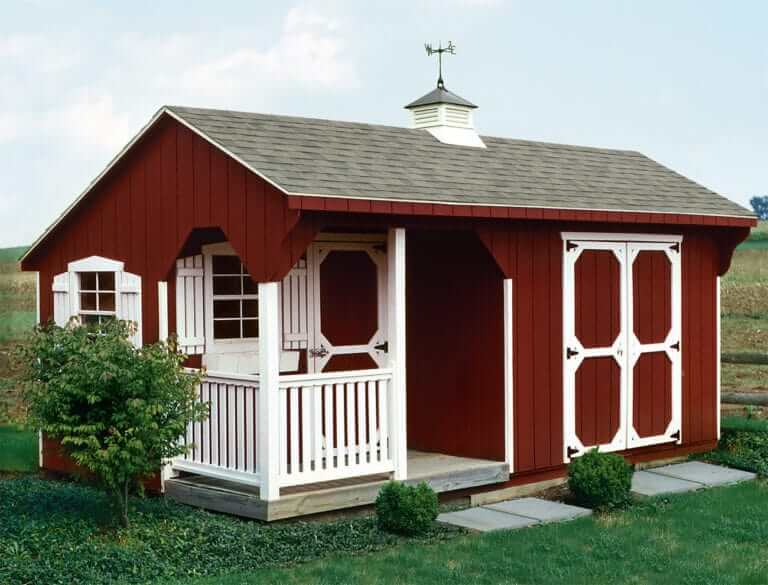
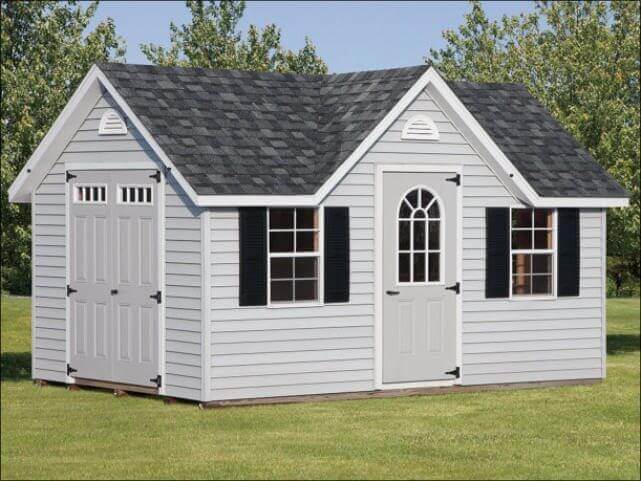
Here are just a few of the styles we offer:
Benefits of Upgrading Your Old Shed
Still not convinced you need a shed replacement? Here are some benefits of upgrading:
- Matches your dream design. You can customize your new shed to exactly match your vision.
- Has a five-year warranty. With Penn Dutch Structures, your peace of mind is a guarantee.
- Lasts longer. Our quality materials and expert craftsmanship mean your shed will last for years to come.
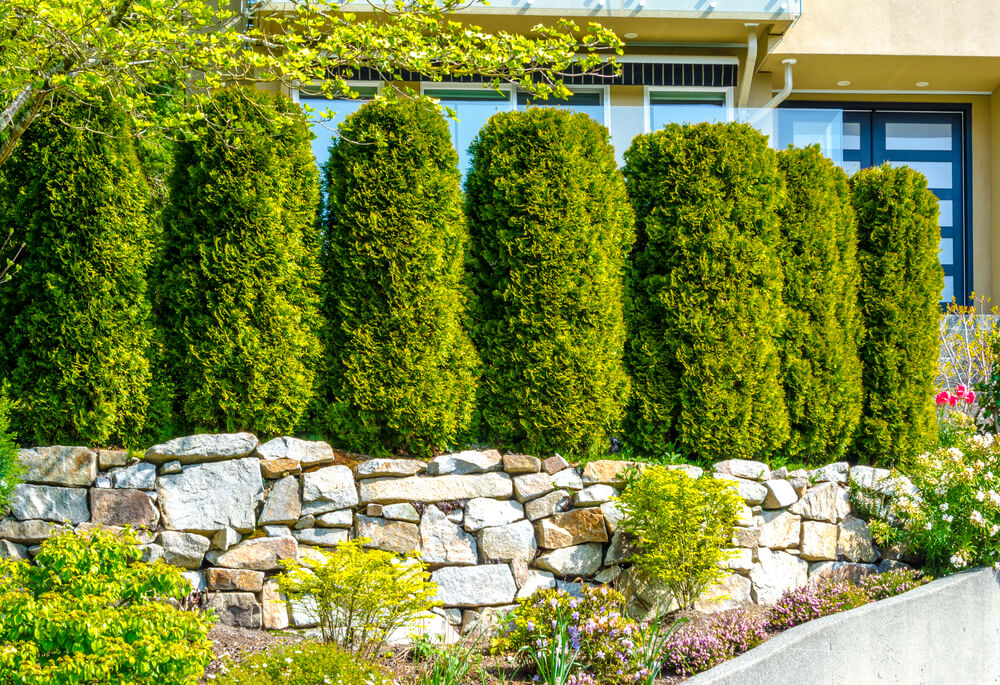
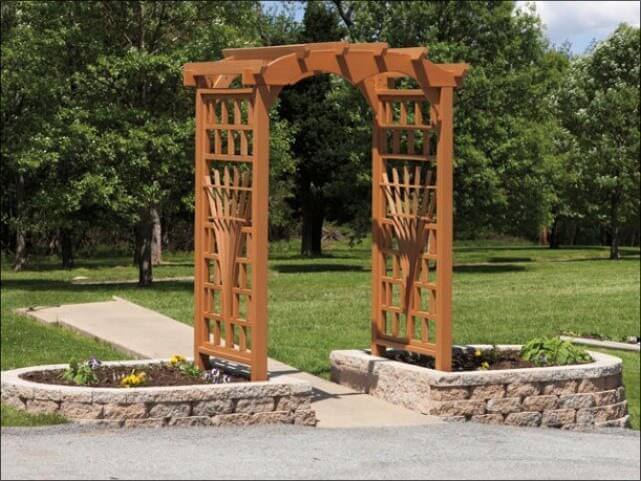
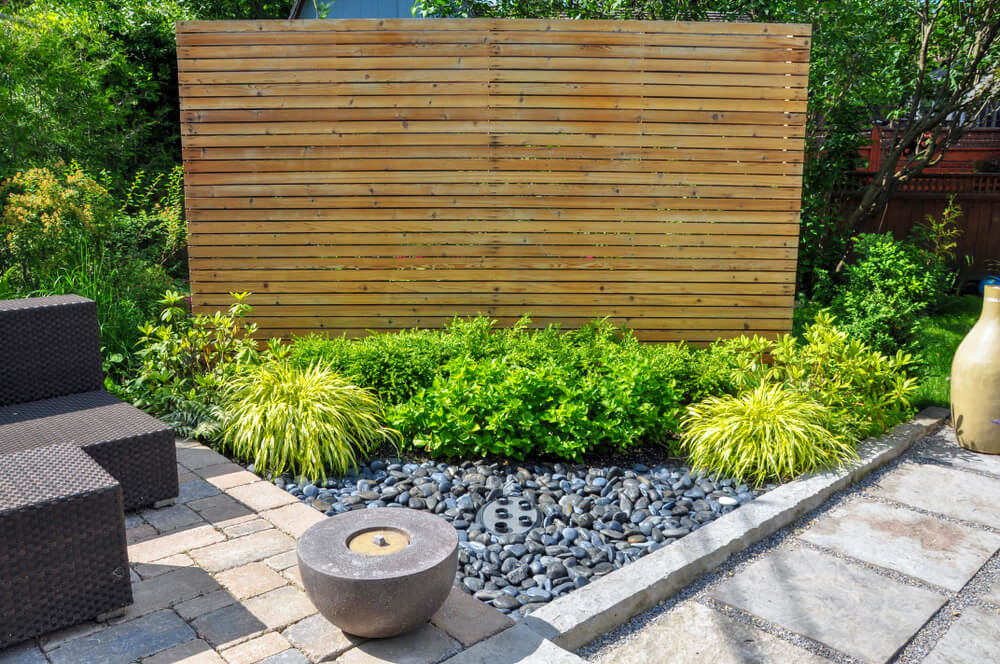
- Increases curb appeal. A well-landscaped shed is a practical and inviting addition to your yard.
- Declutters your home and garage. Keep your house pristine with enough space to store those extra items.
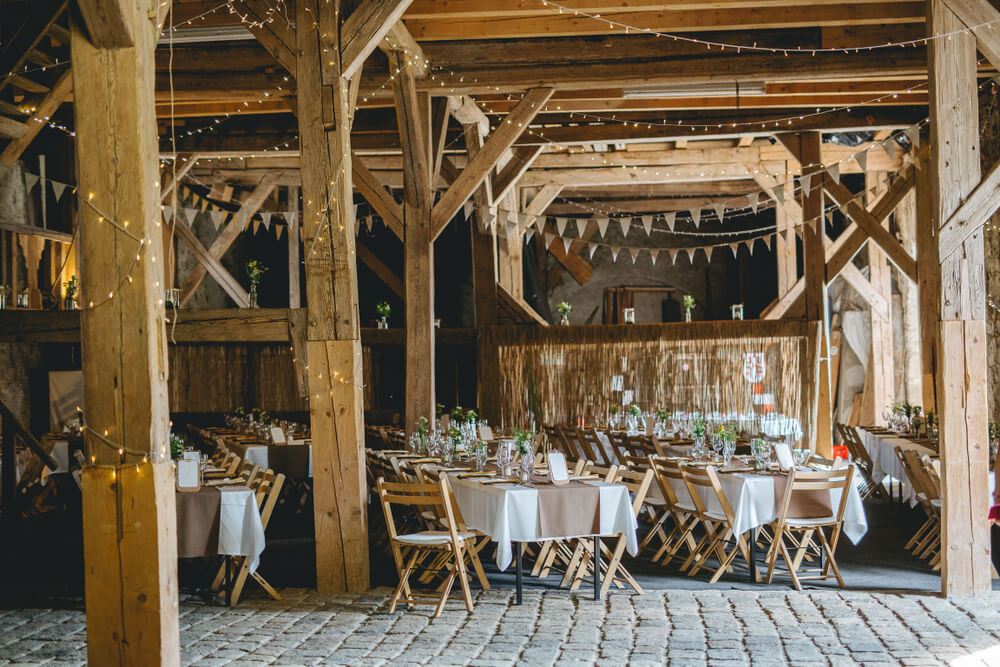
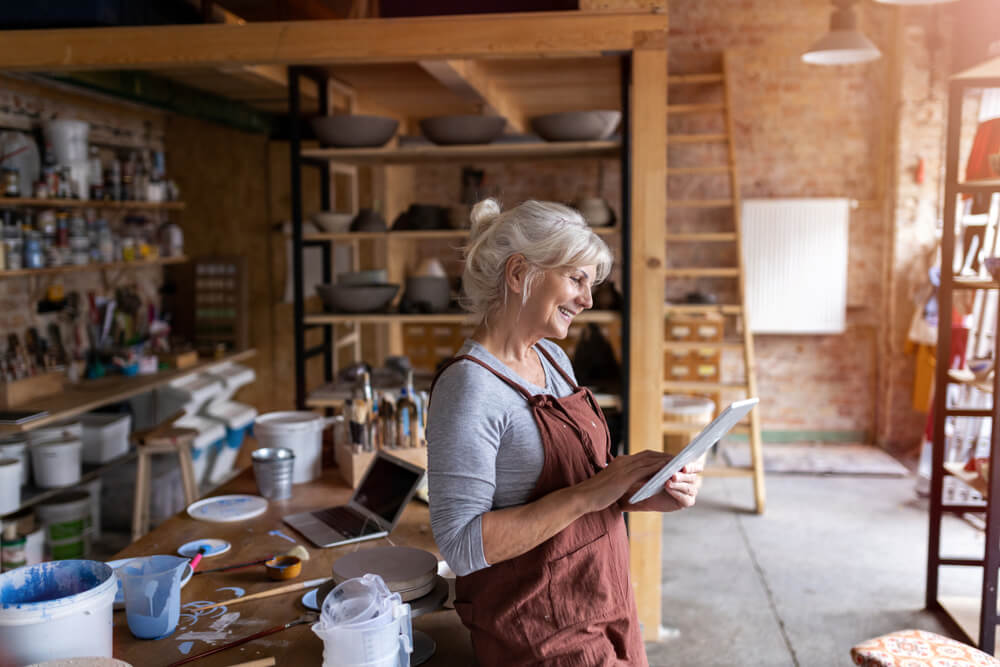
- Adds more living space. You can use your new shed as a workshop, home office, game room, or reading nook!
- Makes maintenance easier. A new shed is easier to take care of than an old one.
Overall, an updated shed is more spacious, more functional, and more you.
Shop Amish-Built Sheds
If you’re sick of patching up the same old shed, upgrade to an Amish-built masterpiece. We offer financing and coupons for your shed purchase, along with a five-year warranty and free delivery and installation.
Not sure where to begin? Our shed buying guide is the perfect place to start. We outline tips on choosing a style, how to customize and pick accessories, and the different material options.
Say Goodbye to Your Old Shed
Transform your backyard with one of our custom-built storage solutions.