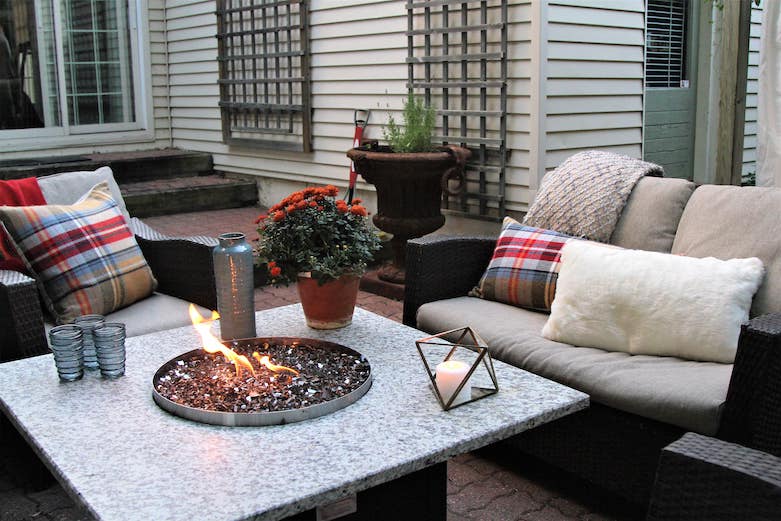
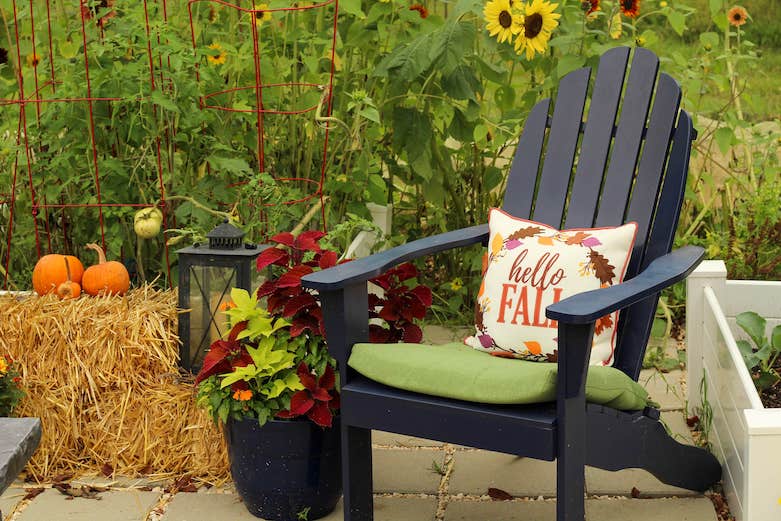
Purchasing the perfect patio furniture for your outdoor space can be satisfying and exciting for homeowners. This is why keeping that furniture in great condition is so important. As we begin to prepare ourselves for the cold winter months, we must remember that there is more to do than decorate the house for the holidays.
Learning how to protect patio furniture during winter is necessary if you want to keep your furniture looking new and lasting longer. The sooner you make winterizing your outdoor space a part of your transition into the cold months, the more time and money you will save in the future.
How to Store Patio Furniture Over the Winter
Many people wonder what to do with patio furniture in the winter. Oftentimes, we think all we need to know is how to store patio furniture over the winter. However, there are steps that should be taken before you begin the storage process. Preparing your patio furniture for winter can be broken down into 3 steps:
- Clean
- Coat
- Store
This process will vary depending on what material your outdoor furniture is made of. Properly preparing your winter patio furniture has many benefits in the long run. Doing this will allow your furniture to stay intact for years to come.
Cleaning and Coating Outdoor Furniture Based on Material Type
The first step in learning how to protect patio furniture during winter is knowing how to clean it. There are multiple methods to use when cleaning your patio furniture, but each depends on the type of material it is made from. For example, after your furniture is clean, it may be beneficial to add a coat or sealant for certain materials. This will help protect your furniture from cold temperatures, as well as rain and snow.
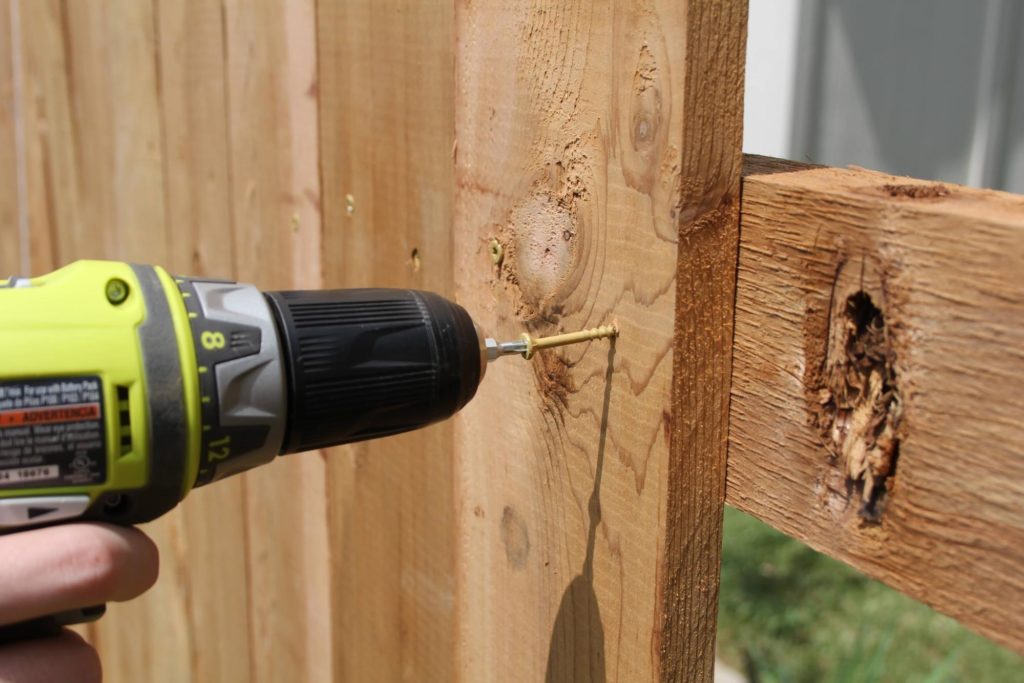
Wood Furniture
Wood furniture must be sealed in order to keep moisture out of its cracks and ridges. If moisture seeps in, it may freeze when temperatures drop, causing the wood to crack.
Using furniture oil and protective sealants can help prevent this from happening. Before applying sealants, it’s important that you thoroughly clean your furniture. To clean wood, simply:
- Mix warm water with a couple of drops of an oil-based soap.
- Gently scrub with a soft brush or rag in the direction of the wood grain.
- Allow it to air dry or dry with a towel.
Once your wood furniture is dry, you can proceed to do any work to prepare for the Spring season, such as sanding, painting, or staining. This is also when you will add your furniture oil for wood or an effective wood sealant.
Teak Furniture
While teak is a type of wood furniture, it requires some extra care when cleaning. It is more weather-resistant and durable, but oftentimes it attracts mold and mildew. To clean teak furniture correctly, follow the steps below:
- Combine 1 cup of vinegar with 1 gallon of warm water.
- Use a soft brush to scrub the wood.
- Let it sit for 15 minutes before rinsing.
- Allow to air dry or dry it with a towel.
After the furniture is dry, you can apply Linseed oil or Tung oil to keep your teak furniture in the best condition.
Plastic Furniture
Plastic furniture can become brittle when exposed to freezing temperatures. Repeated changes in temperature wear down the plastic making it crack or break. Before storing your plastic furniture, follow these easy steps:
- Rinse off furniture with a hose.
- Mix ¼ cup of mild laundry detergent in a gallon of warm water.
- Gently scrub the furniture with a soft brush or sponge.
- Rinse again, and allow to air dry or dry with a towel.
Make sure your plastic furniture is completely dry before storing. This will keep it ready for the Spring when it will make an appearance again.
Wicker Furniture
Wicker furniture can either be made of natural rattan or synthetic material (known as resin wicker). It’s important to know which material your furniture is made of because it will depend on how you clean it.
Natural rattan wicker furniture needs extra care when washing because it tends to chip over time. True rattan should be washed as infrequently as possible to avoid any splintering or chipping. To wash, simply:
- Mix a few drops of mild oil-based soap in a gallon of warm water.
- Dampen a soft cloth and gently scrub the furniture.
- Use a spray bottle to lightly rinse the soap off.
- Dry immediately with a soft towel.
Synthetic or resin wicker is usually more durable because it has UV and weather-resistant coatings. You can clean this type of wicker by simply spraying it down with a hose. If it’s very dirty, you can follow the steps above.
Aluminum Furniture
While it is mostly rustproof, aluminum furniture often contains holes to help drain water, which ends up allowing water to get in. This becomes an issue when winter temperatures fluctuate above and below freezing because the water inside will freeze and melt, making the frames weak. To clean your aluminum furniture properly and avoid this issue:
- Mix a few drops of mild laundry detergent with warm water.
- Scrub your furniture gently using a soft brush, rag, or sponge.
- Allow to air dry or use a towel to dry. Make sure furniture is completely dry before storing.
After your aluminum furniture is dry, keep an eye out for any scratches. You can touch them up with paint, and you can apply a coat of wax for extra protection.
Wrought Iron Furniture
Since wrought iron furniture is known to rust, you should not leave it exposed during the winter months. While some iron furniture has rust-resistant coatings, other elements such as bird dropping can also damage the coating because of their acidic properties.
Before cleaning your iron furniture, use fine-grit sandpaper to remove any rust. Follow the steps below to make sure you’re continuing the cleaning process correctly.
- Mix mild soap with warm water.
- Scrub the furniture, wiping it clean of any rust residue.
- Allow to air dry or dry with a towel.
As you finish cleaning, you can touch up any paint scratches, as well as add a rust-neutralizer and thin coat of car wax for extra protection.
Natural Stone Furniture
Most stones are porous, meaning they allow water to seep in. As temperatures freeze, the water will also freeze, causing cracks and fractures in the stone. The steps below will help you clean your natural stone furniture properly before you cover or coat it.
- Rinse the stone with water to remove any dirt.
- Mix a few drops of mild detergent with water.
- Scrub with a soft cloth or sponge.
- Allow to air dry.
Once the stone is dry, you can apply a stone sealer to protect your furniture from stains, salt, and moisture seeping into its pores and freezing.
Outdoor Fabrics
While outdoor fabrics are designed to be weather-resistant, they can still be damaged by rain, snow, and ice. To clean your fabrics before storing them:
- Mix ¼ cup of mild laundry detergent with 1 gallon of lukewarm water.
- Use a soft brush or rag to get out tough stains.
- Allow the solution to sit for 15 minutes before rinsing with a hose.
- Allow the fabrics to air dry in the sun and do not store until completely dry.
Always check the manufacturer’s instructions before washing. Some curtains and removable covers can be machine washed in cold water. Make sure if you do machine wash any of your outdoor fabrics that you do not place them in the dryer.

3 Ways to Store Patio Furniture in Winter
Cleaning and coating are the first two steps in learning how to protect patio furniture during winter, but you must also figure out how you would like to store them. While some of the more durable furniture can be left exposed to the cold, it’s usually best to keep them protected. Here are three simple ways you can choose to do this.
1. Plastic Wrap or Tarps
Plastic shrink wrap is an easy and common way to protect your patio furniture. You can either buy the plastic wrap and do it yourself, or you can hire a team to cover it for you. Keep in mind that plastic isn’t breathable. This means if water gets through it won’t have anywhere to escape. Mold and mildew are often a result of trapped water.
Using a tarp, you will face the same breathability issue as the plastic wrap. The water that may enter won’t be able to evaporate. In order to avoid this, you will need to use multiple bungee cords or ropes to secure the tarp. Make sure you are not using too large a tarp either, otherwise it could catch air and blow off your furniture.
2. Patio Furniture Covers
Patio furniture covers for winter ensure that rain, snow, ice, road salt, debris, and more will not ruin your outdoor furniture during the cold months. You also are able to leave your furniture in the yard making it easier and less of a hassle when preparing for winter.
In order to avoid mold and mildew issues, choose a cover that is made of breathable fabric and includes mesh vents. Make sure your cover also has 1-2 inches of space between the bottom hem and the ground. Doing this will help airflow and allow any moisture to evaporate.
Keep an eye on your furniture during the winter months, brushing off any snow or water build-up that appears on your covers. Pooled water has a harder time evaporating and proves to be more of a risk when it comes to mold and mildew.
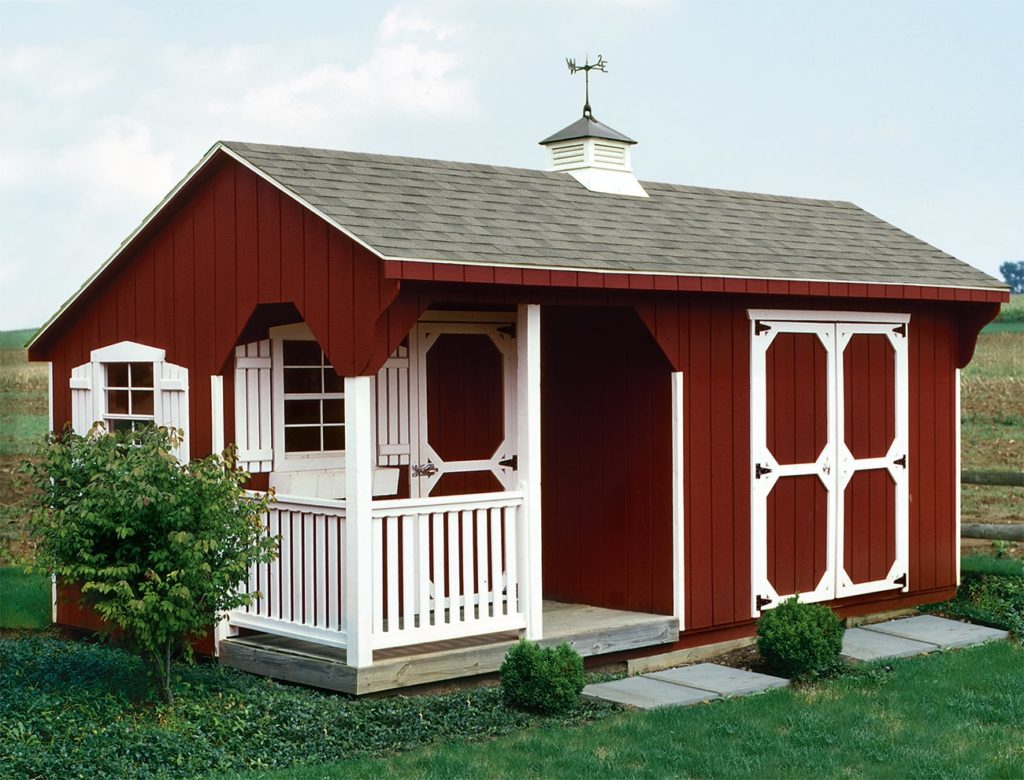
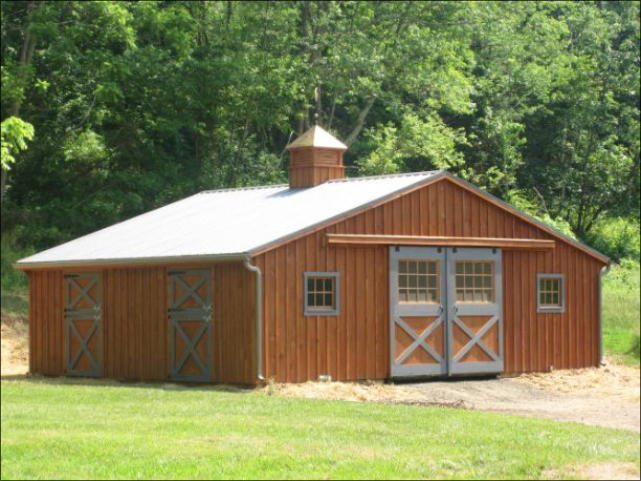
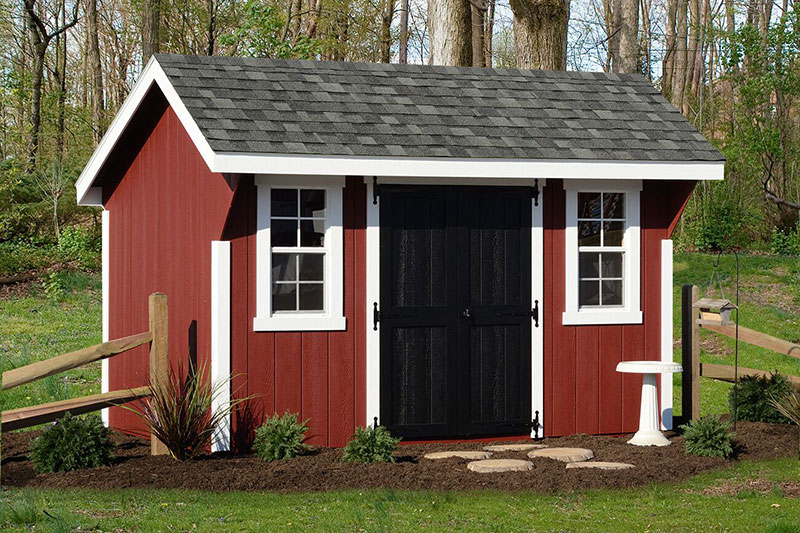
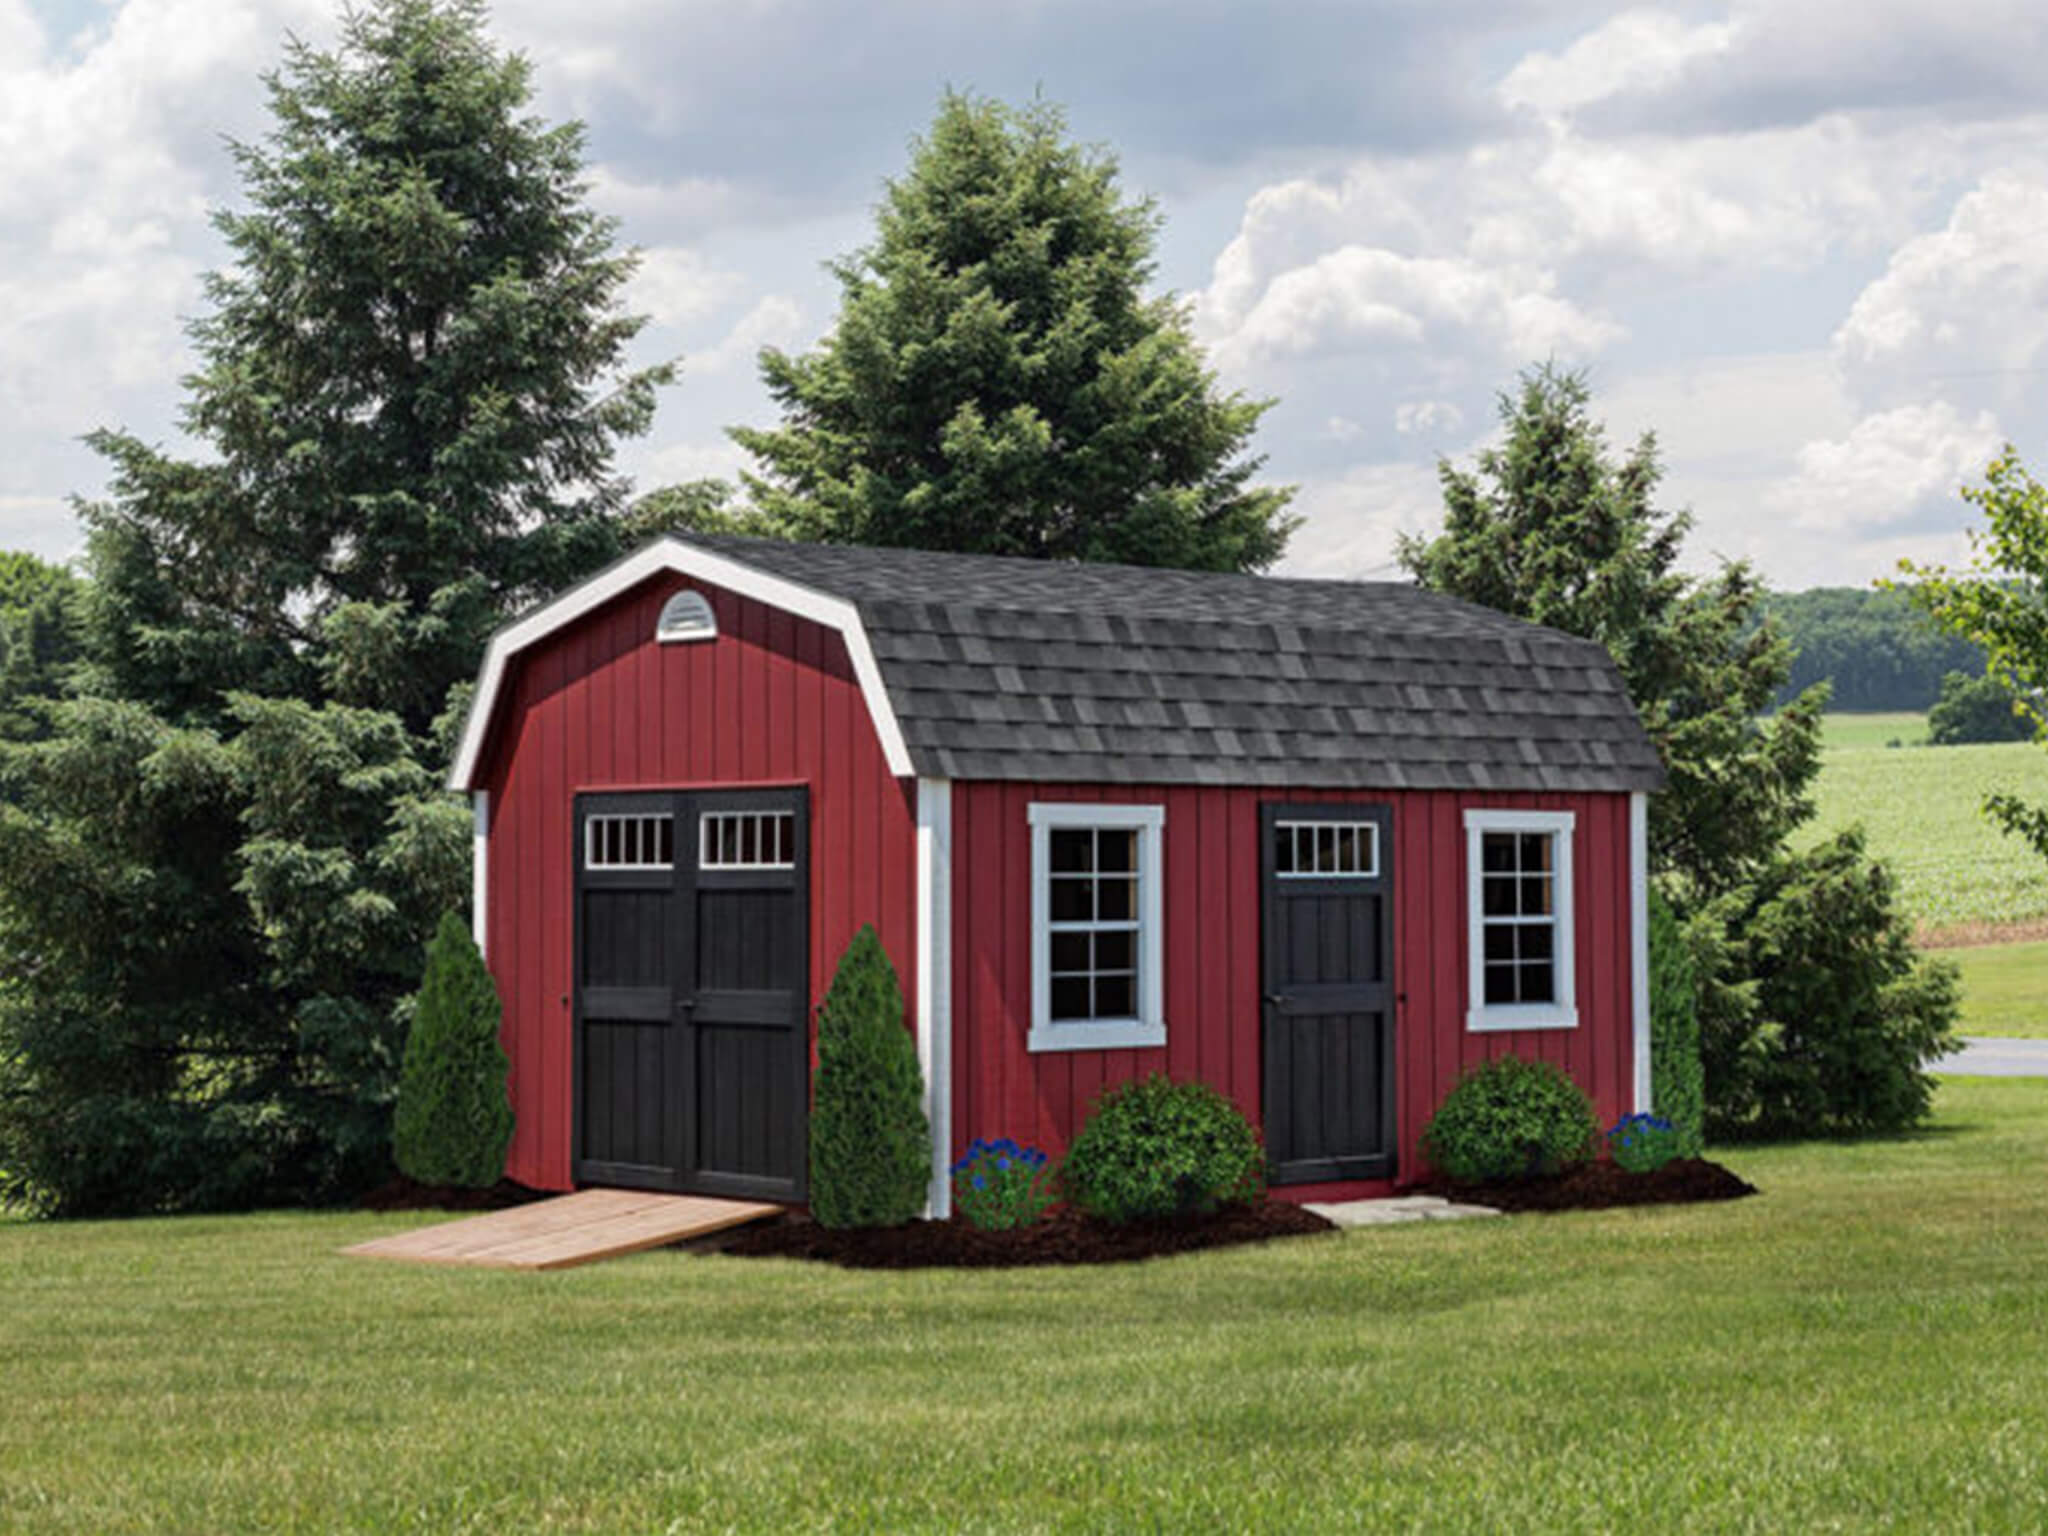
3. Indoors, Garage, or Shed
Bringing your outdoor furniture inside is not a necessity, but if you have room in your garage or shed, the extra protection won’t hurt. Even if you bring your winter patio furniture inside, you should keep some kind of covering on it. Doing this will keep it safe from water leaks and dust. There are simple steps you can take to winterize your shed, making it easier to use for storage in the cold months.
It may require some effort, but properly protecting your patio furniture during the winter is worth it. By cleaning, coating, and storing it properly, you can prolong its lifespan and keep it looking like new. Additionally, it will make it easier for you to ready your patio for spring.
Want the Absolute Best Storage Option?
Penn Dutch Structures offers a variety of storage options from storage sheds to detached garages. Find the perfect storage solution for you by browsing our outdoor structures.