Whether raising chickens is a life-long passion or a new backyard hobby, there’s one thing we know for sure—happy chickens equal a happy life. The best way to improve the happiness of your flock is by regularly cleaning the coop. In this blog, we’ll cover how to clean a chicken coop and our list of dos and don’ts for keeping your chickens healthy.
The Benefits of Cleaning Your Coop
Just like your car or shed needs maintenance, so does your chicken coop! Prioritizing frequent cleaning has several benefits:
Healthier chickens. Chicken droppings are a breeding ground for bacteria and parasites that can make you and your flock sick. Stick to a cleaning schedule to stop germs and diseases from spreading.
More eggs. The more comfortable your hens are, the more eggs they lay! By refreshing their bedding frequently and disinfecting the coop, your chickens will produce higher-quality eggs.
Pest prevention. Backyard poultry can be a host to various pests like rodents, mites, lice, and fleas. Keeping up with cleaning means you can avoid an infestation.
Odor control. Removing feces and replacing bedding keeps the odor to a minimum. The longer you let old bedding sit, the stronger the ammonia fumes become. This doesn’t just smell bad, but it can also be dangerous to the health of your flock.
How Often to Clean a Chicken Coop
While raising chickens has many benefits, it isn’t all fun and games—it also requires dedication and attention to detail. To keep your hens happy and healthy, here’s a breakdown of how often to clean a chicken coop.
Daily:
- Refill food and water.
- Remove uneaten food at night to protect your chickens and prevent predators.
- Clean up droppings and add them to your compost.
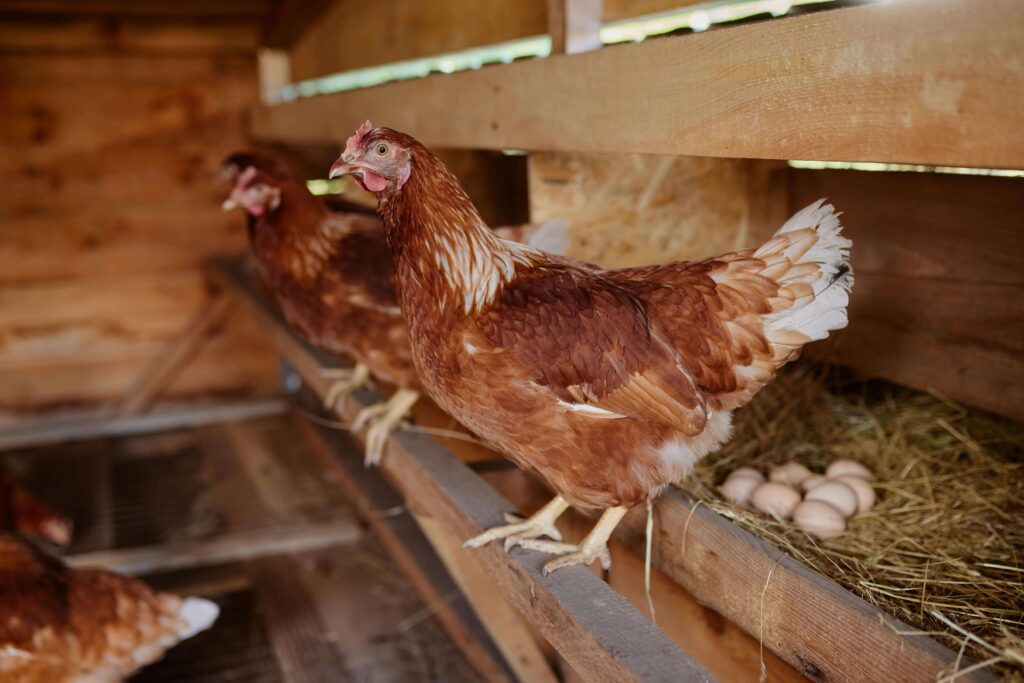
- Collect eggs so they don’t pile up and break.
Weekly:
- Replace all nesting materials and bedding to prevent ammonia build-up.
- Clean waterers and feed boxes.
- Remove cobwebs and dust from the walls and ceiling.
Monthly:
- Clean surfaces, roosting bars, and windows with a natural cleaner.
Every 6 months:
- Deep clean your entire chicken coop.
- Also, consider deep cleaning before you bring in a new flock. Chicks are especially vulnerable to diseases and pests, so it’s important to make their home as safe as possible.
How to Clean a Chicken Coop Step By Step
When it’s time for your bi-annual deep clean, follow these steps to make sure your hens are happy and healthy.
1. Remove All Chickens
Start by removing your chickens from the coop and putting them in a temporary enclosure. Begin early enough so you can finish before nightfall.
2. Empty The Coop
Now you need to clear out everything from inside your chicken coop. This includes bedding, feeders, perches, and anything else removable.
3. Scrape Out Dirt
Time for the dirty work! Strap on some gloves and, using a shovel or garden hoe, scrape out any chicken droppings and other debris that have piled up on the surfaces of the coop. Give the floor a good sweep to clear out the last of the dirt and feathers.
4. Hose It Down
Grab a hose and douse the coop with water. If you’re tackling mites, get rid of them using boiling water.
5. Disinfect
There are a few things to remember when disinfecting your chicken coop. Many household cleaning products are toxic to chickens, so make sure you’re using a natural cleaner for this step. Buy your own or use a DIY mixture of half water, half vinegar. You can use this on the feeders, waterers, nesting boxes, and any other surface!
6. Hose It Down Again
Break out the hose one more time to make sure the coop is clean and cut down on the vinegar smell.
7. Let Your Coop Dry
And now you wait. To speed the process along, place any removable pieces out in the sun to dry faster. Once everything is completely dry, you can put them back in the coop where they belong.
8. Add Fresh Bedding
The last step in how to clean a chicken coop is adding fresh bedding. To further enhance your hen’s experience, you can add fresh herbs to your nesting boxes. The scent is comforting to your flock and helps deter pests.
Cleaning Your Coop: Dos and Don’ts
- DON’T put off cleaning until a problem arises.
- DO follow our maintenance schedule. Remember that cleaning a chicken coop is not a one-time thing. It is a continuous process that is essential to the health of your flock.
- DON’T just replace parts of the bedding that are the dirtiest. Relying completely on spot cleaning isn’t effective, no matter what bedding material you use.
- DO replace it all weekly so bacteria doesn’t build up. Fresh bedding is more absorbent and better for the health and comfort of your chickens.
- DON’T use bleach or other harmful chemicals while disinfecting your chicken coop.
- DO use natural cleaning solutions that are nontoxic.
- DON’T clean your chicken coop without protection.
- DO wear gloves and a mask. Poultry carry diseases such as Salmonella and E. coli, so remember to always wash your hands after handling your chickens.
Chicken Coop Maintenance Tips
Getting your coop clean is one thing, but keeping it that way is another. You may be feeling overwhelmed about how to manage the daily, weekly, and monthly tasks. Here are a few tips for how to keep your chicken coop clean throughout the year.
1. Stay Organized
Whether that means making a to-do list, setting reminders, or just getting into a rhythm of cleaning, it’s important to be on top of your coop cleaning tasks. Stay organized so you won’t forget any step. Want to know the secret to keep your chicken coop clean? Make it a part of your routine and don’t fall behind.
2. Focus on Prevention
Rather than tackling issues after they arise, take small steps now to prevent bigger problems in the future. Remove spilled food, standing water, chicken droppings, and anything else that can attract pests. Check your flock for signs of sickness and injury so you can catch it early.
3. Inspect Your Coop
Regularly give your coop a once-over and inspect it for damage, holes, loose boards, and open hatches. When you notice a problem, make sure you repair it immediately so your flock is always safe from predators.
Now that you’ve mastered the art of how to clean a chicken coop, you’re well on your way to raising chickens that are happy, healthy, and thriving in their spotless, well-maintained home.
Expanding Your Flock?
Get a quote on our customizable, easy-to-clean chicken coops!